Creating a WhatsApp Cloud API account
With WhatsApp Cloud API, you can use WhatsApp API "D.Y.I." without having to pay extra for third-party BSP services such as 360Dialog.
Table Of Contents:
Requirements:
To create your WhatsApp cloud API account, you need to have the following:
Already have a Facebook App? Jump to Configure WhatsApp Product section.
Creating Facebook App:
If you don't have a Facebook/Meta App yet, refer below steps how to create one.
1. Go to All Apps - Facebook for Developers
2. Click on Create App

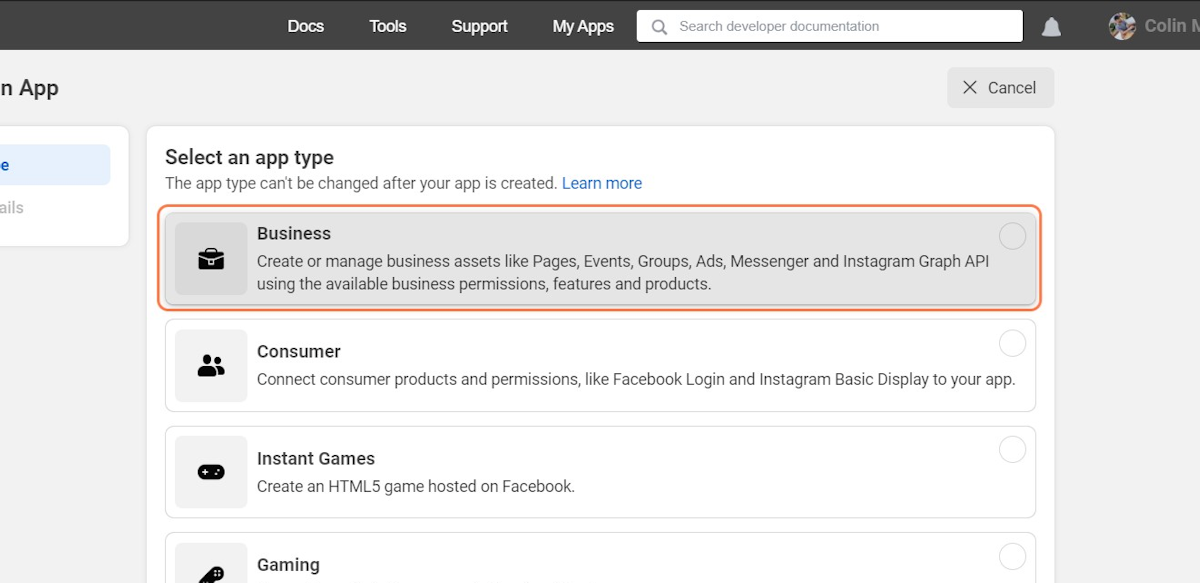
3. Select "Business" as the app type
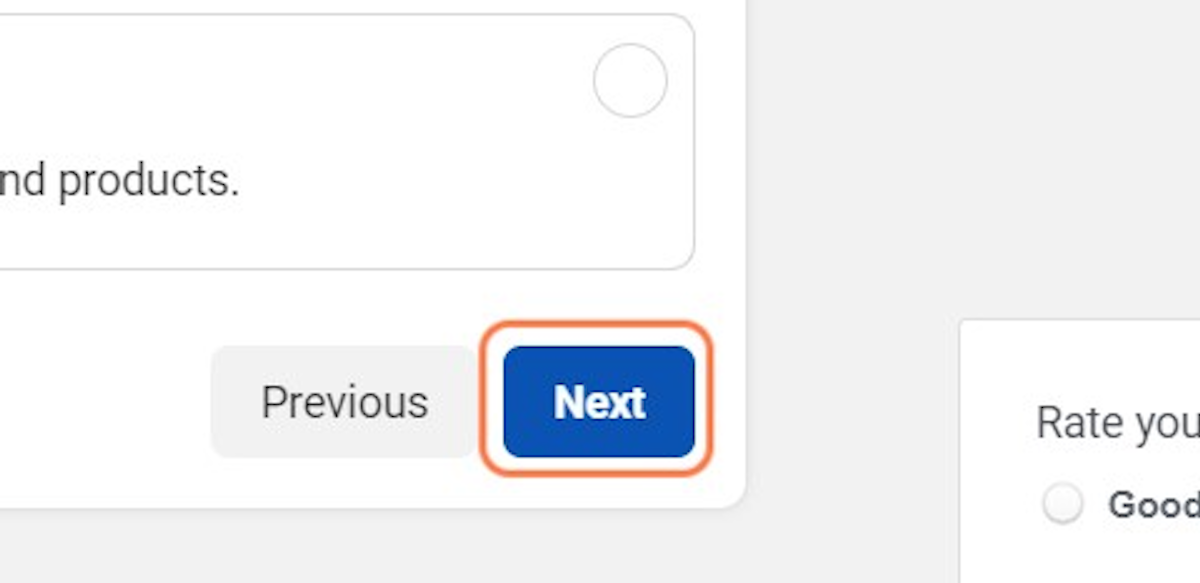
4. Click on Next
5. Type your display name
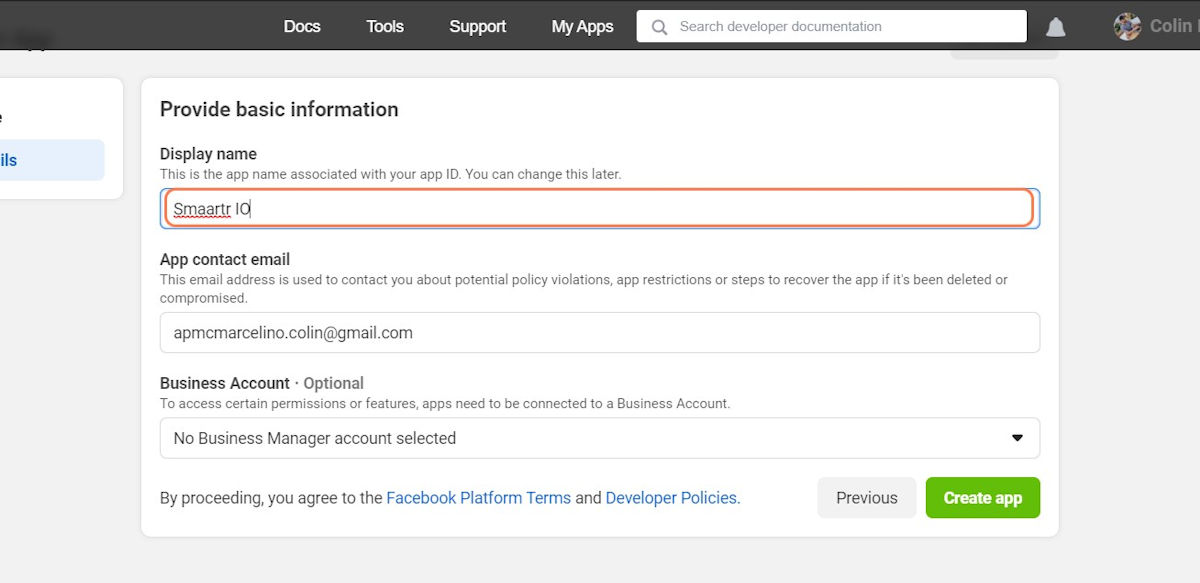
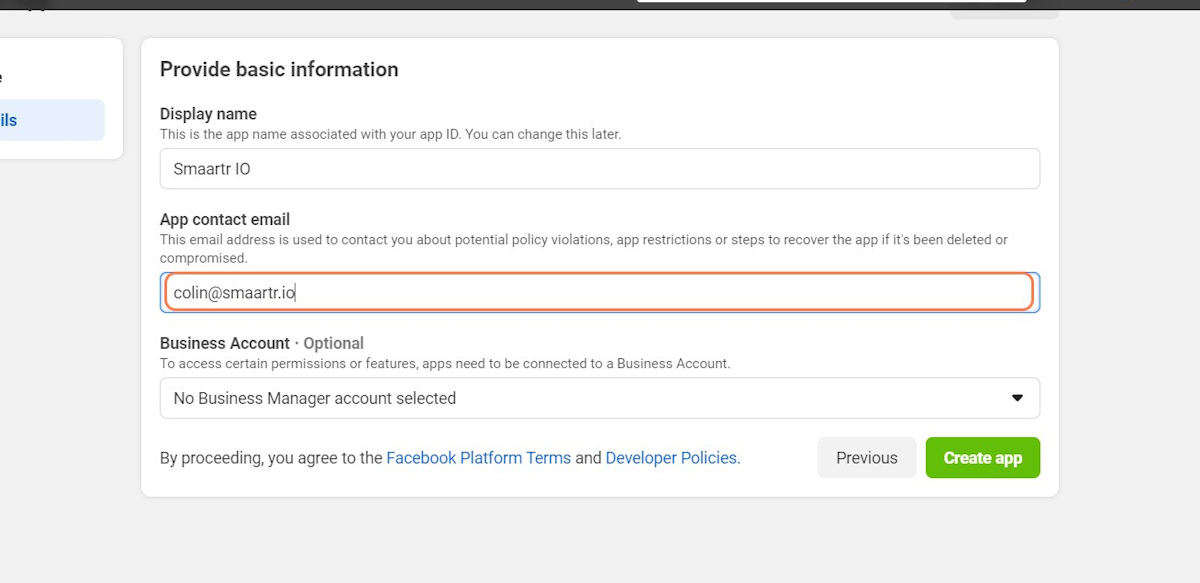
6. Type your app contact email
7. Select the Business Account you want to link your app
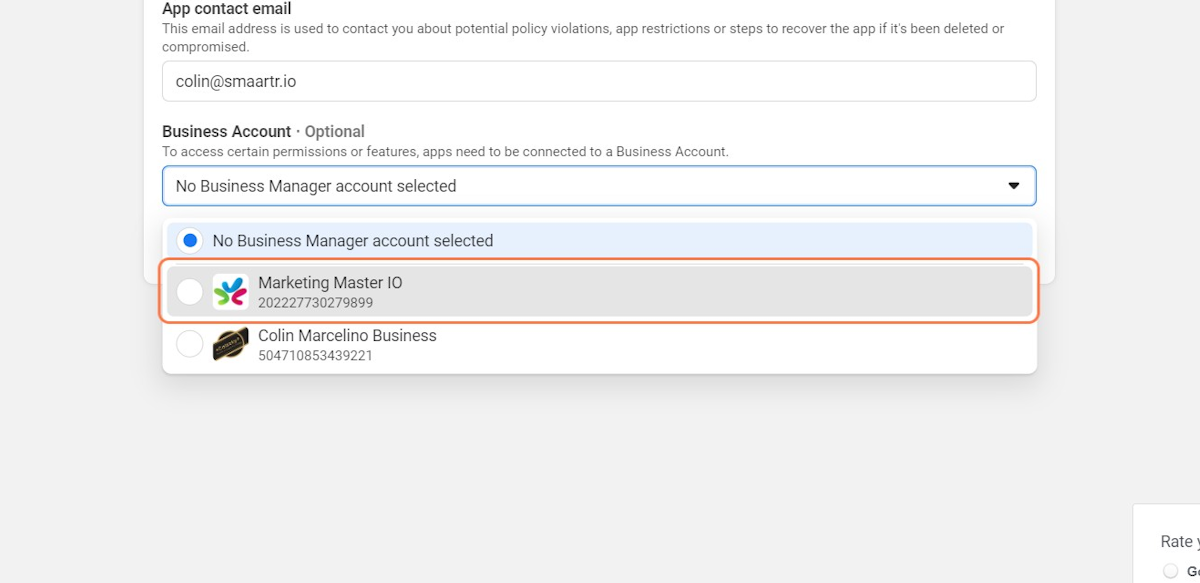
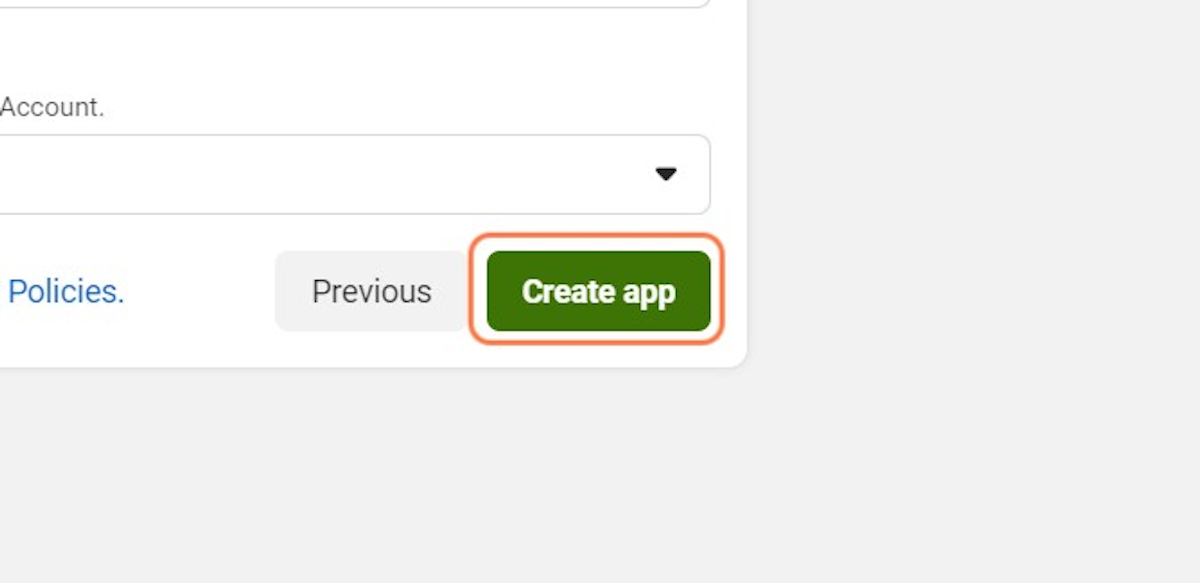
8. Click on Create app
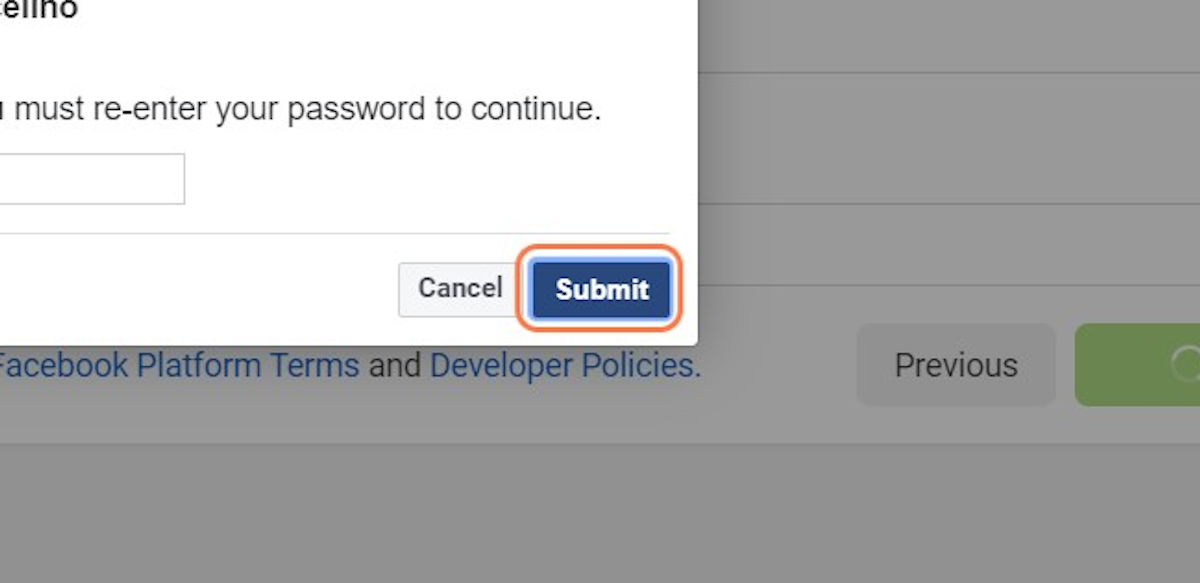
9. Type password

10. Click on Submit
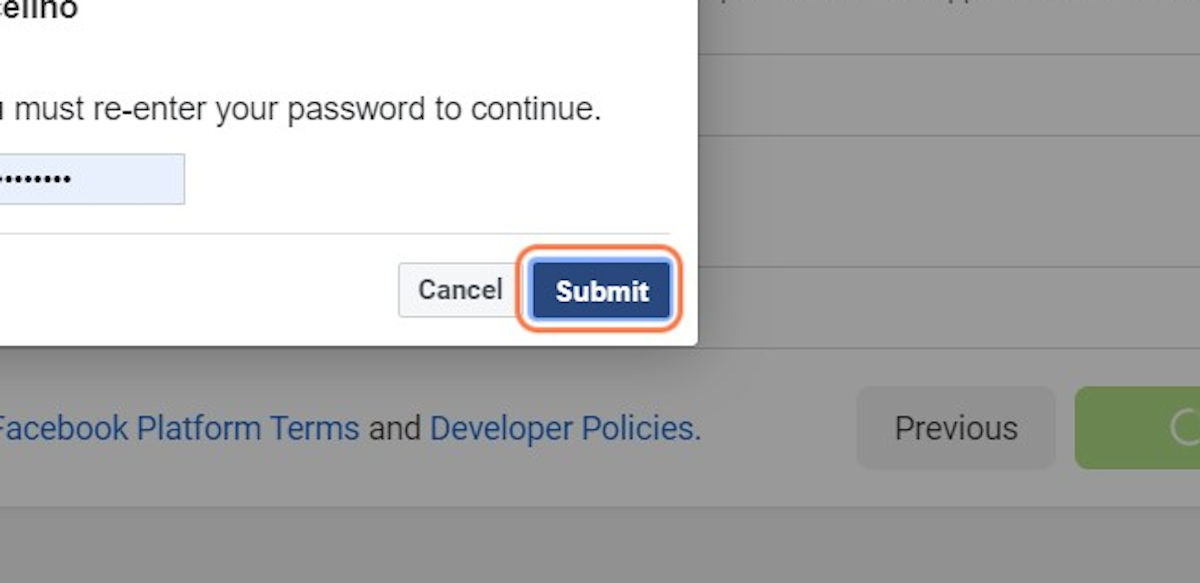
11. Click on Submit
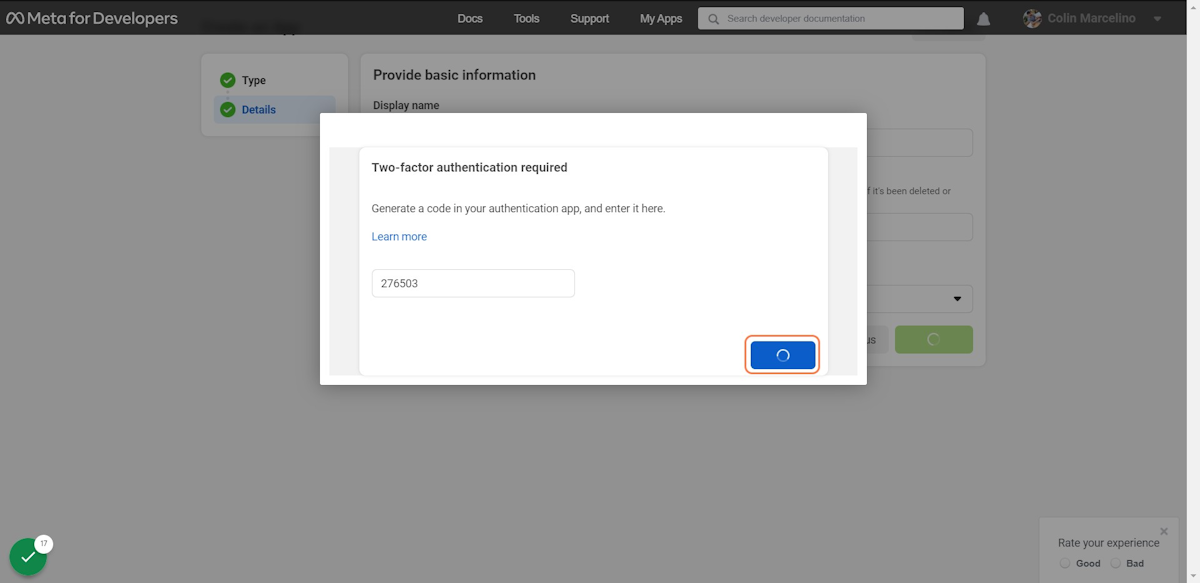
12. (Case to case basis) Enter App Auth if enabled
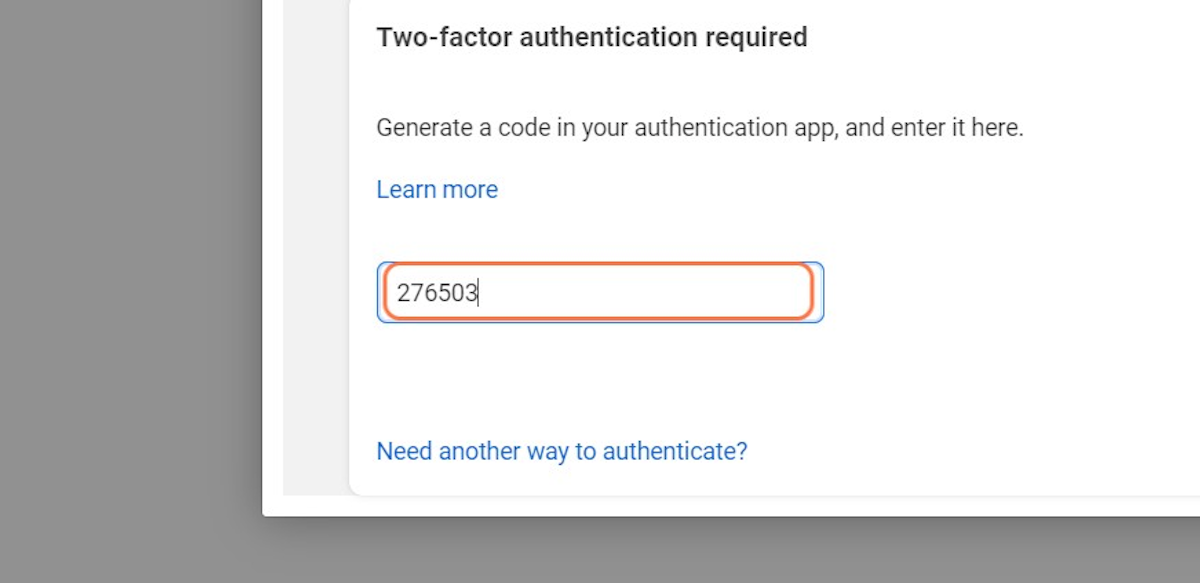
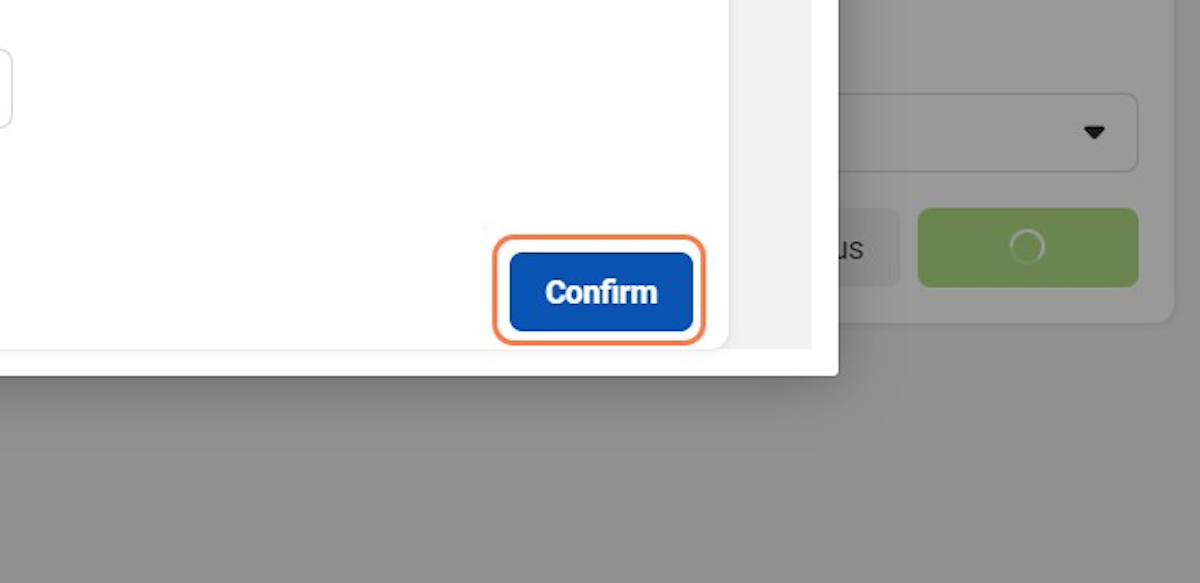
13. Click on Confirm
14. Click on Continue
Configure your App's WhatsApp Product
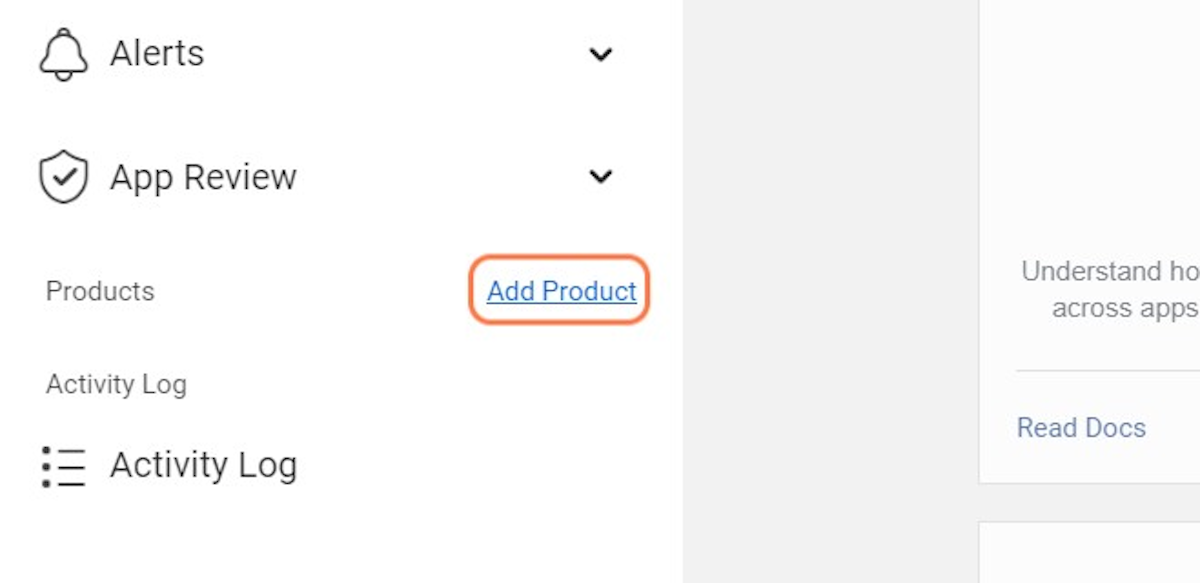
In order to your WhatsApp cloud API, you need to add and set-up a WhatsApp product integration
15. Click on Add Product
16. Find WhatsApp…
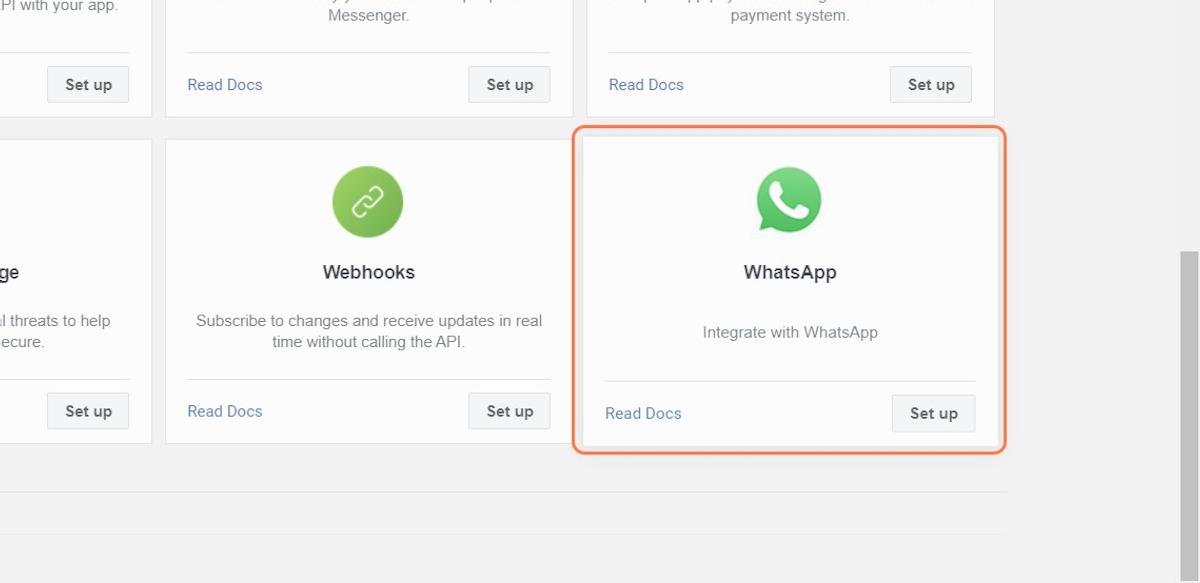
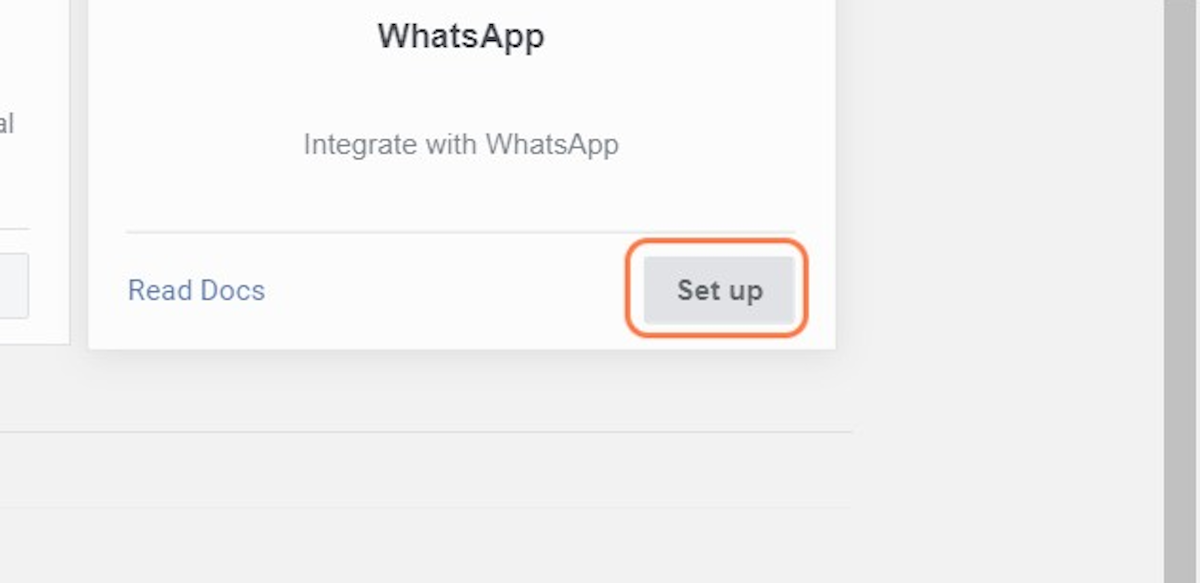
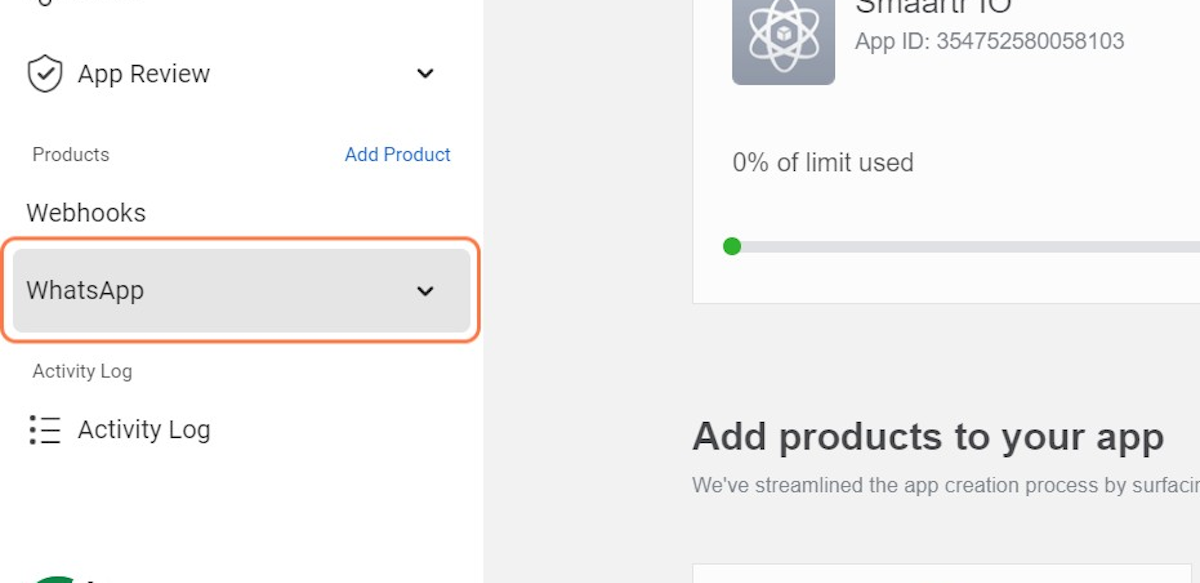
17. Click on Set up
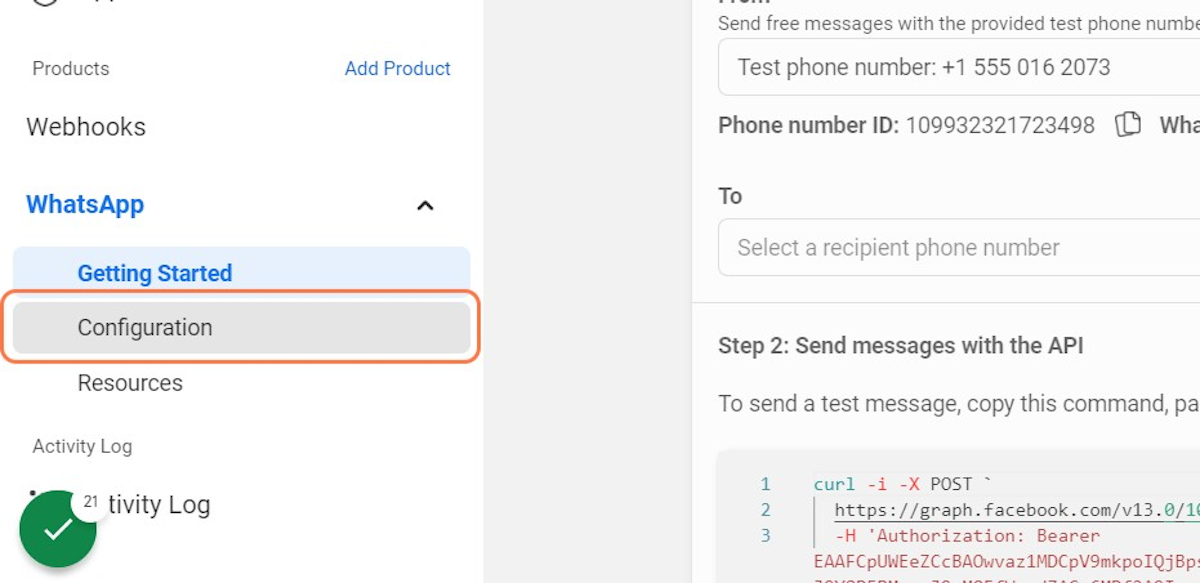
18. Click on Configuration under WhatsApp product set-up
19. Click on Configure a webhook
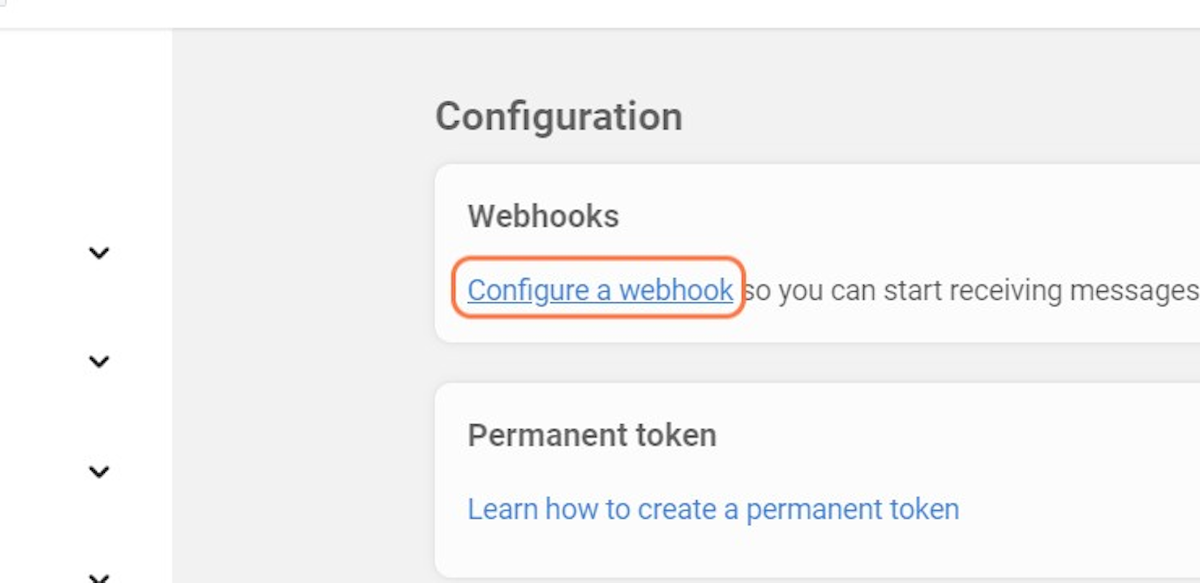
20. Paste the URL below in Callback URL field
https://server.marketingmaster.io/apis_whatsapp/cloud_webhook_callback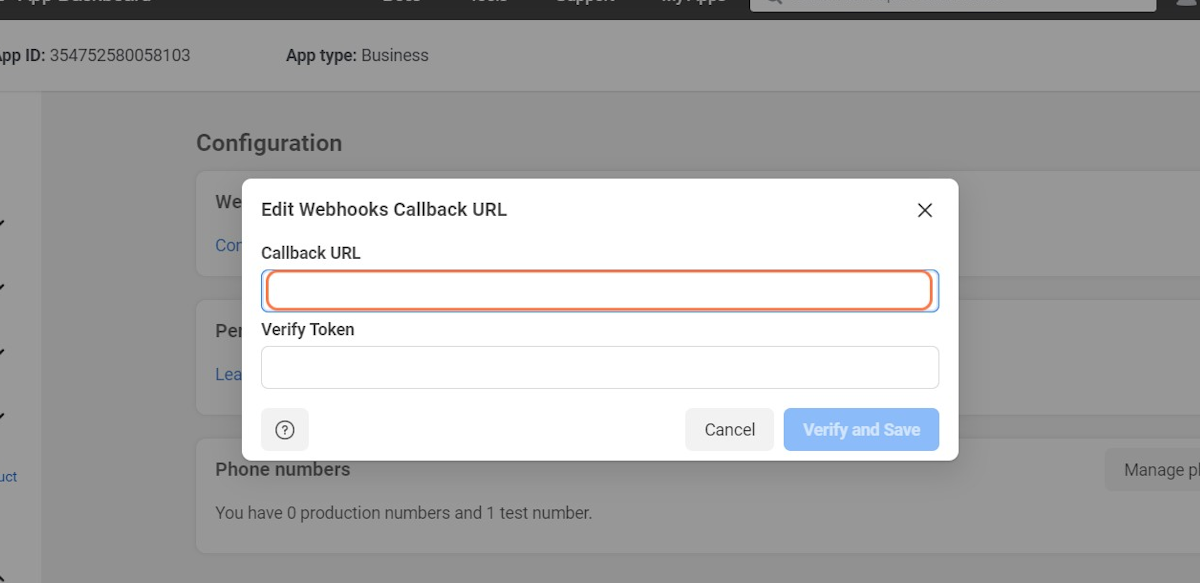
21. Paste the text below in Verify Token field:
HQ2DT3WRF9tEcLeYrKAx54aUZgzby6NkPSwu
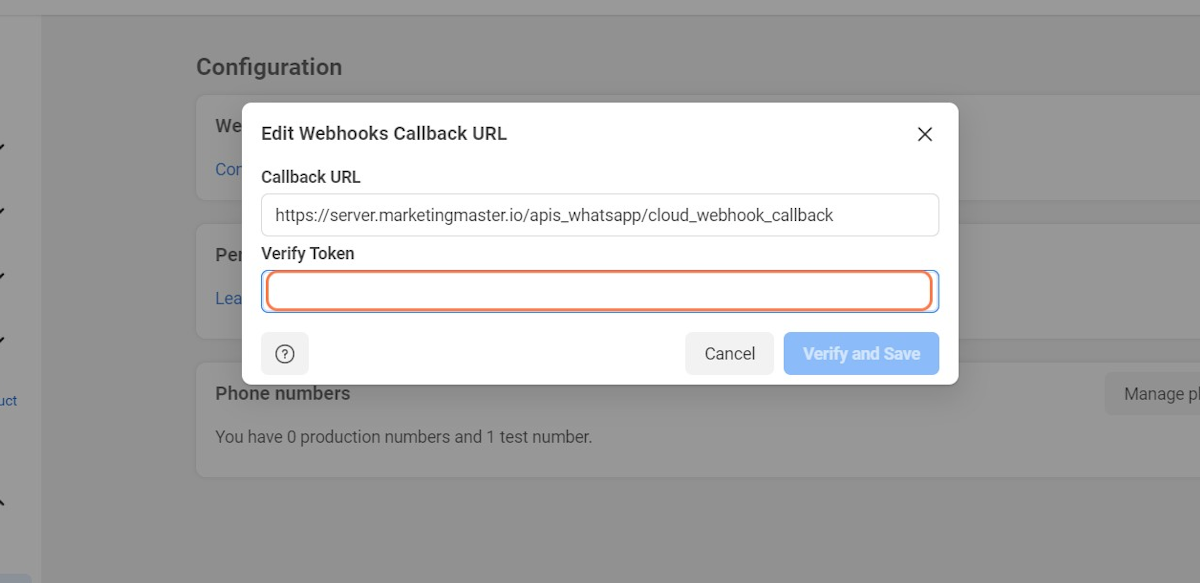
22. Click on Verify and Save

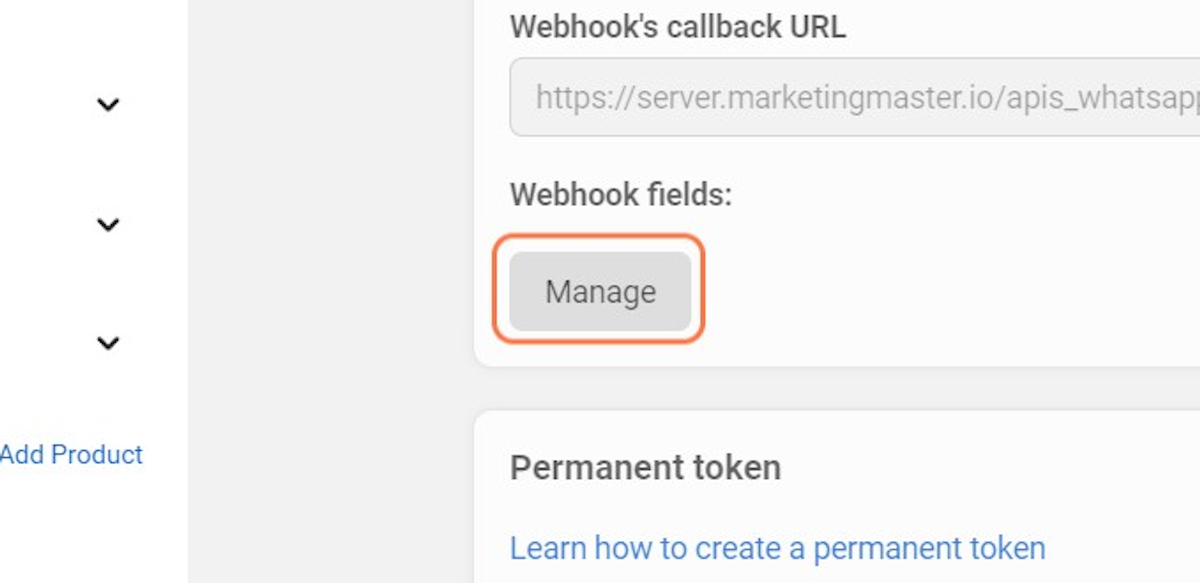
23. Click on Manage
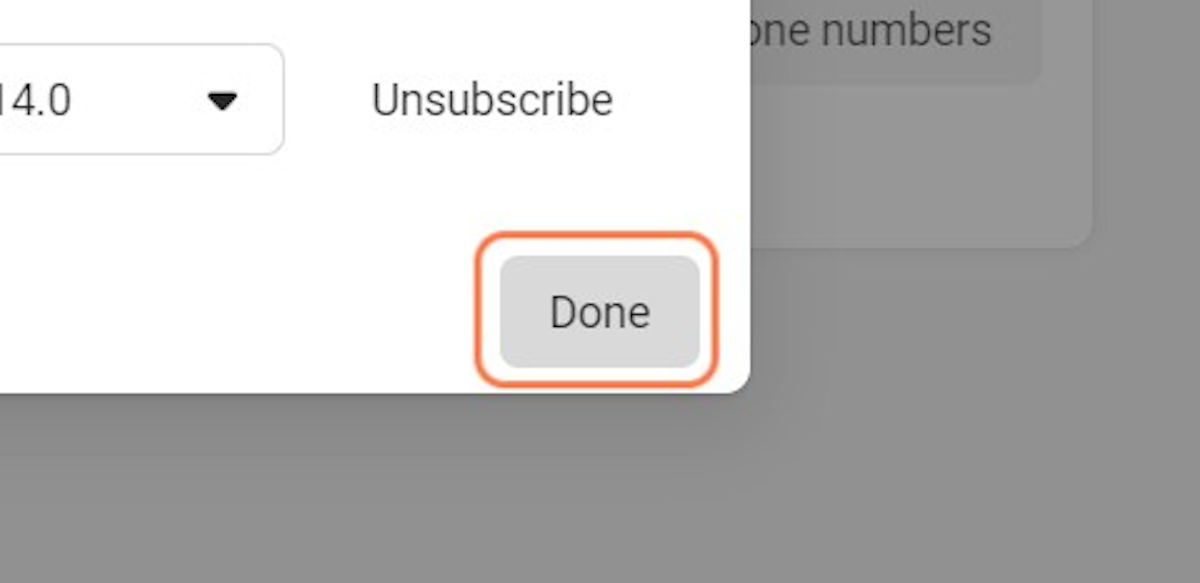
24. Click on Subscribe on all Webhook fields
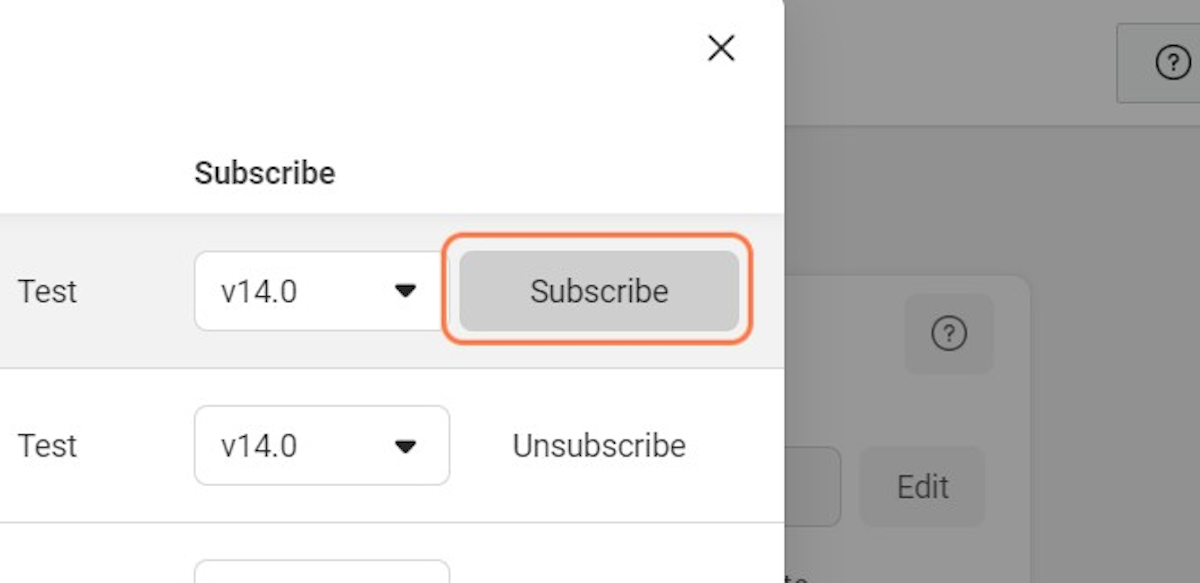
25. Click on Done
Creating a Permanent Access Token
Permanent access token is necessary so you don't have to worry about expired token errors. Using permanent token also allows you to get your WhatsApp templates.
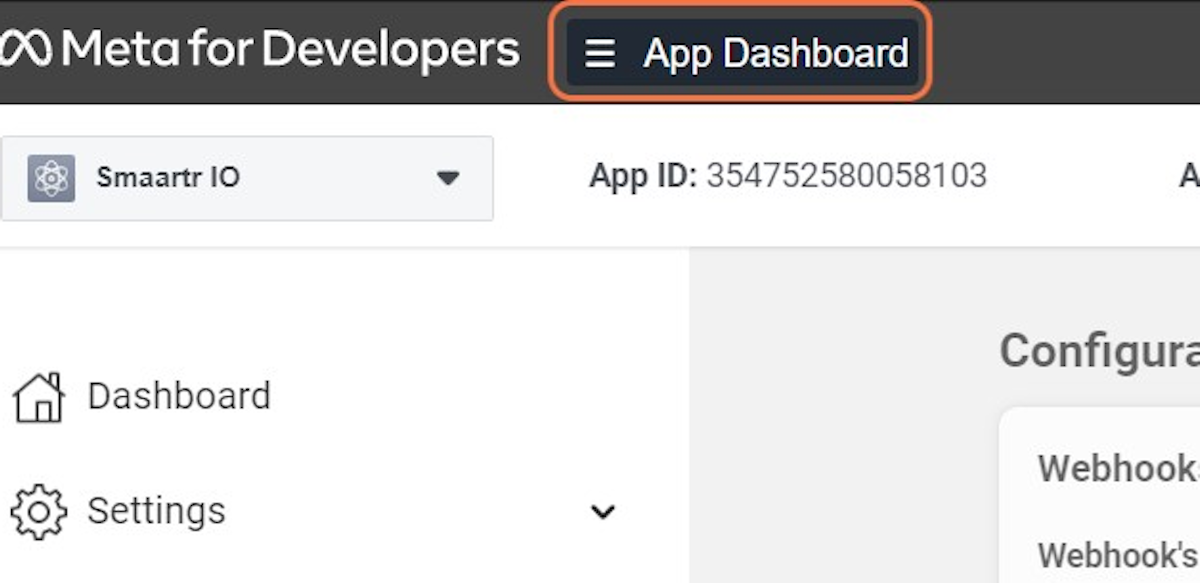
26. Click on App Dashboard menu
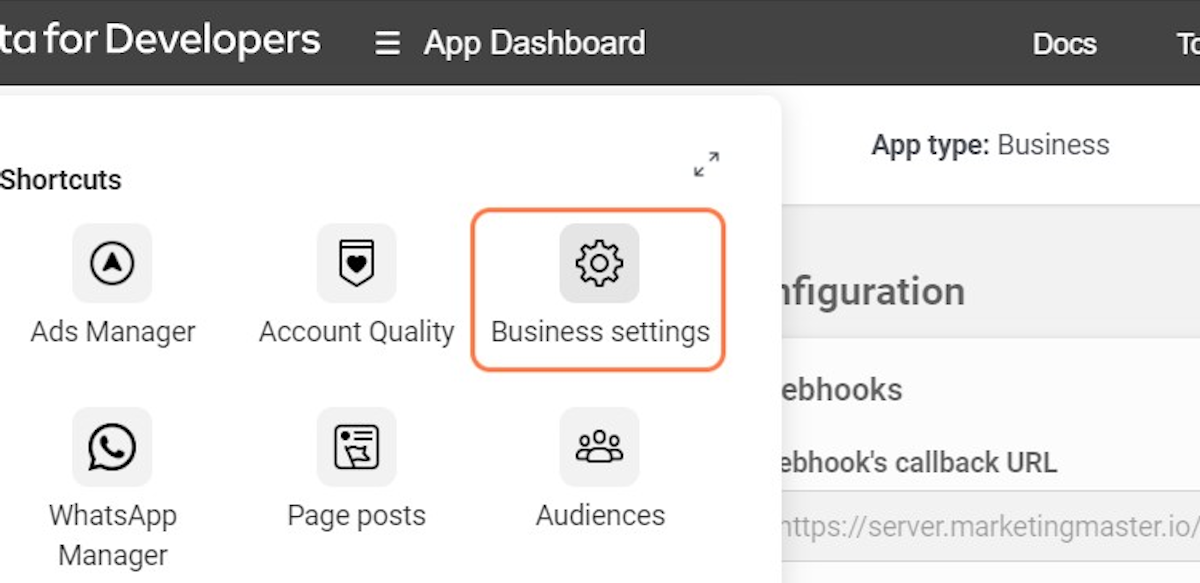
27. Click on Business settings
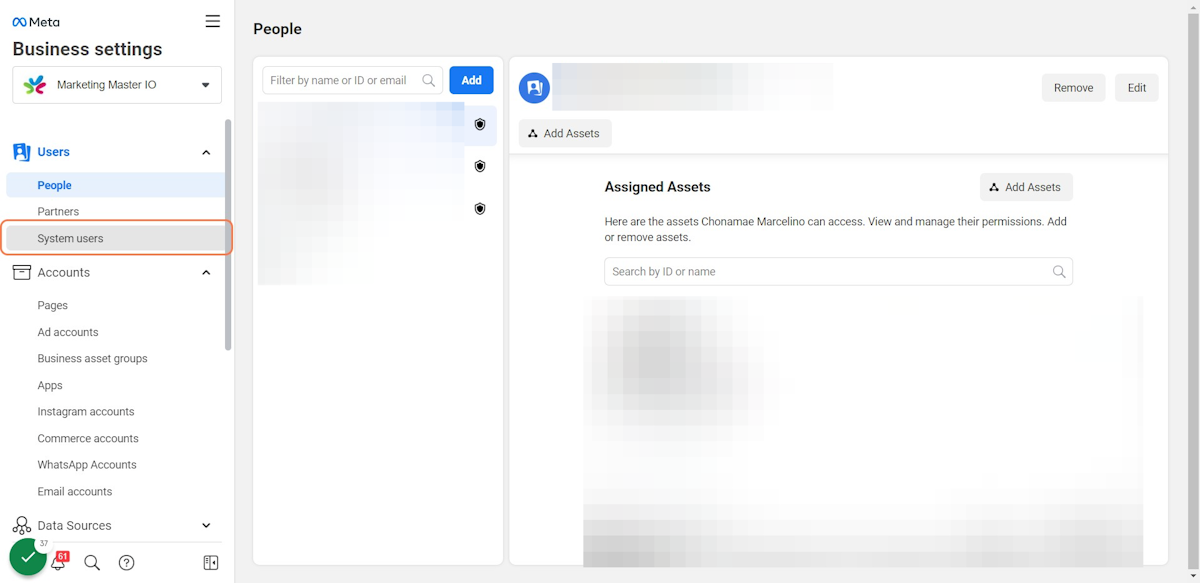
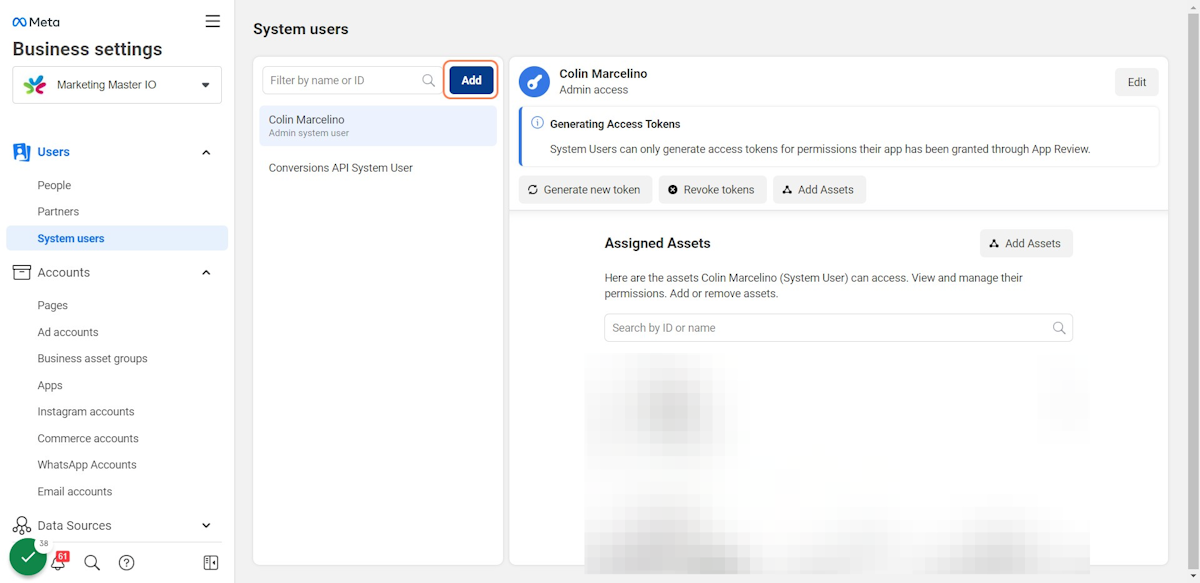
28. Click on System user
29. If you don't have an existing system user, then create a new one by clicking "Add". But if you already have a system user, process to step 33.
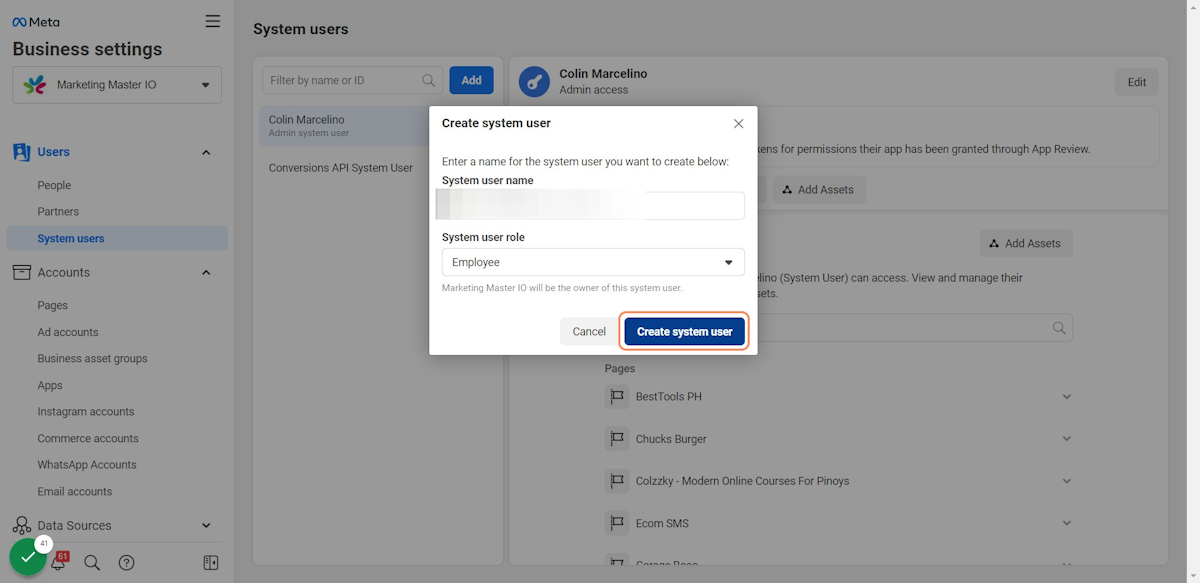
30. Type your System user name

31. Choose "Admin"
 2. Click on Create system user
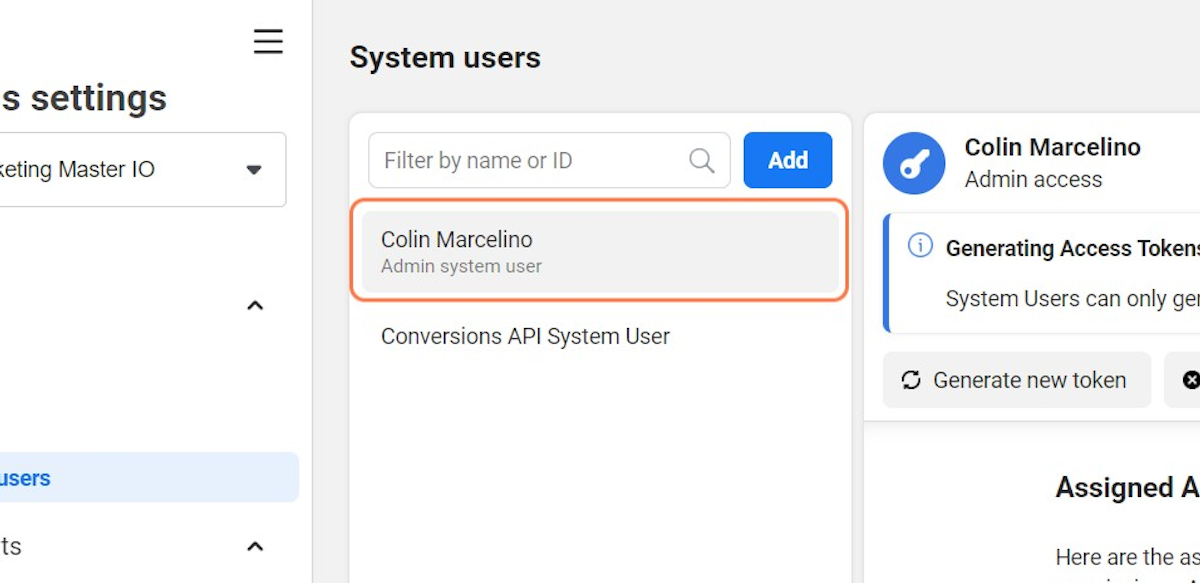
33. Select your System User
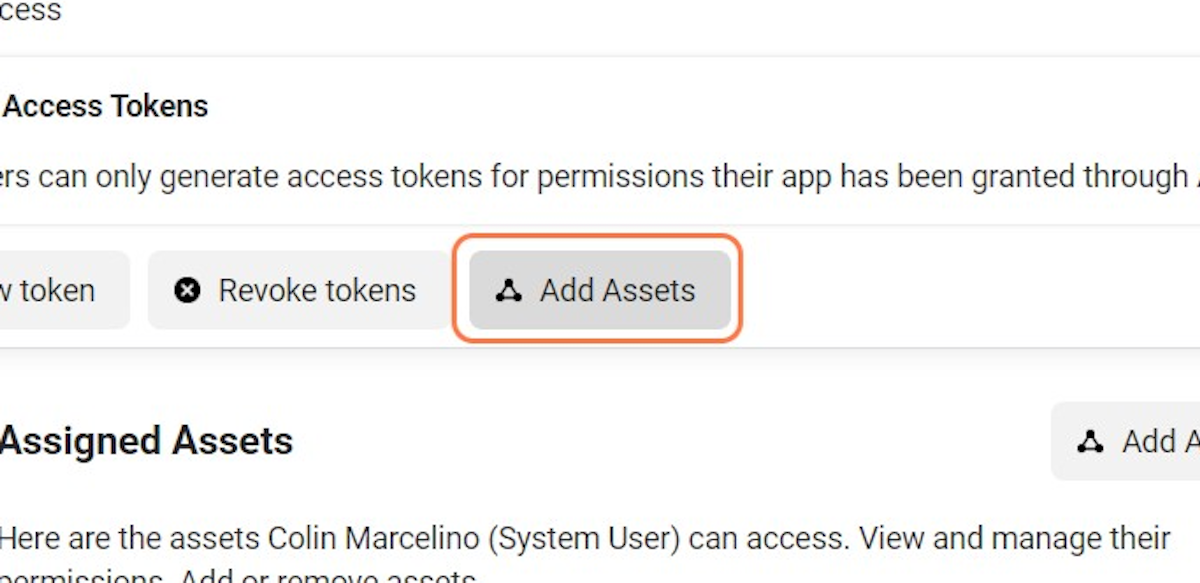
34. Click on Add Assets
35. Click on Assign Access to Apps
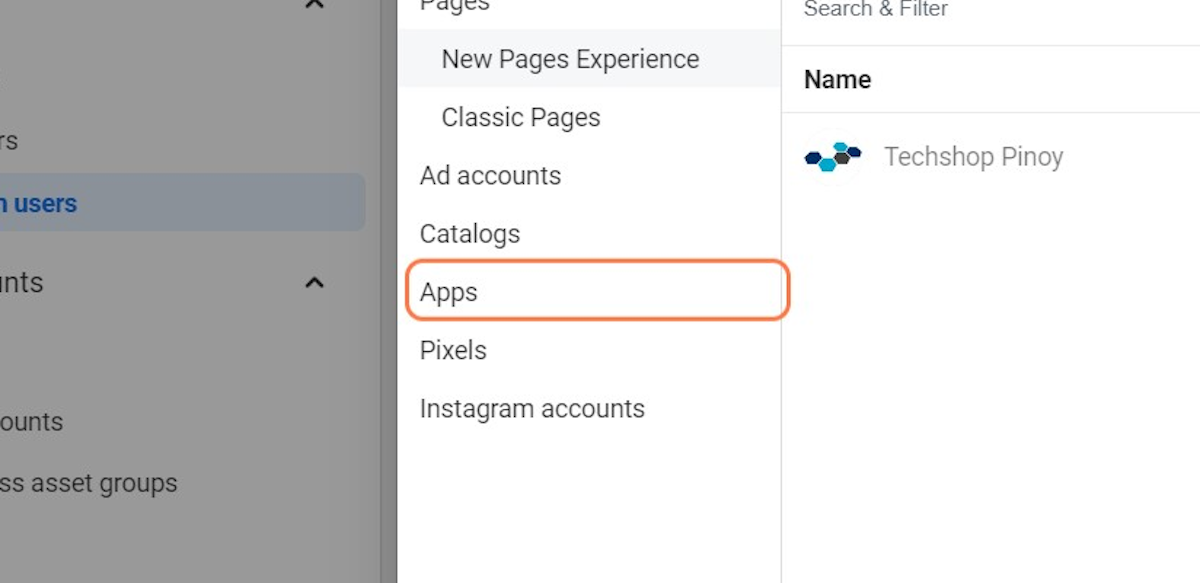
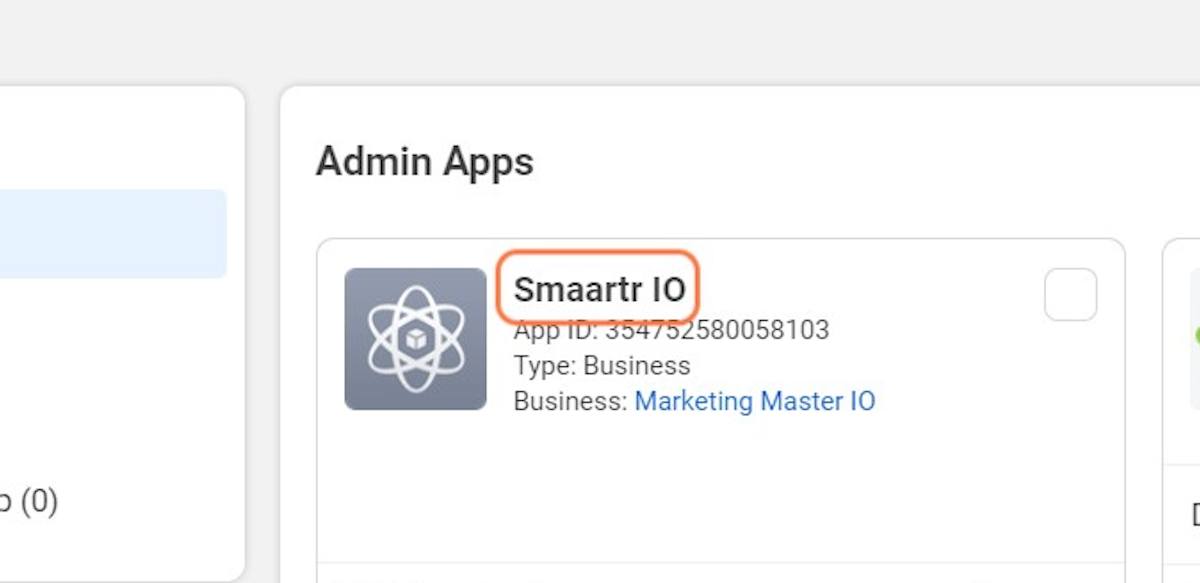
36. Select the your newly created App
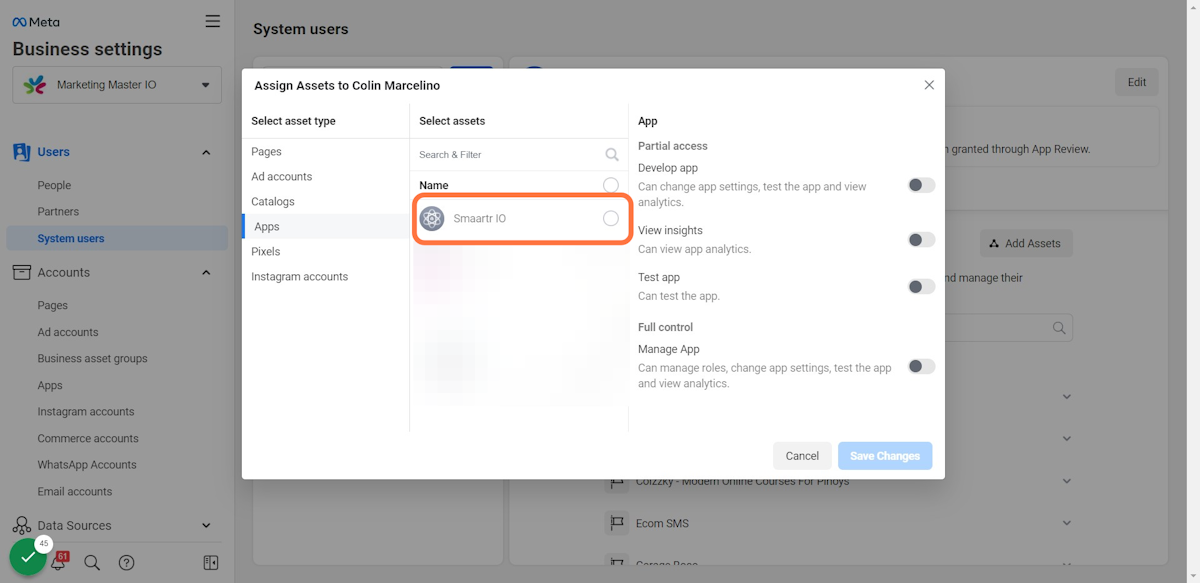
37. Check Full Control under Manage App
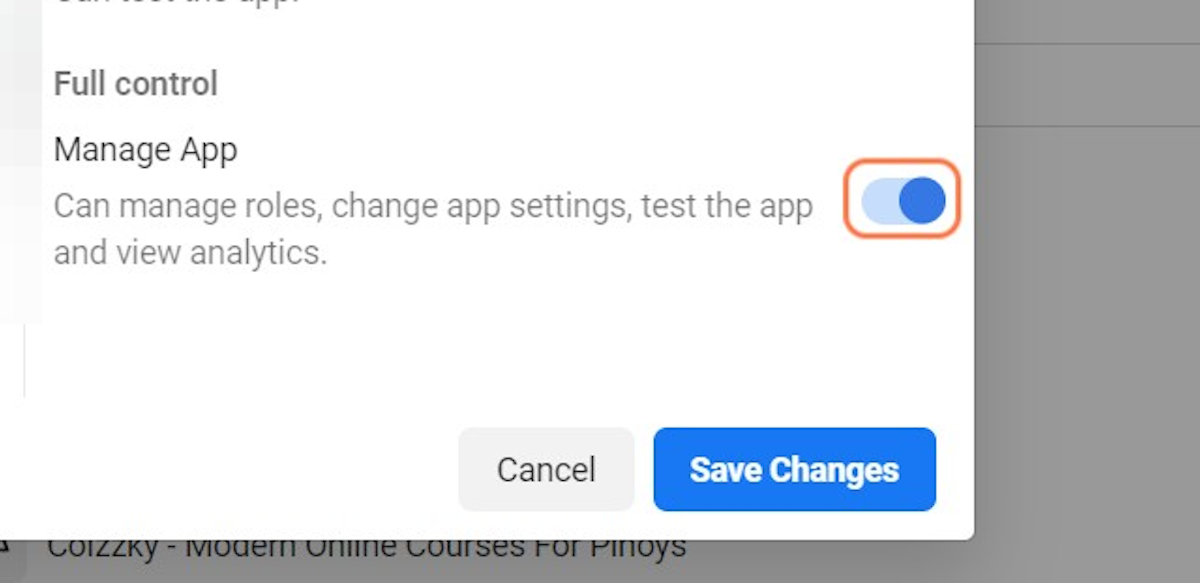
38. Click on Save Changes
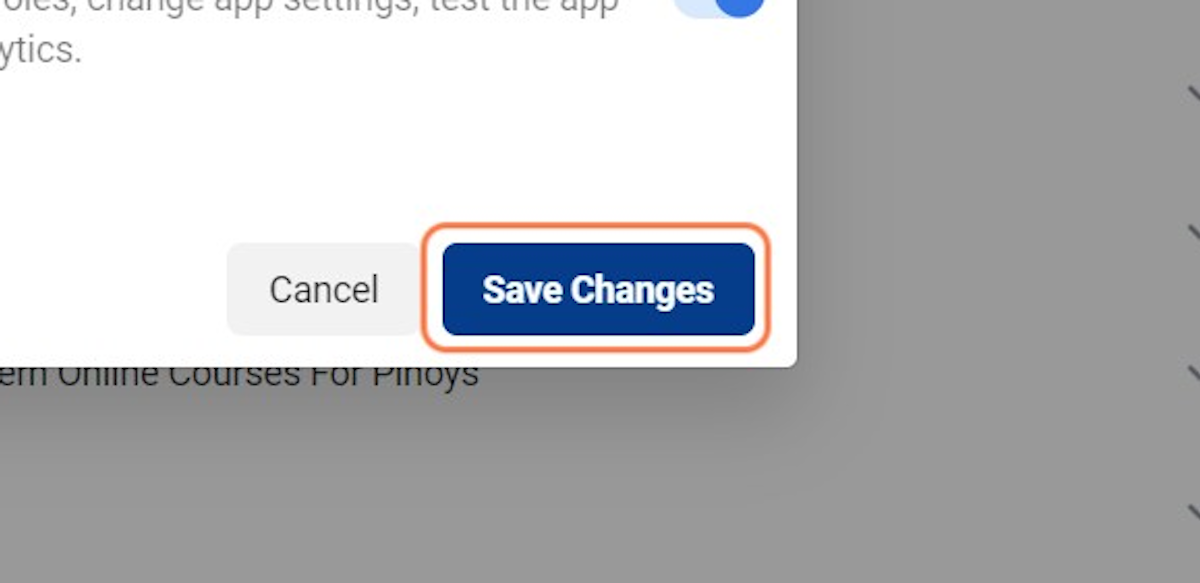
39. Click on Done

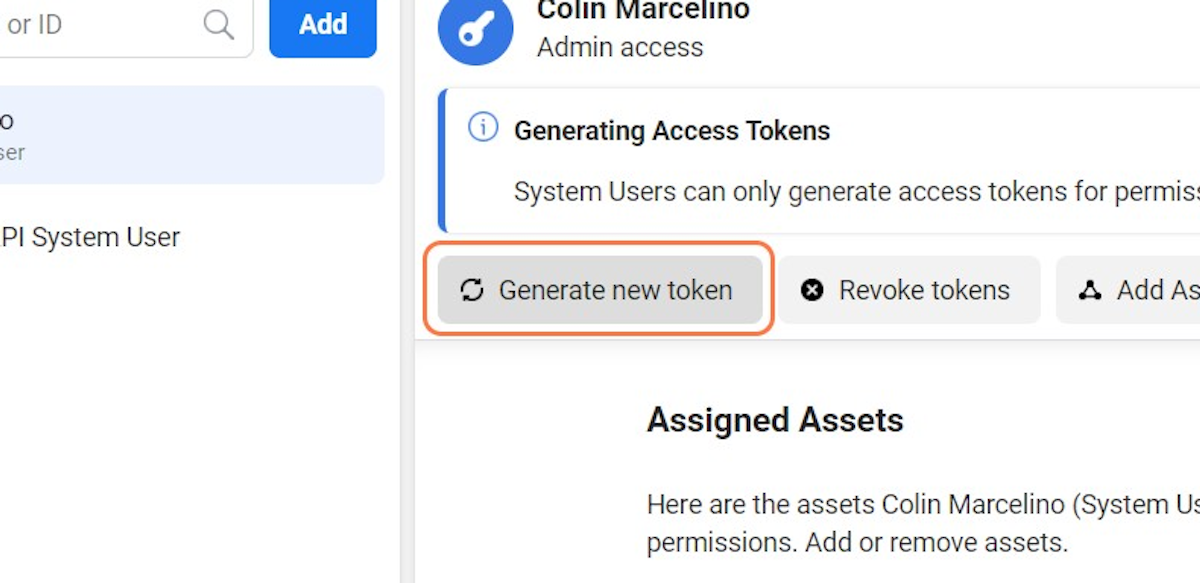
40. Click on Generate new token
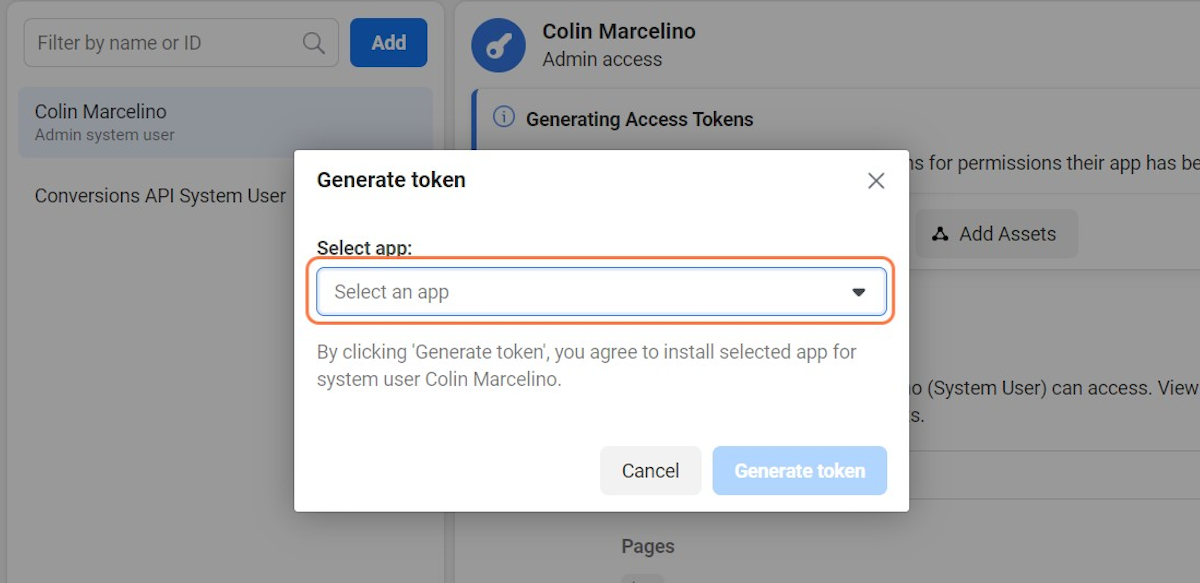
41. Click on Select your App
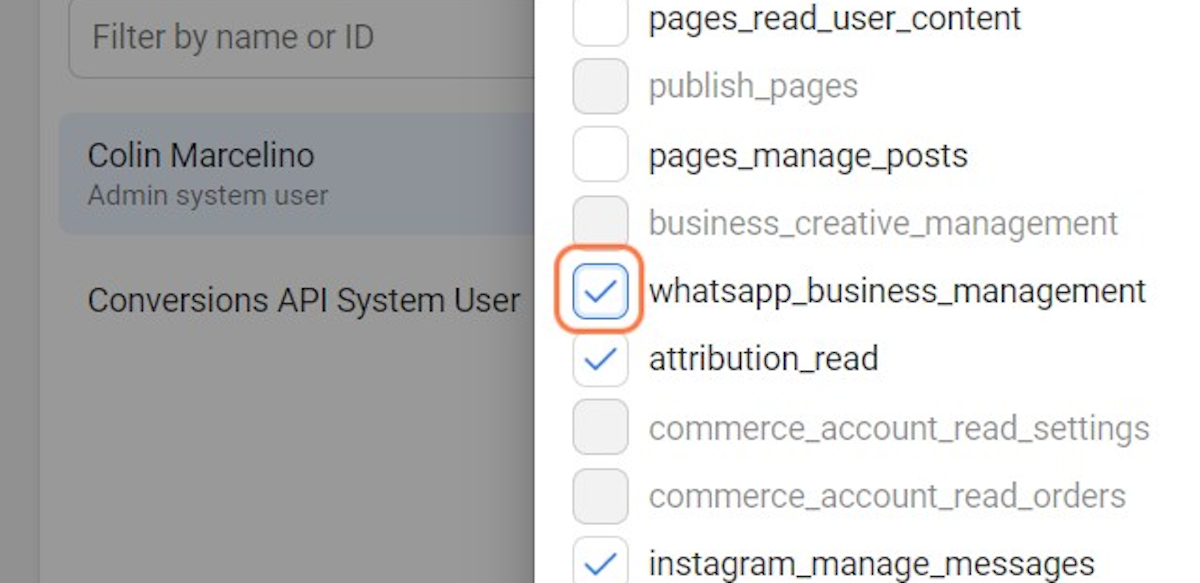
42. Tick/Check all available fields
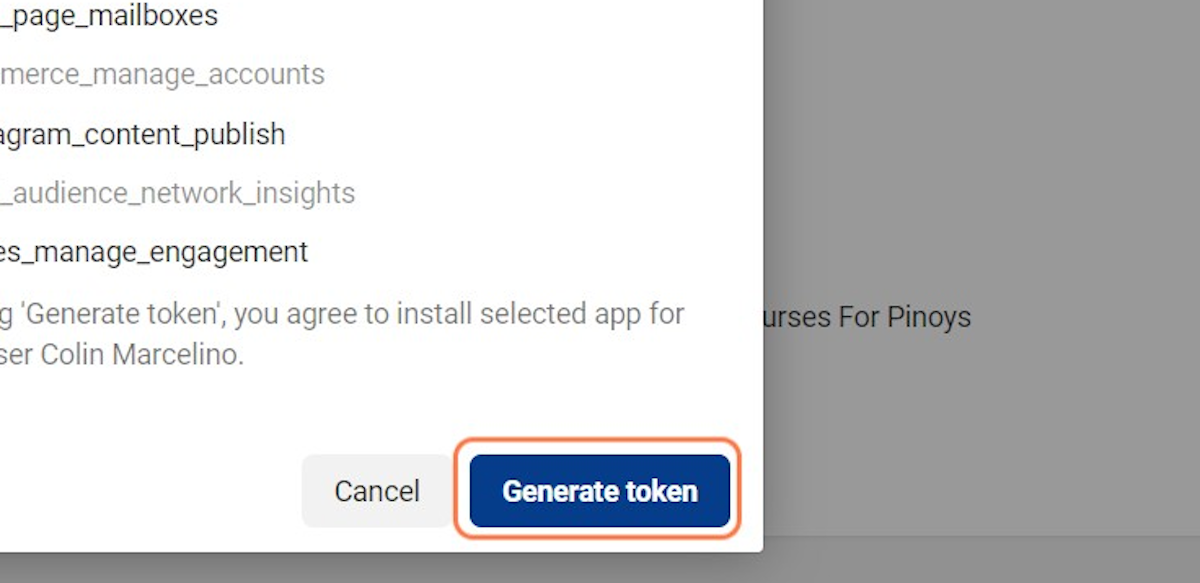
43. Click on Generate token
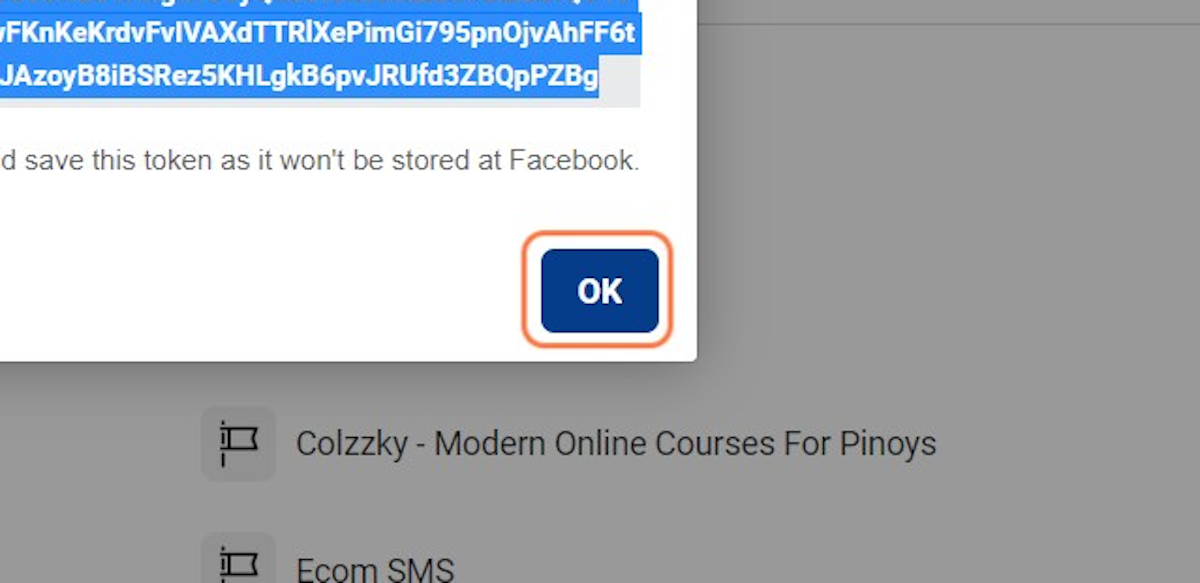
44. Copy the generated Access Token
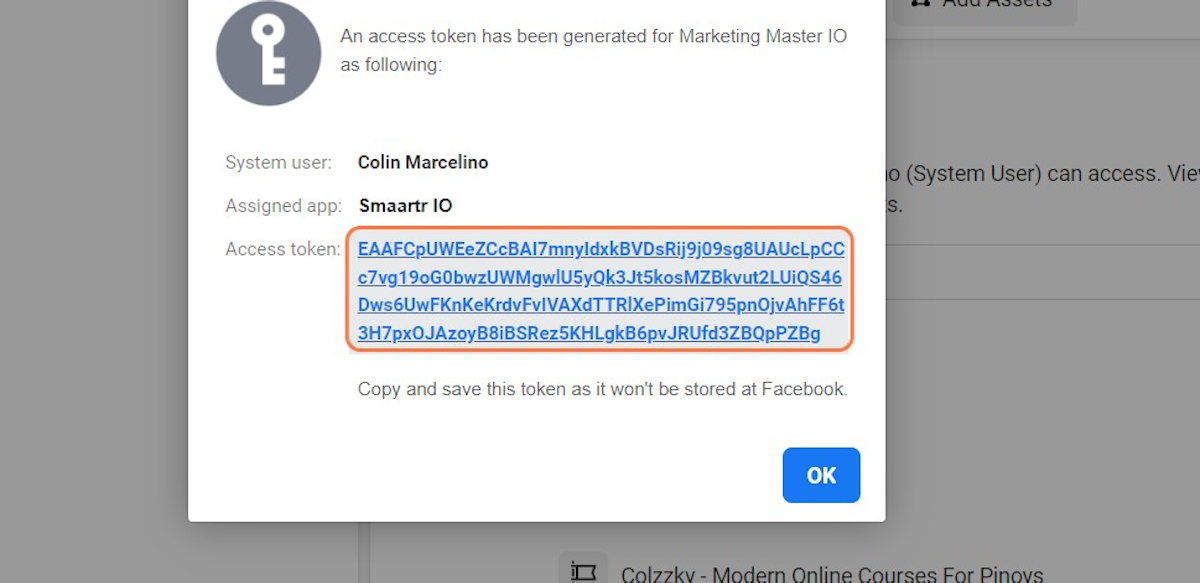
45. Click on OK
Creating a Test account via WhatsApp Cloud API account in MMIO
Once you have all the steps required to create your WhatsApp cloud API account, it's now time to create your Test WhatsApp account in MMIO.
Test Phone numbers can send unlimited messages to a limited phone numbers that you register.
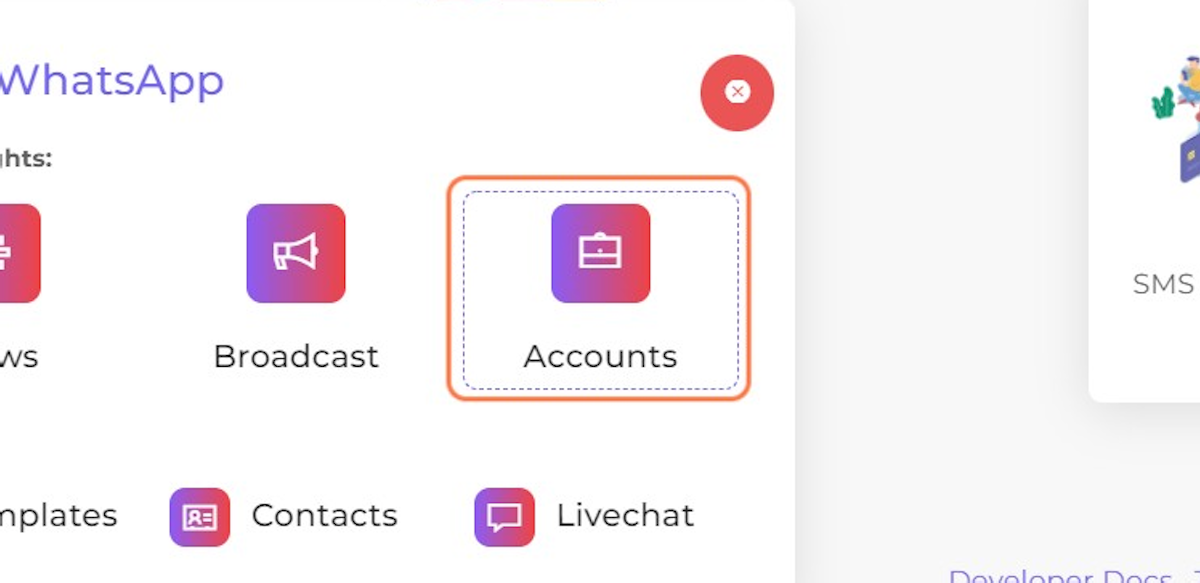
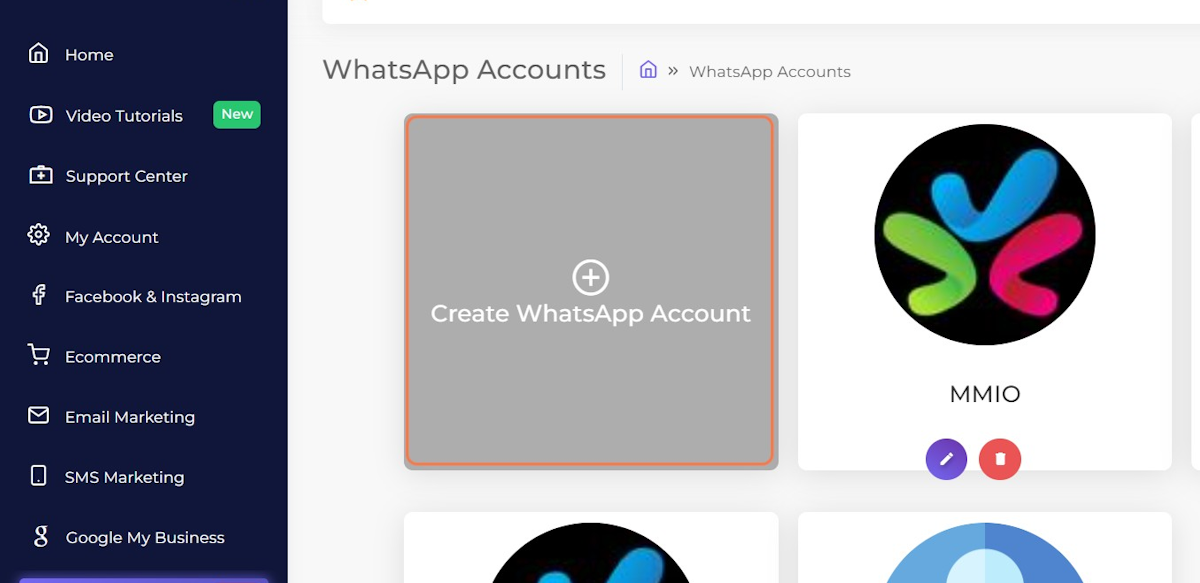
47. Go to WhatsApp -> Accounts
48. Click on Create WhatsApp Account
49. Click on Use WhatsApp Cloud API
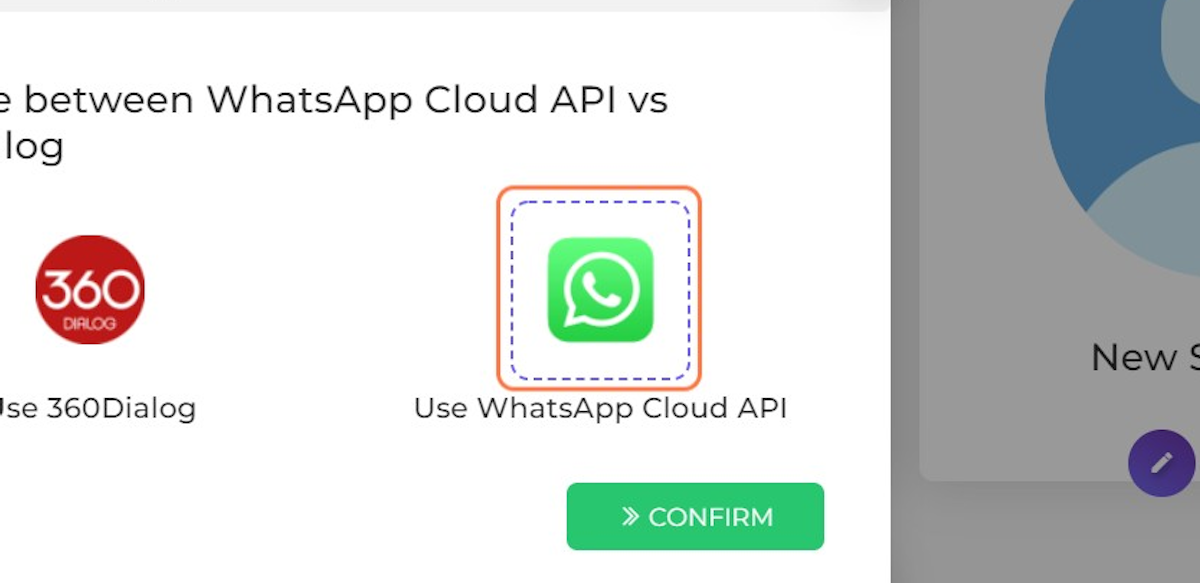
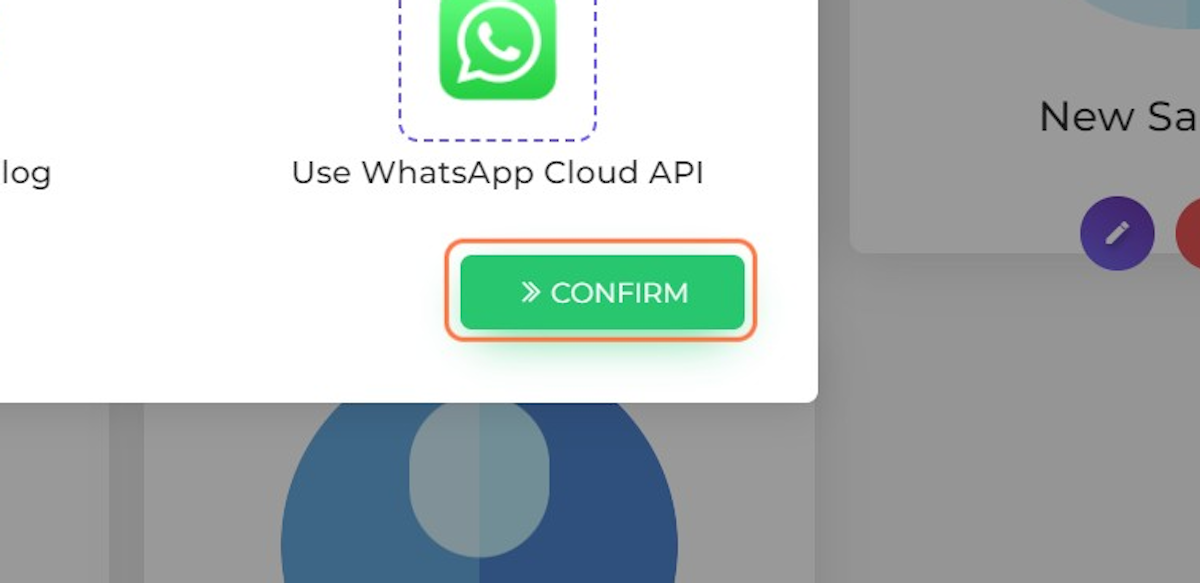
50. Click on CONFIRM
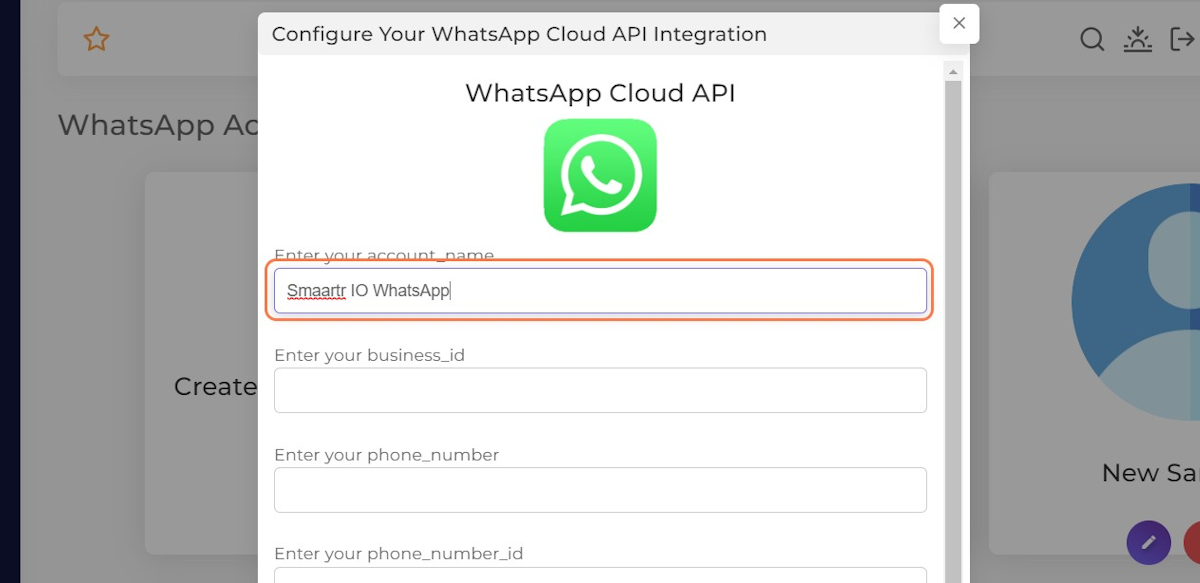
51. Type your WhatsApp account name
52. Go back to your newly create App Settings to get the required details

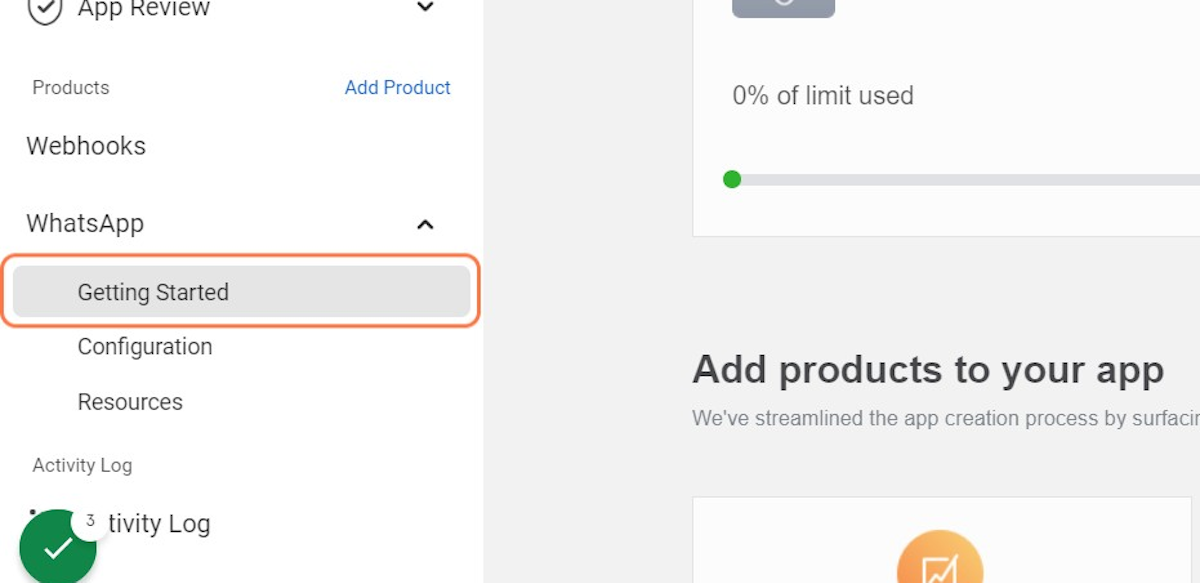
53. Select "Getting Started" under your App's WhatsApp product setup
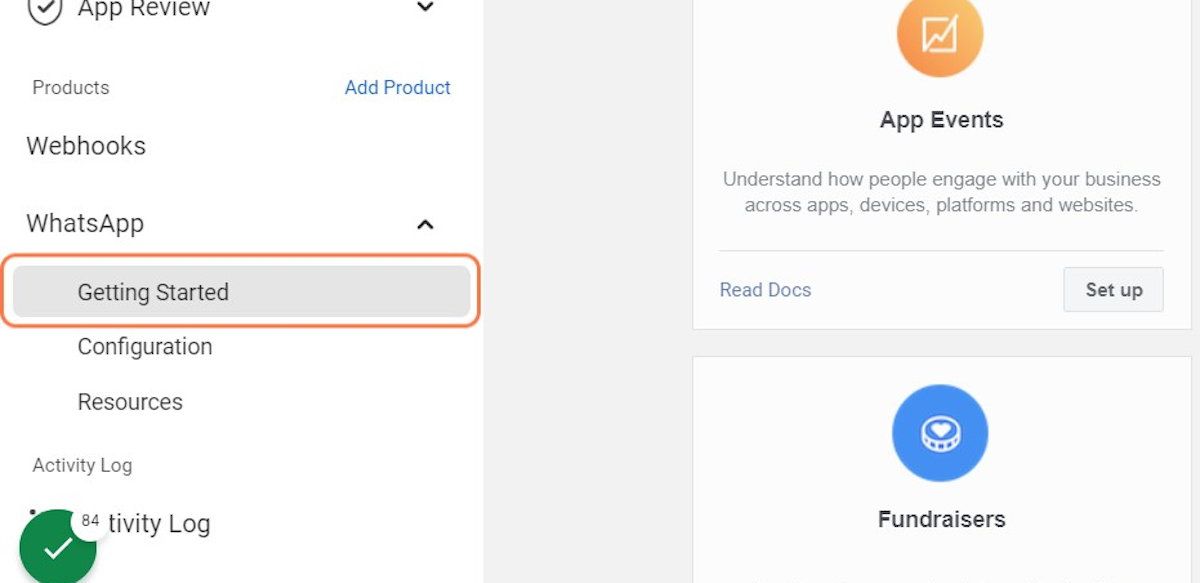
54. Copy your phone_number, phone_number_id and business_id from your App's WhatsApp set-up details. This will create a test account.
See below:

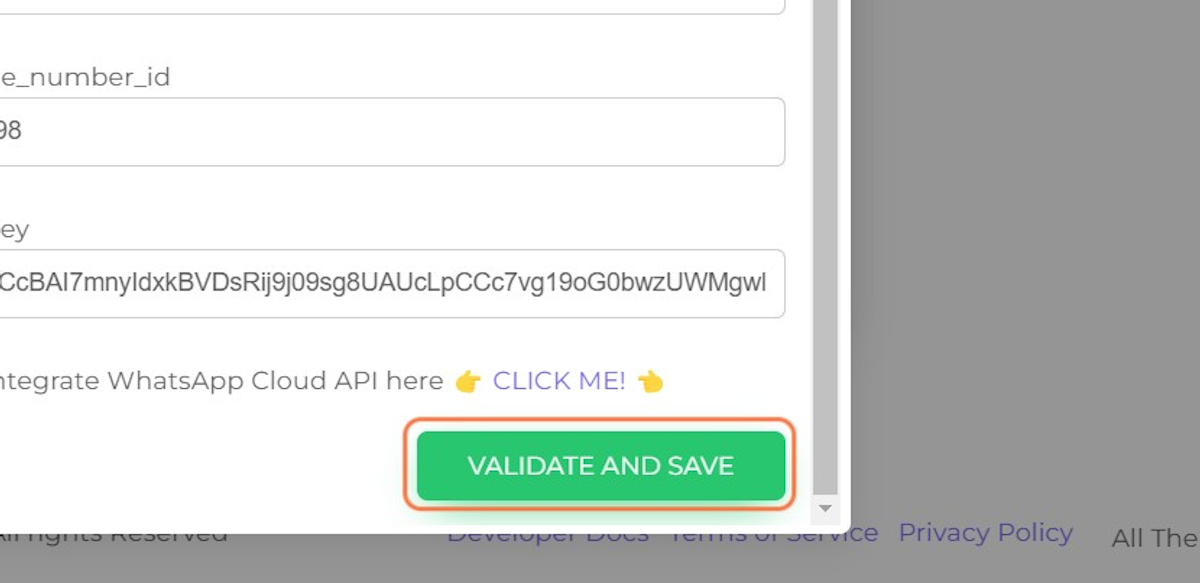
Add your System user Access token in the api_key field:

57. Click on VALIDATE AND SAVE
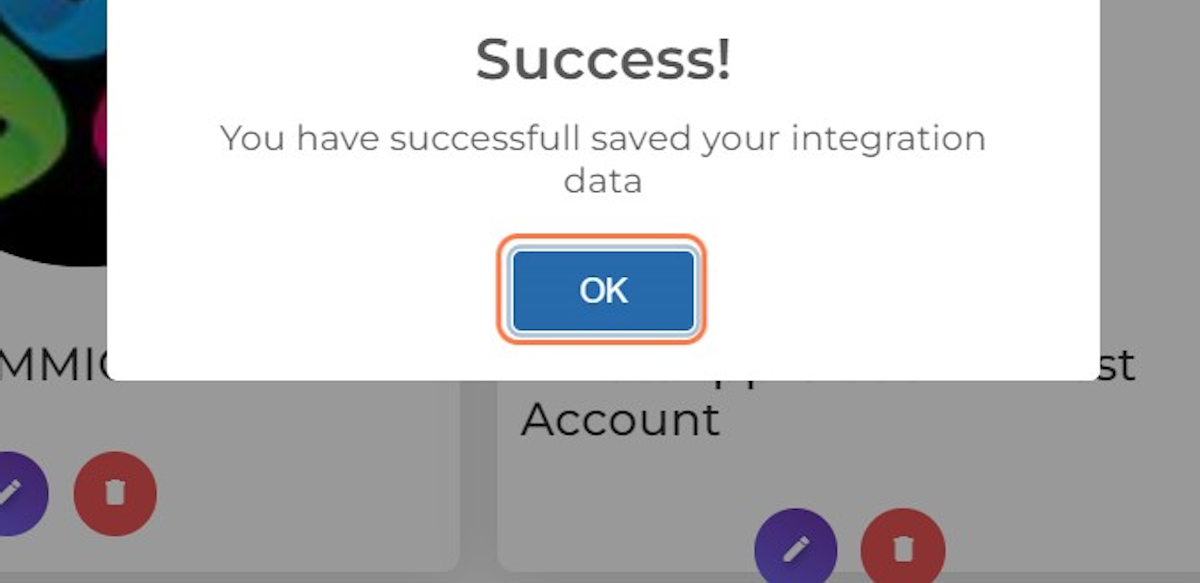
58. Click on OK
Creating a Production account via WhatsApp Cloud API account in MMIO
When you’re ready to use your app for a production use case, you need to use your own phone number to send messages to your users.
Production phone numbers can send messages to any phone numbers - but is subject to rate limits.
When choosing a phone number, consider the following:
If you want to use a number that is already being used in the WhatsApp customer or business app, you will have to fully migrate that number to the business platform. Once the number is migrated, you will lose access to the WhatsApp customer or business app.
Once you have chosen your phone number, you have to add it to your WhatsApp Business Account.
Go to your app dashboard
Click on WhatsApp setup
Click on "Get Started"
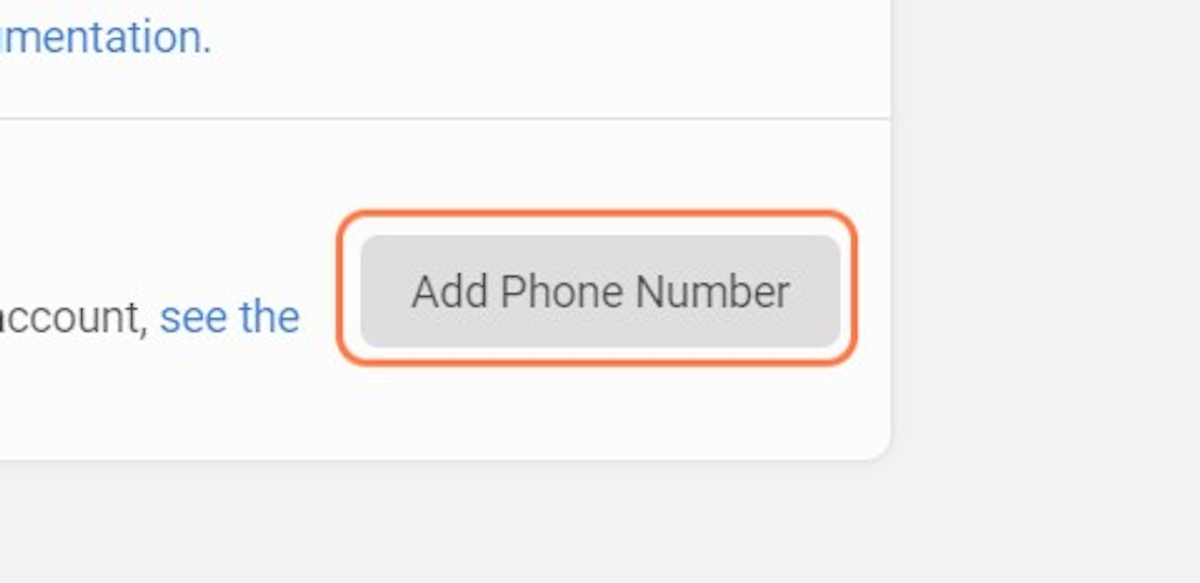
Click on Add Phone Number
Type your WhatsApp Business Profile display name
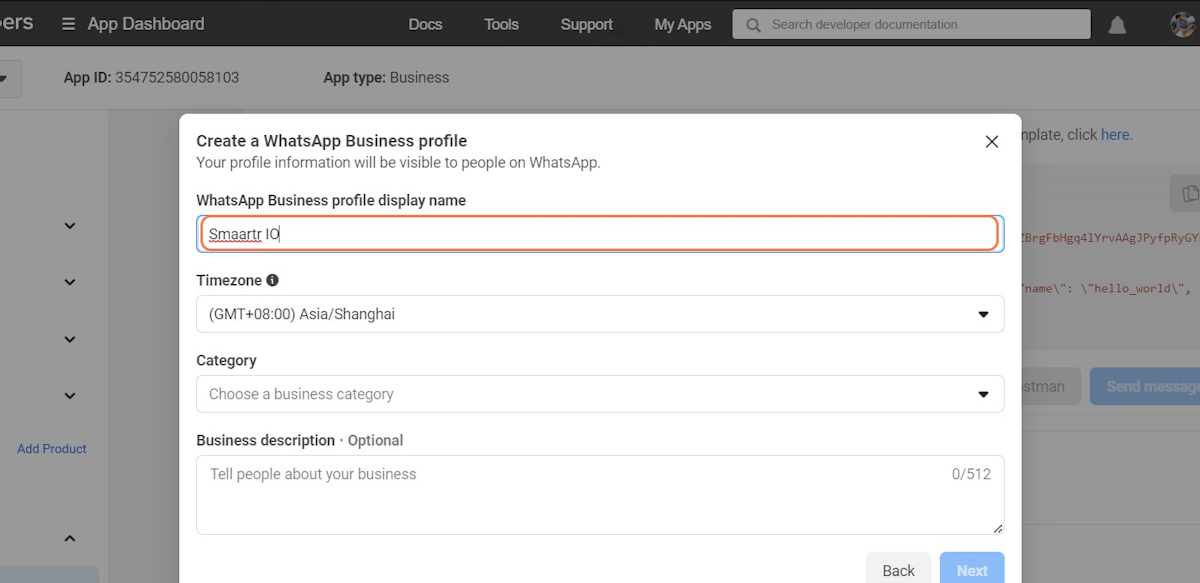
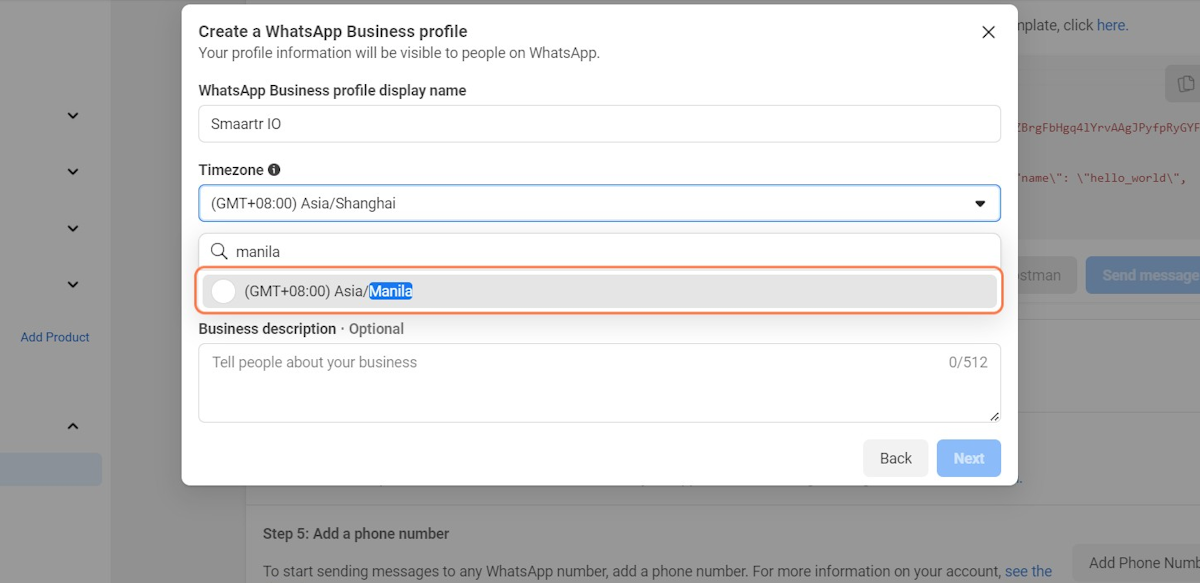
Select Timezone
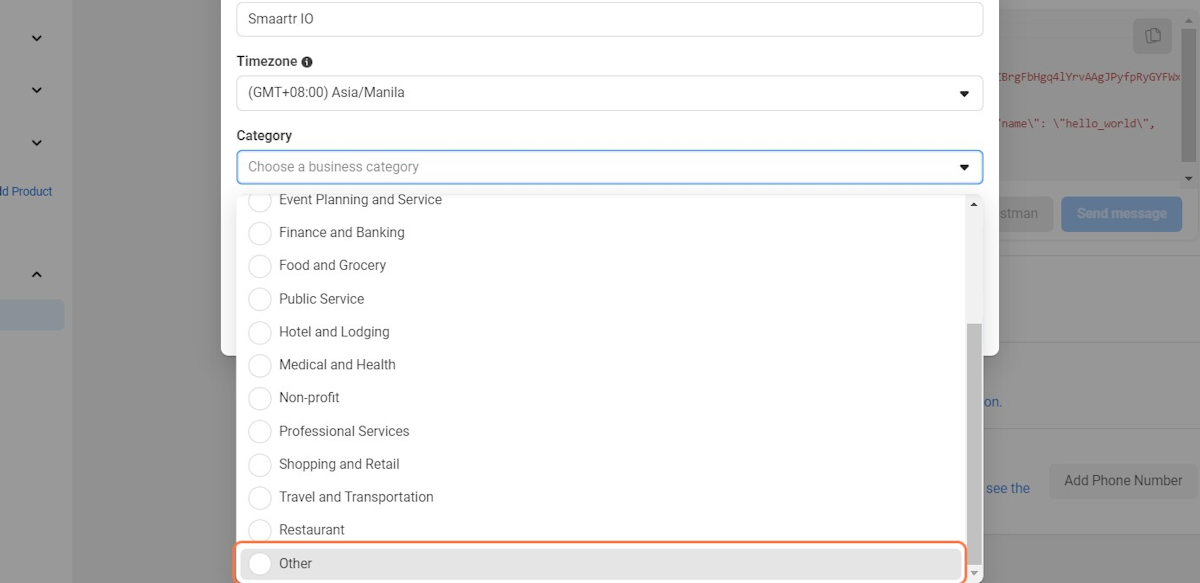
64. Choose category
Add description
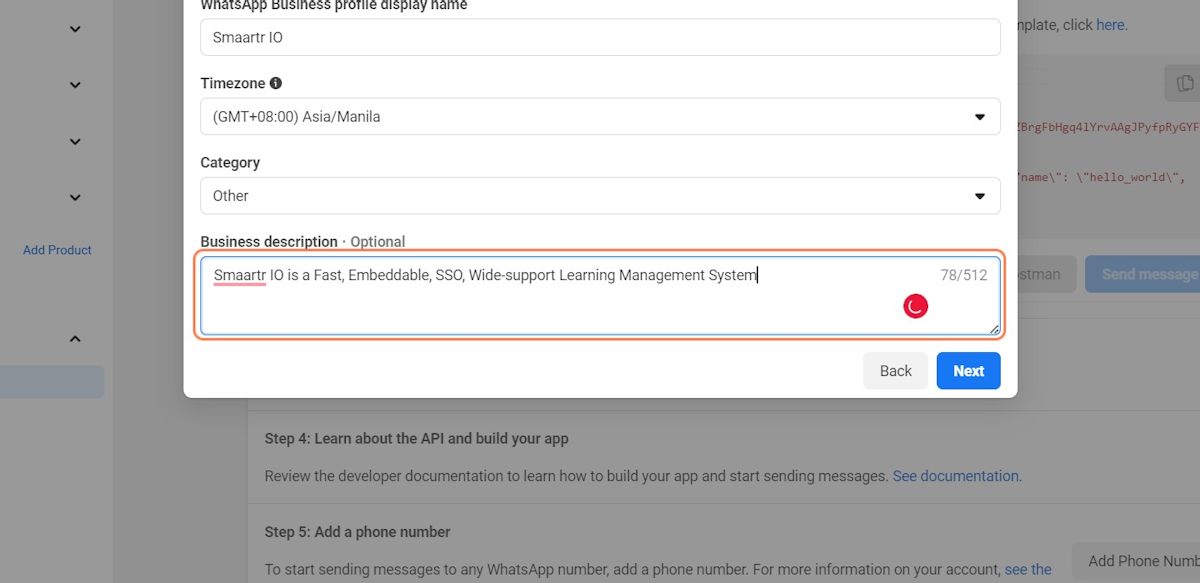
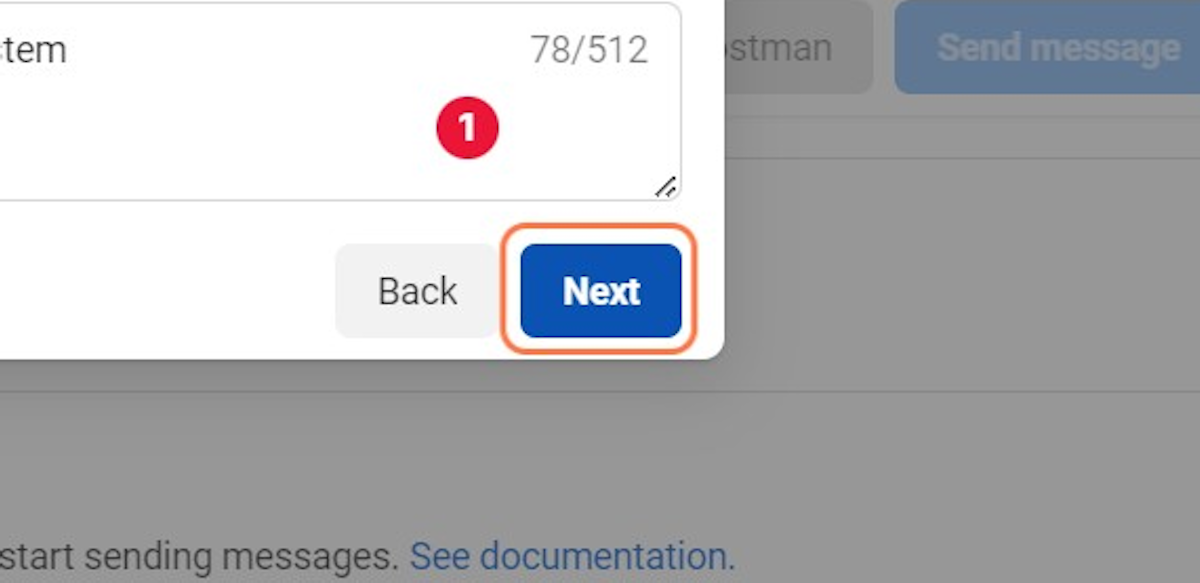
Click on Next
Add your phone number
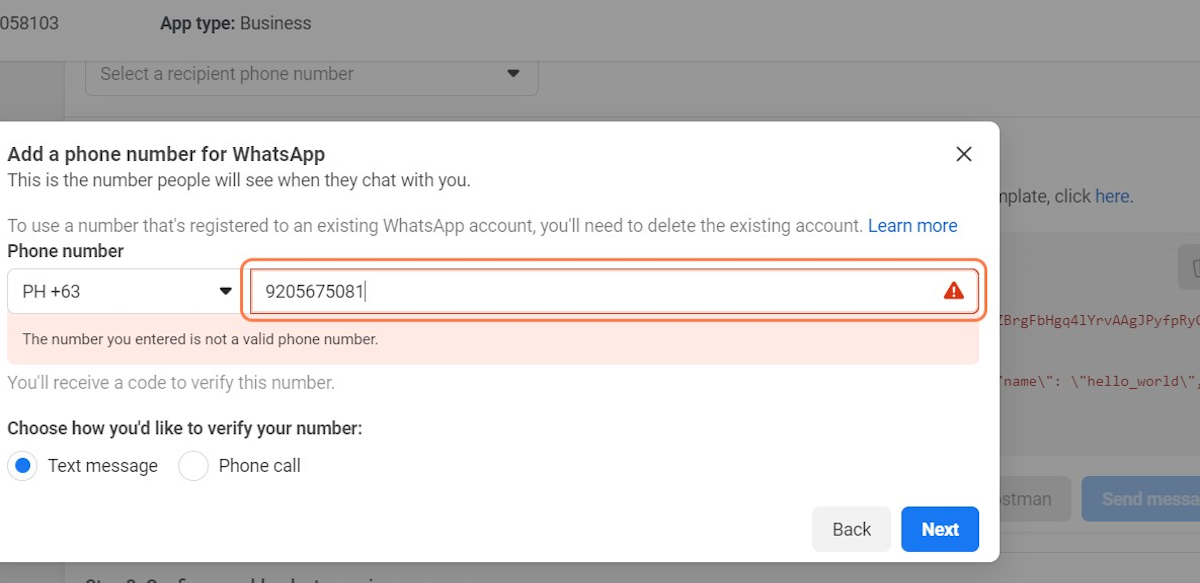
Click on Next
Verify your phone number

Click on Next
Copy your phone_number, phone_number_id and business_id from your App's WhatsApp set-up details. This will create a test account.
See below:
Add your System user Access token in the api_key field:
Click on VALIDATE AND SAVE
Click on OK
Done! Congrats!
You have created your WhatsApp Cloud API account. You can now create your own WhatsApp automations.