Using OpenAI Embedding Campaign in Auto-Comment Replies.
The process is a series of steps to create an automated comment reply campaign using OpenAI Embedding technology for Facebook and Instagram. The user must first navigate to dash.marketingmaster.io and select the Facebook & Instagram option. From there, they can choose to create a new comment auto-reply and select the post they wish to use for their campaign. They can then choose the AI Embedding Campaign they wish to use and configure additional settings such as Auto Like and Comment per User Configurations. Once they have renamed their Auto-Comment Campaign and confirmed their selections, they can click OK to finalize the process.
Use-case:
For this process is a social media manager who wants to improve their brand's engagement with customers on Facebook and Instagram. By using the OpenAI Embedding technology, they can create personalized and relevant responses to customer comments on their posts, increasing customer satisfaction and loyalty. Additionally, the ability to configure Auto Like and Comment per User Configurations allows for further customization and automation, freeing up time for the social media manager to focus on other tasks.
1. Go to dash.marketingmaster.io
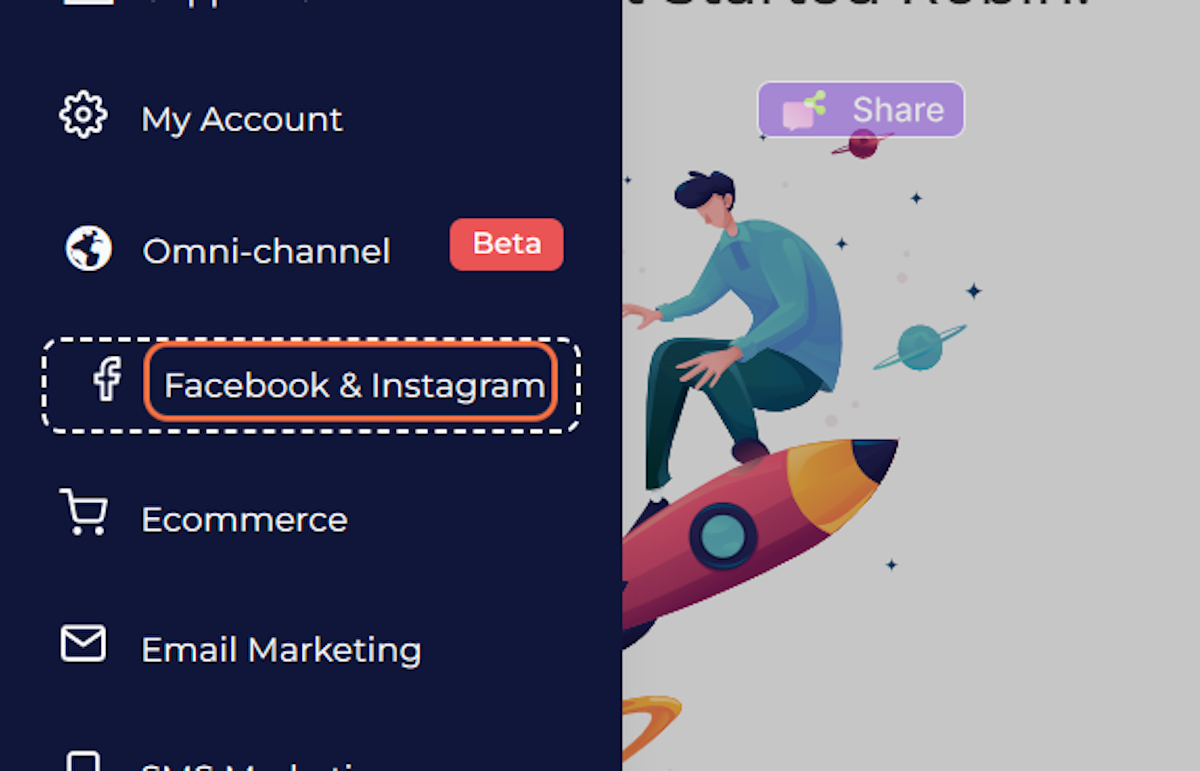
2. Click on Facebook & Instagram
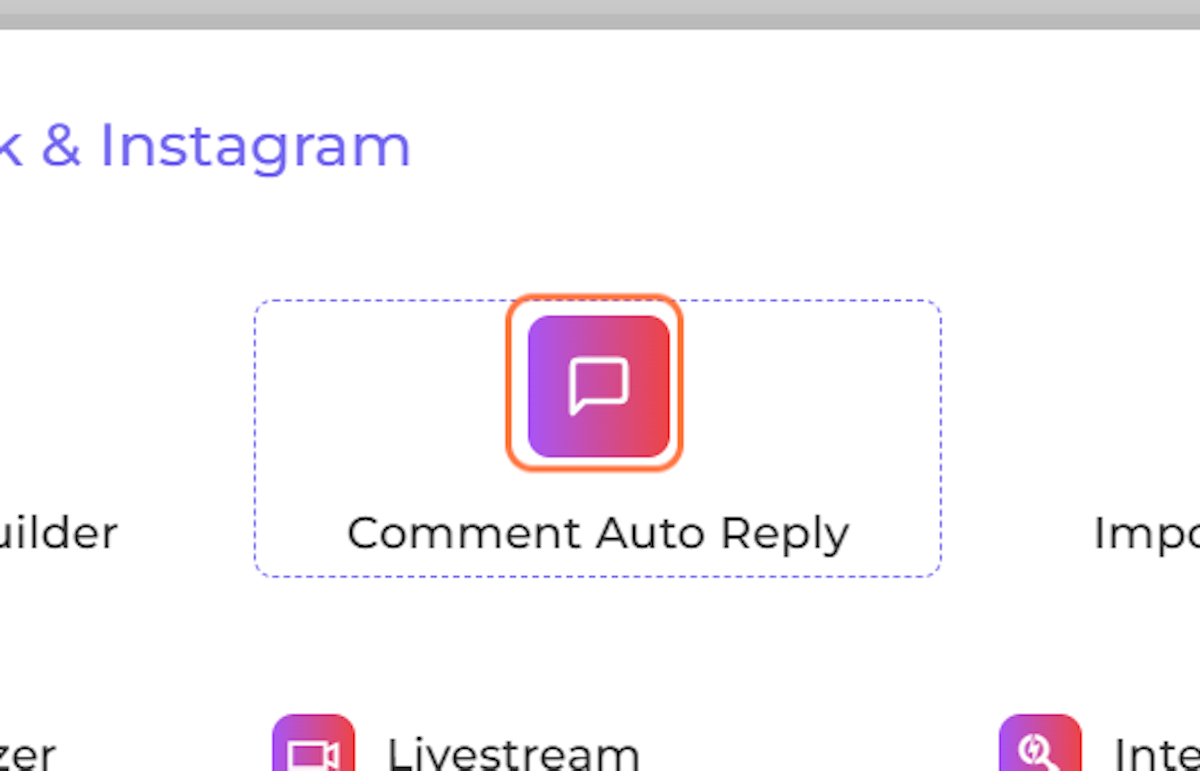
3. Select Comment Auto Reply
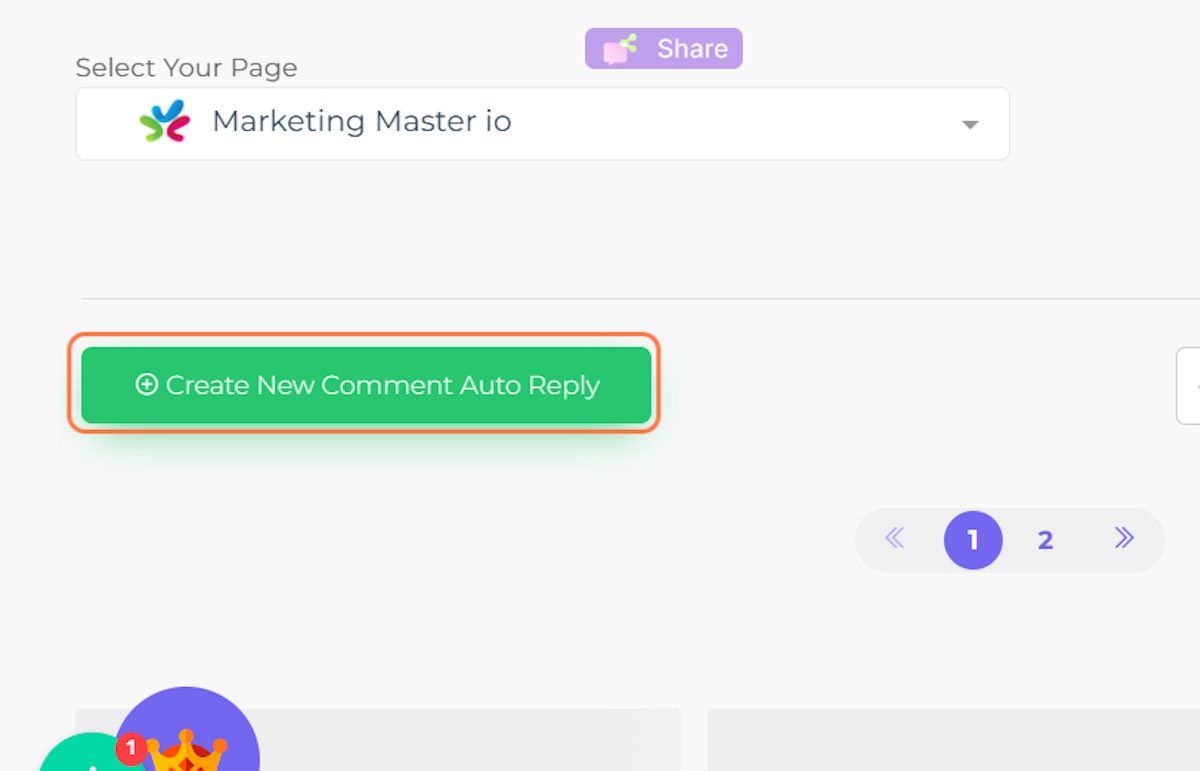
4. Click on Create New Comment Auto Reply
5. Choose a post you want to use the OpenAI Embedding Campaign. Then click "Use This Post".

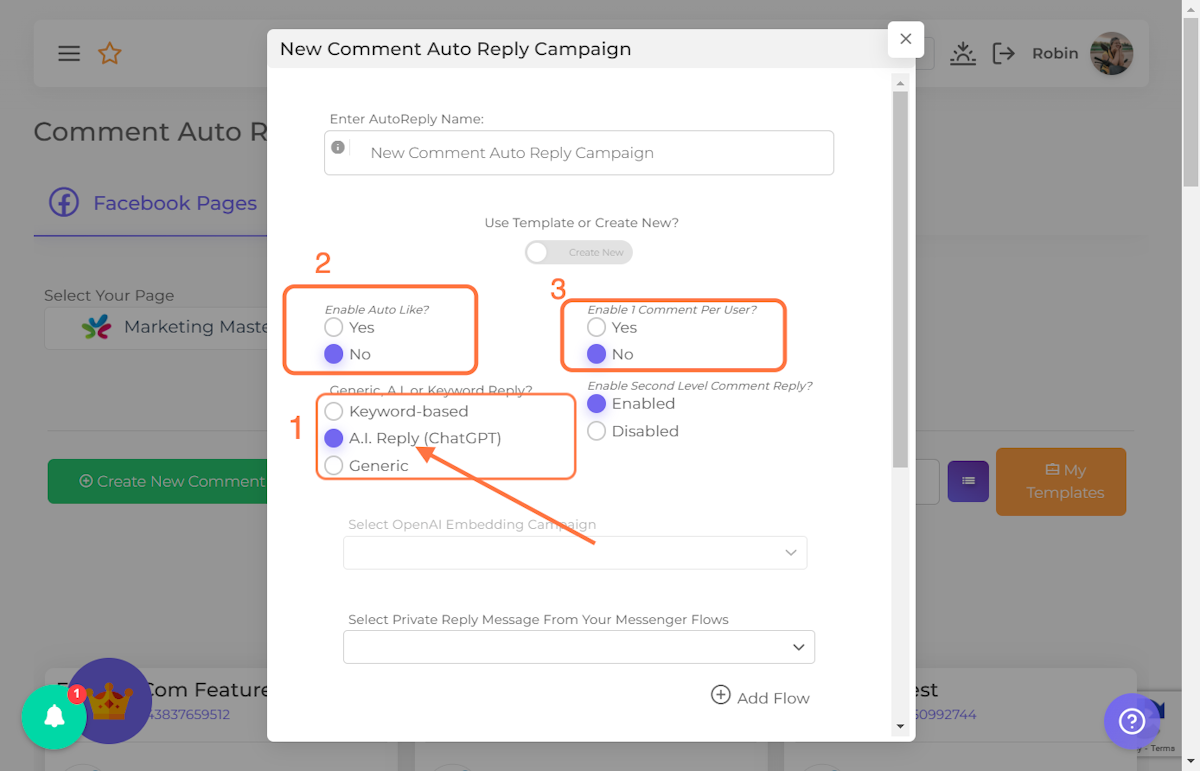
6. Select "A.I Reply (ChatGPT) as an option.
Don't forget to configure Auto Like and Comment per User Configurations as well.
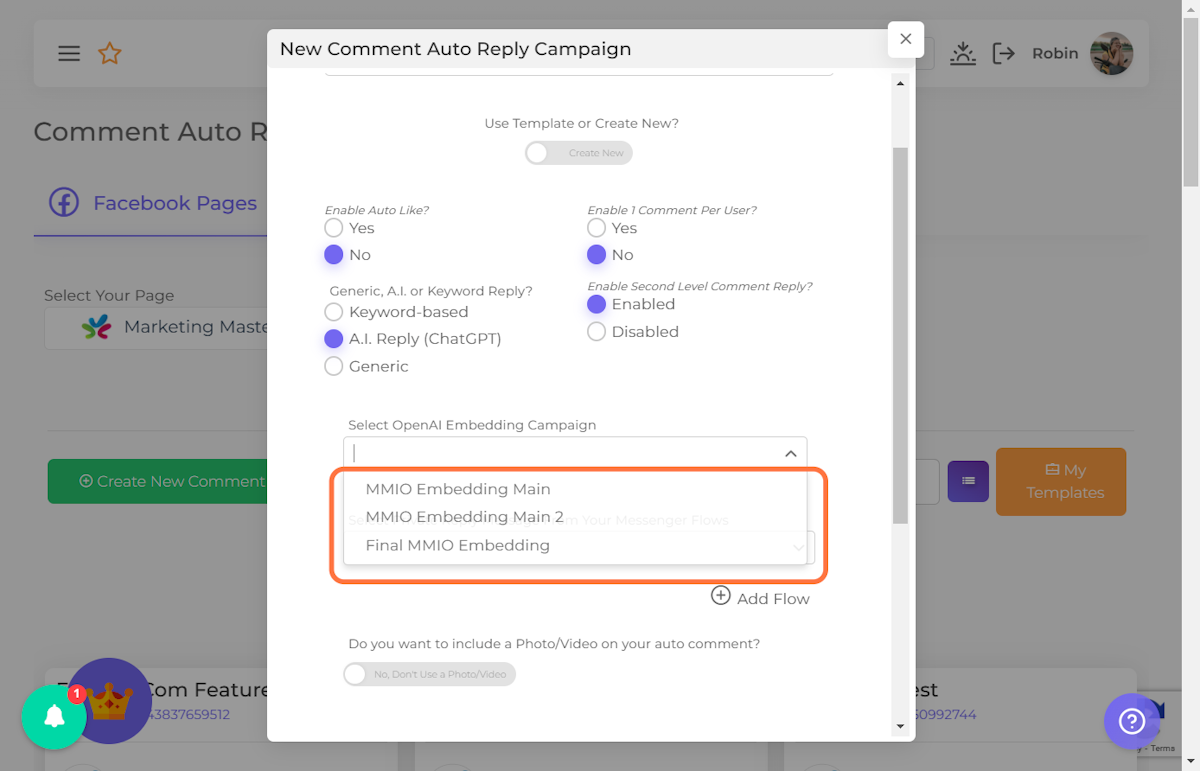
7. Select the AI Embedding Campaign you want to use.
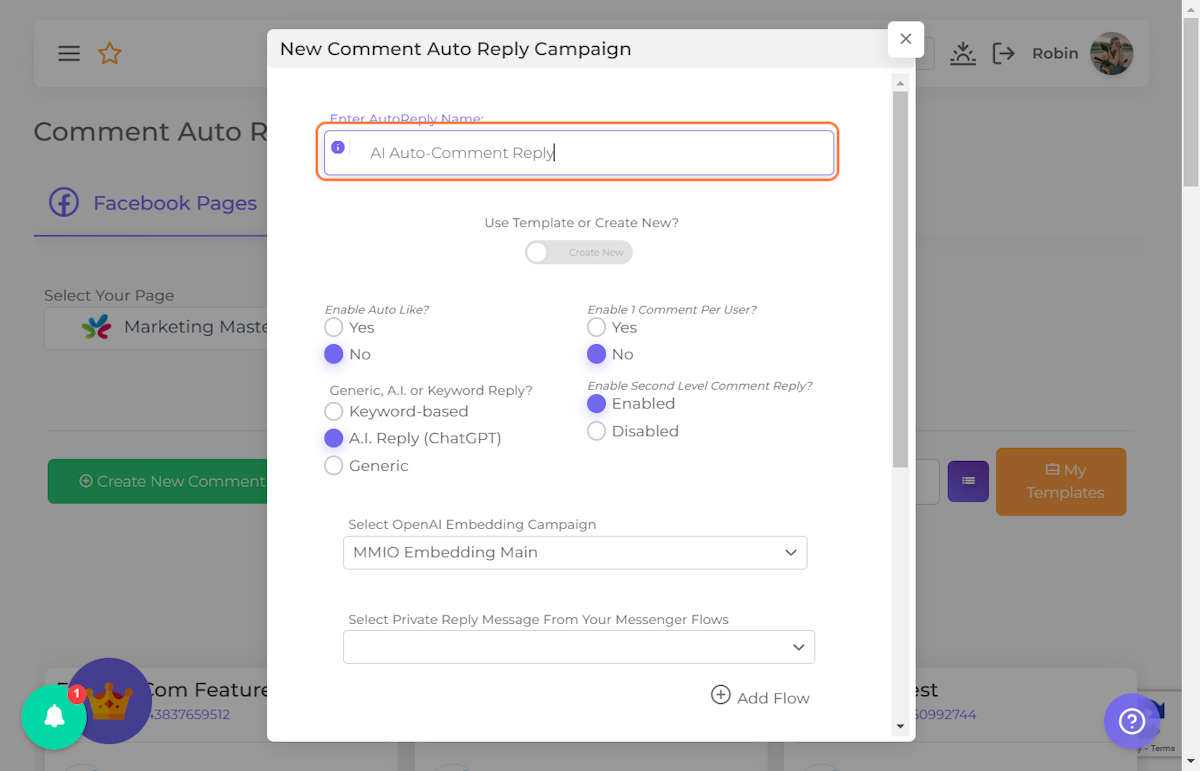
8. Rename your Auto-Comment Campaign
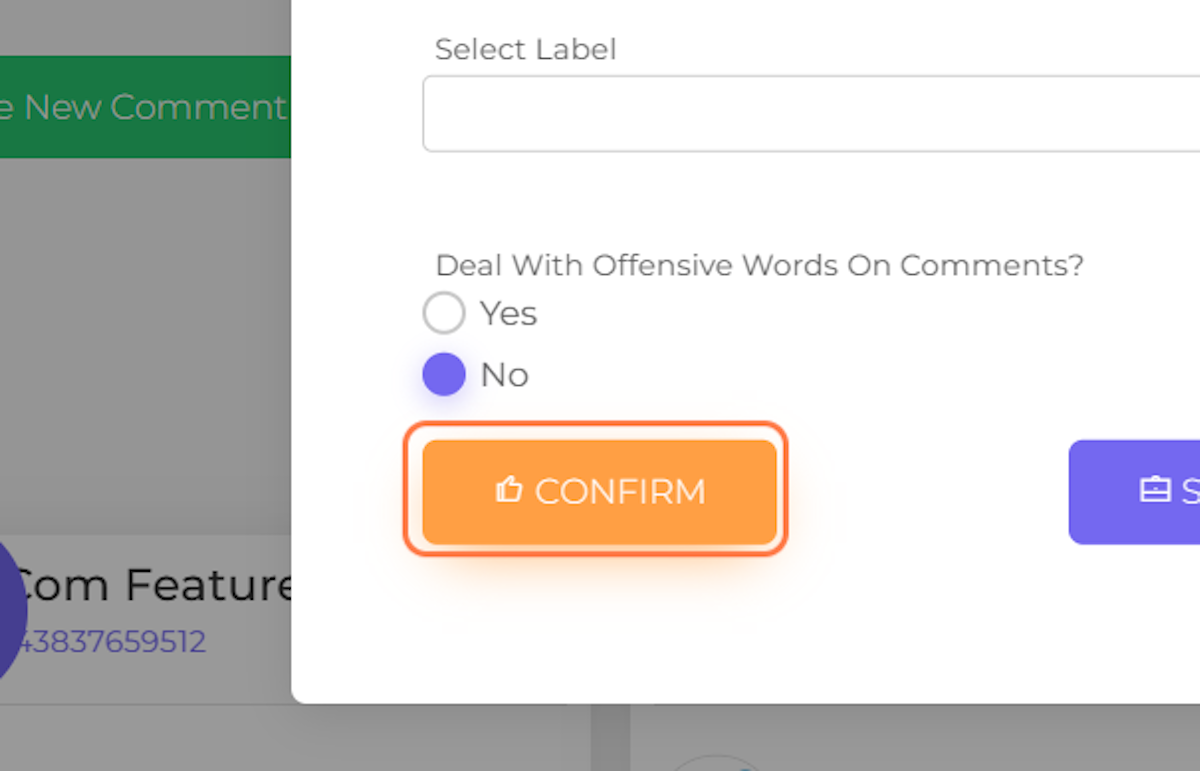
9. Click on CONFIRM
10. Click on OK