How To Create and Launch an OpenAI+ChatGPT Embedding Campaign In MMIO
Process Summary:
This process outlines the steps for creating and launching an OpenAI+ChatGPT embedding campaign in MMIO. It begins by going to MMIO and clicking on utilities, then OpenAI embedding. Users must then create an embedding project, upload training data, and start the training process. After verifying the completion of the training, users can launch their embedding campaign and test its quality. If needed, they can manually add data and begin the training process again. Finally, they can test their AI with a quiz question to verify its accuracy.
Benefits: The benefits of this process include the ability to create and launch an OpenAI+ChatGPT embedding campaign quickly and easily, as well as the ability to test the AI's accuracy and make adjustments as needed. Additionally, users can manually add data and retrain their AI in order to improve its accuracy.
1. Go to MMIO - Get The Best Online Marketing Tools For Less`
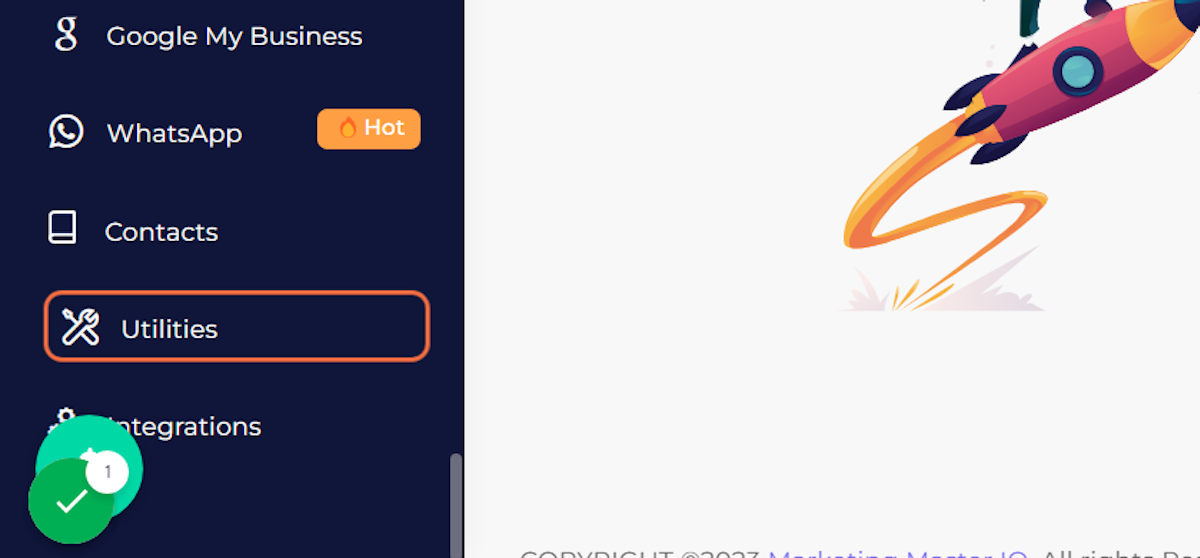
2. Click on Utilities
3. Click on OpenAI Embedding

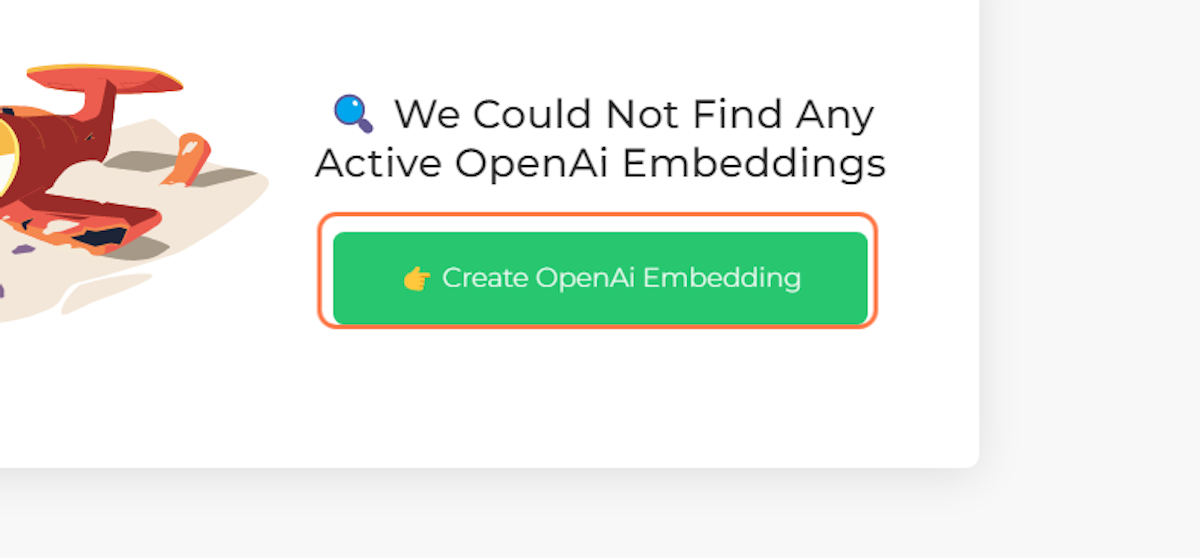
4. Click on "Create OpenAI Embedding" button
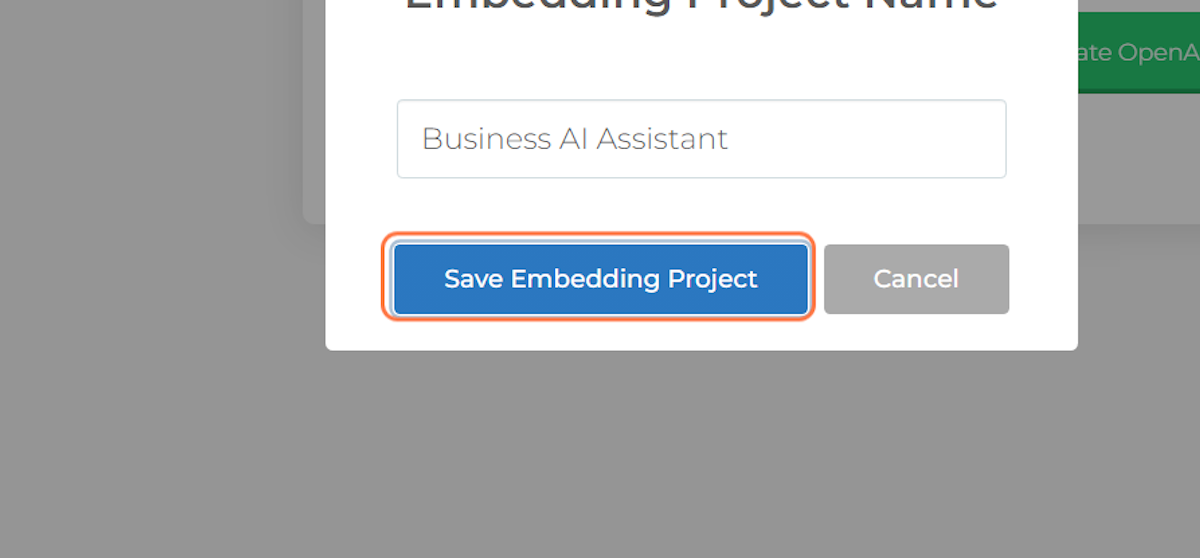
5. Type your OpenAI Embedding Campaign name, example: "Business AI Assistant"
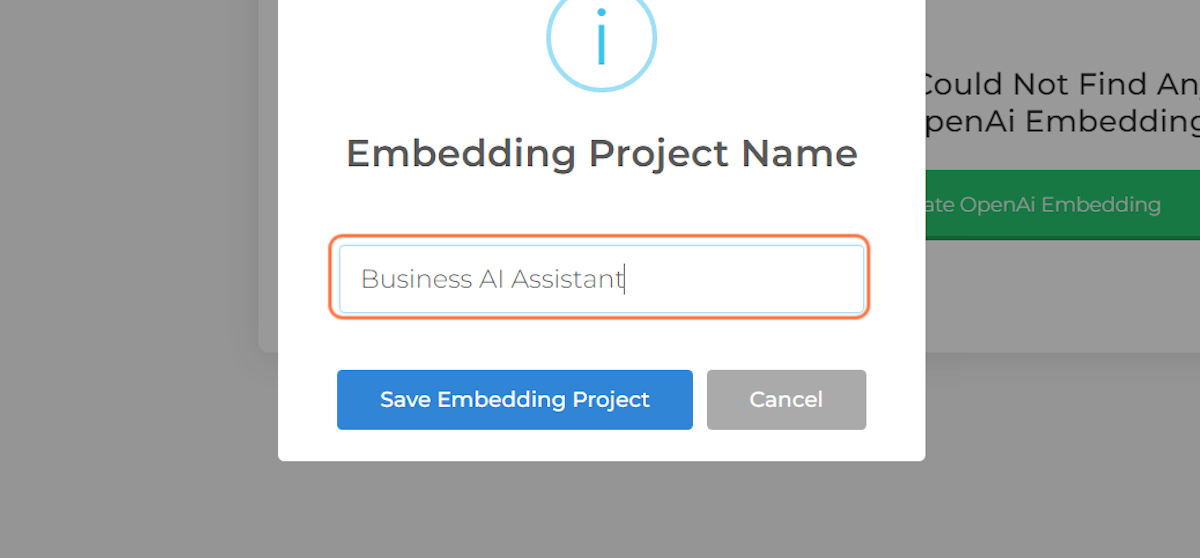
6. Click on Save Embedding Project
7. Click on OK
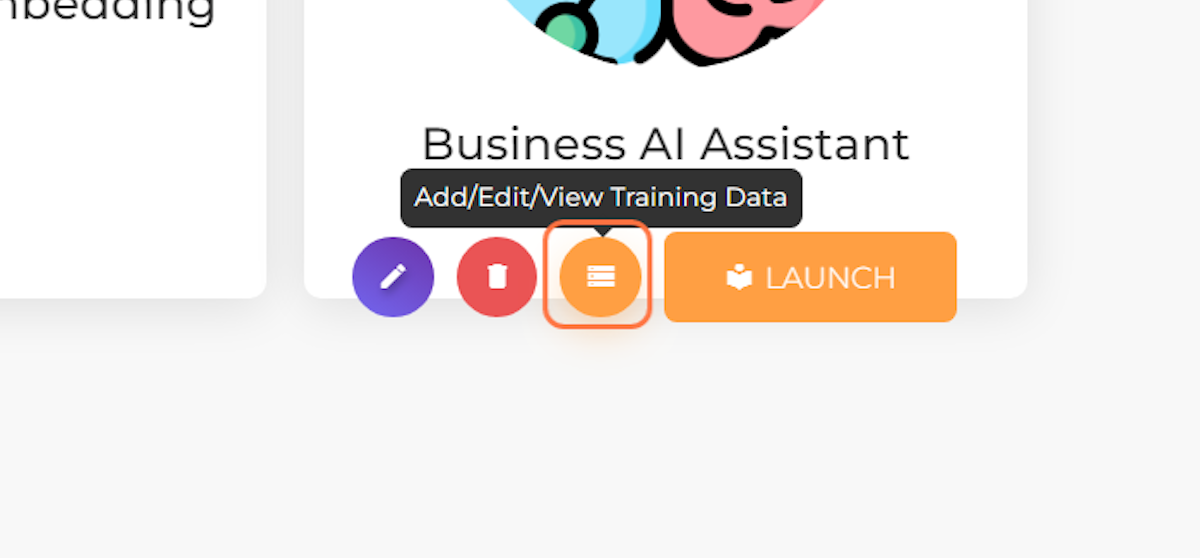
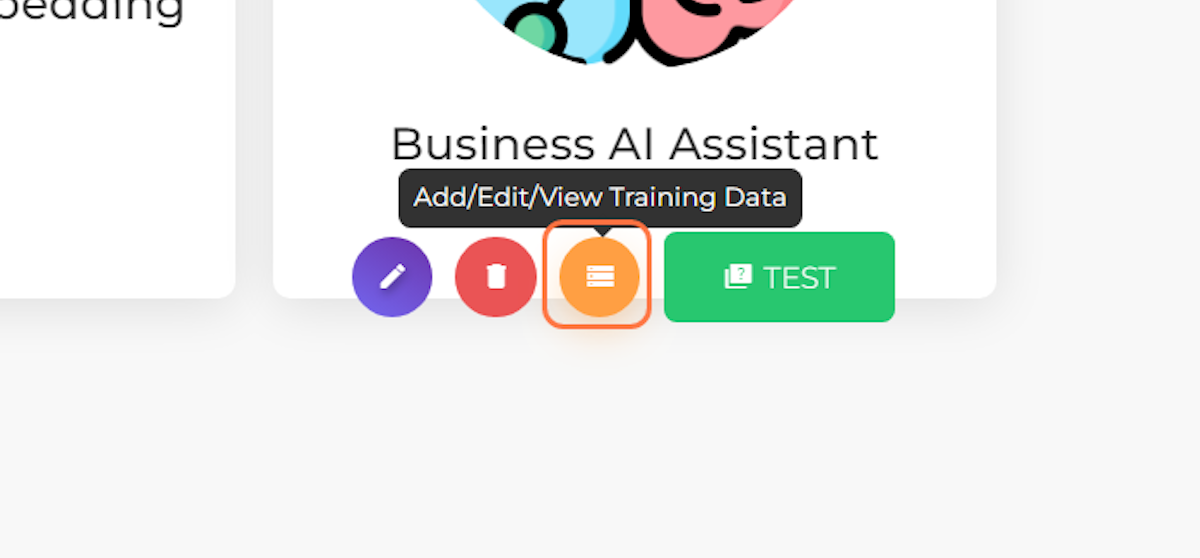
8. Click on "Add/Edit/View Training Data" button
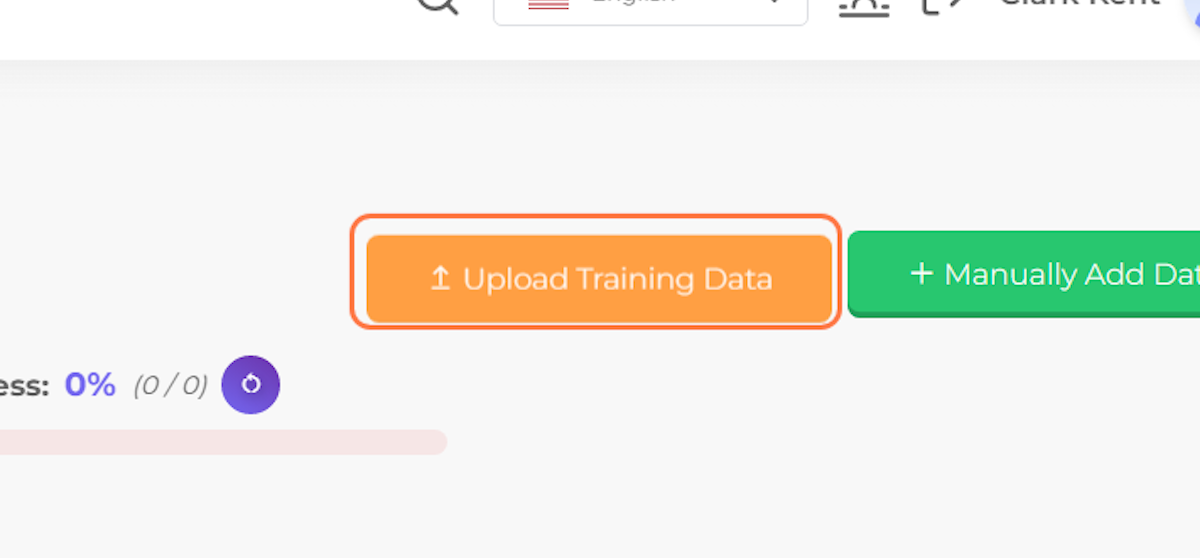
9. Click on Upload Training Data
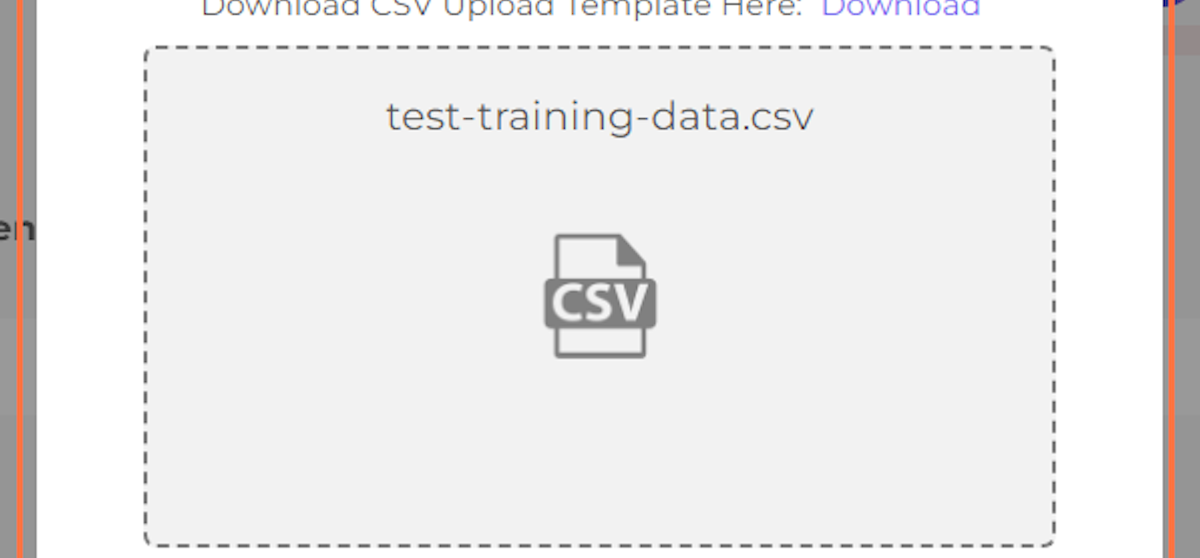
10. Select your CSV training data file from file upload menu
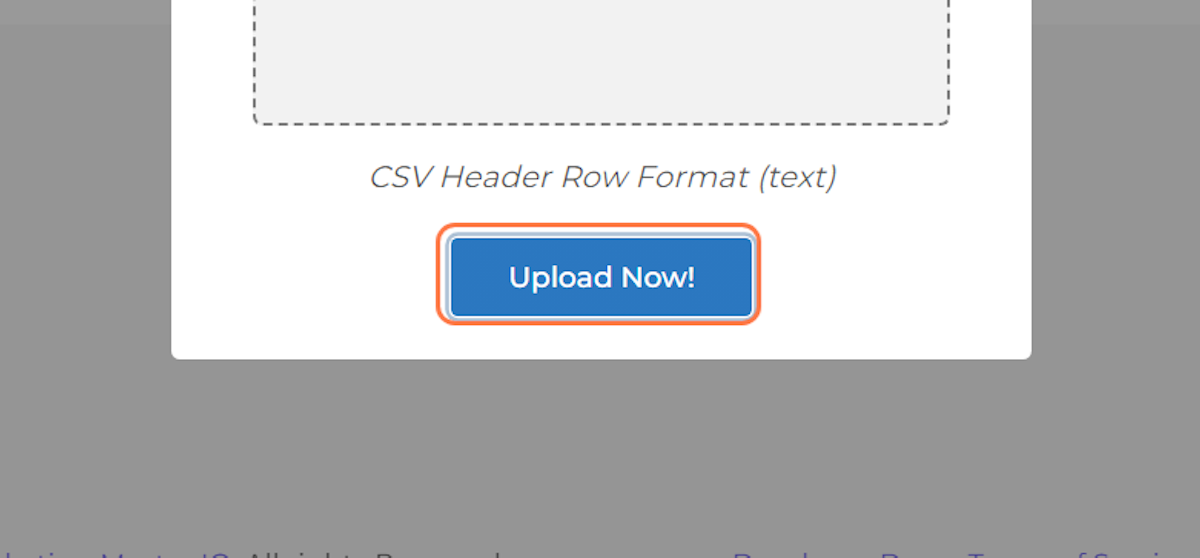
11. Click on Upload Now!
12. Wait for the upload process to finish and Click on OK
13. You can refresh your Training item stats count by clicking the "Refresh" button

14. Check the Stats to confirm if the Upload entry process is completed.
After the completion of the upload process, the "Upload Training Data" button will cease loading and can accept new uploads. It is important to note that the statistics count on training entries may be higher than the total number of lines from your CSV data due to the system's limit of 500 tokens per training entry. For instance, if a row in your CSV data contains text with 1500 tokens, the system will split it into three entries instead of one. In the event of an aborted or stopped training, you can resume it by clicking the "Resume" button.
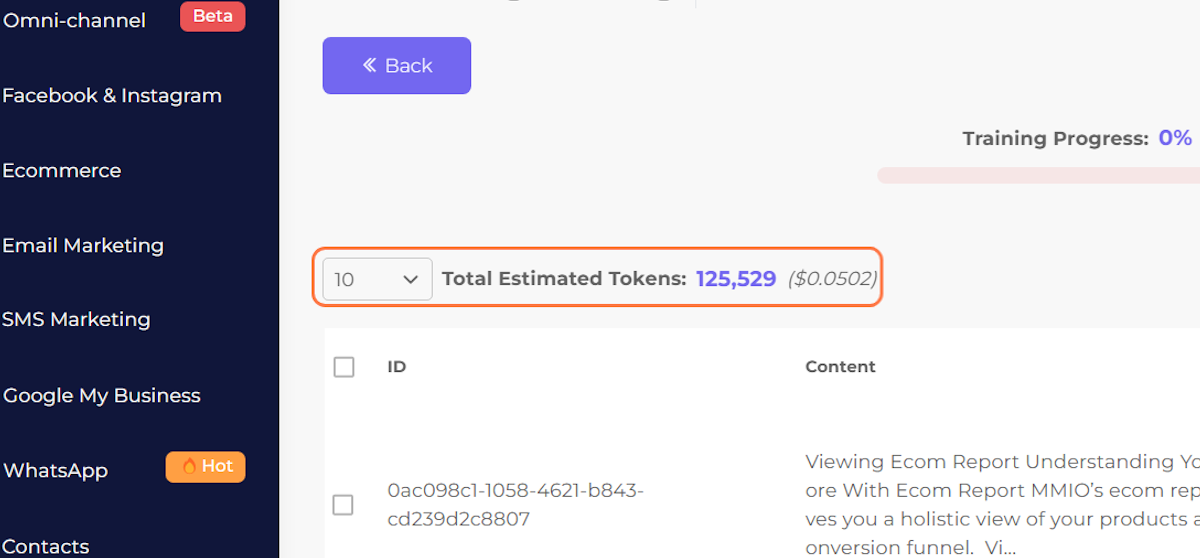
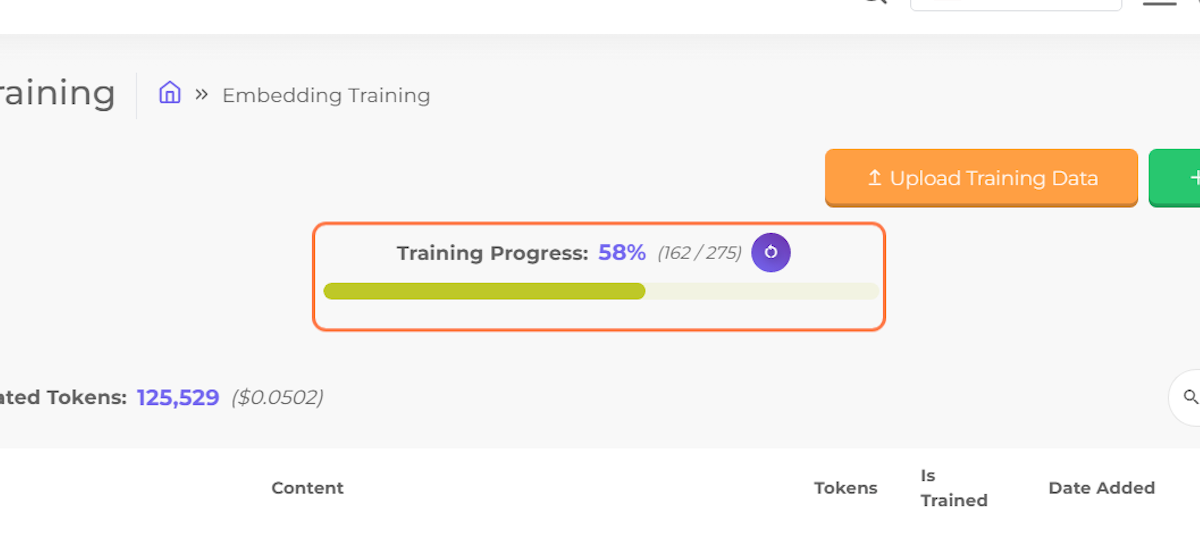
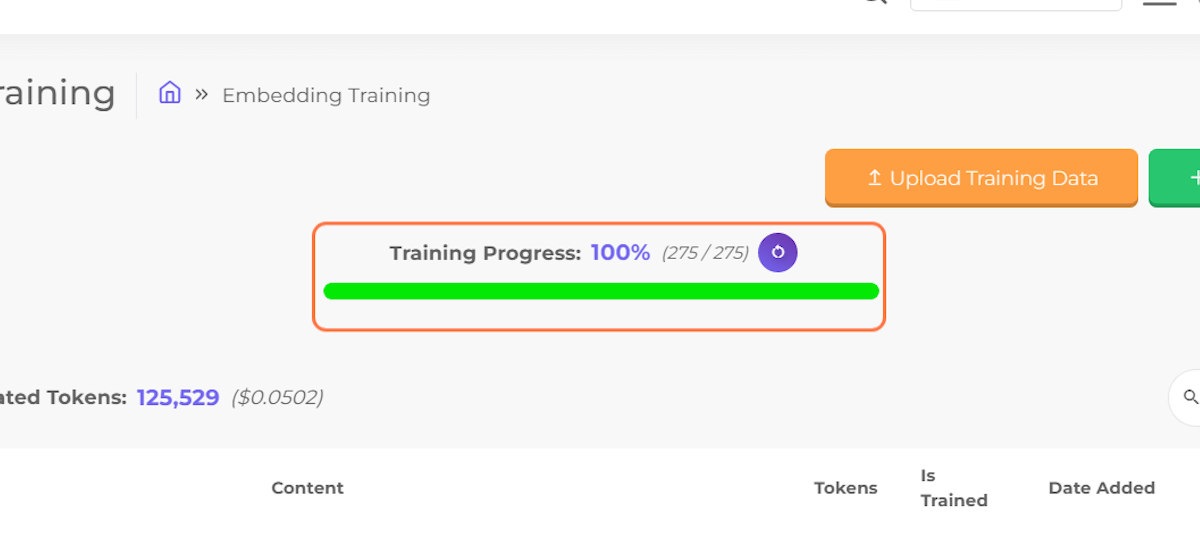
15. You can view the total estimated tokens here
You can easily access the total Token count for all your training entries and get an estimate of the cost to train them using OpenAI Embedding.
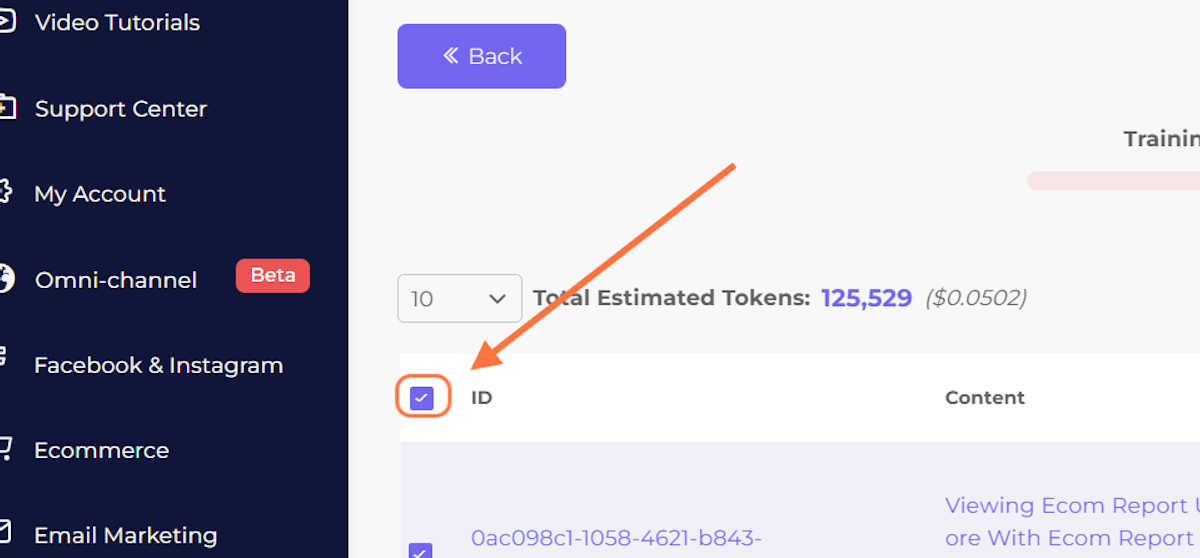
16. To train all your data entries, start by selecting all entries on the table.
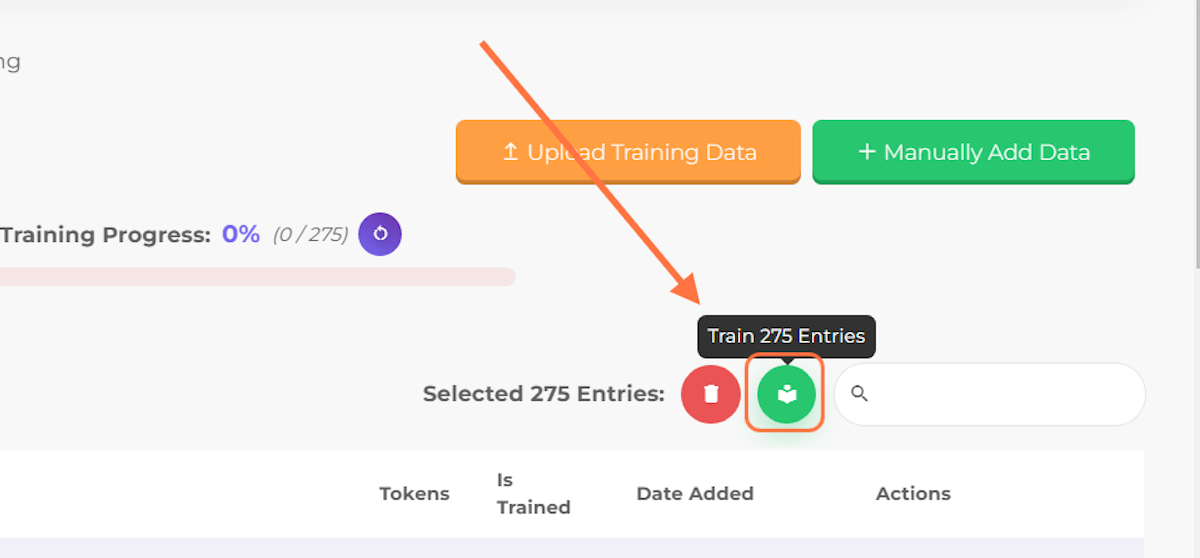
17. Then click on the "Train All Selected" button
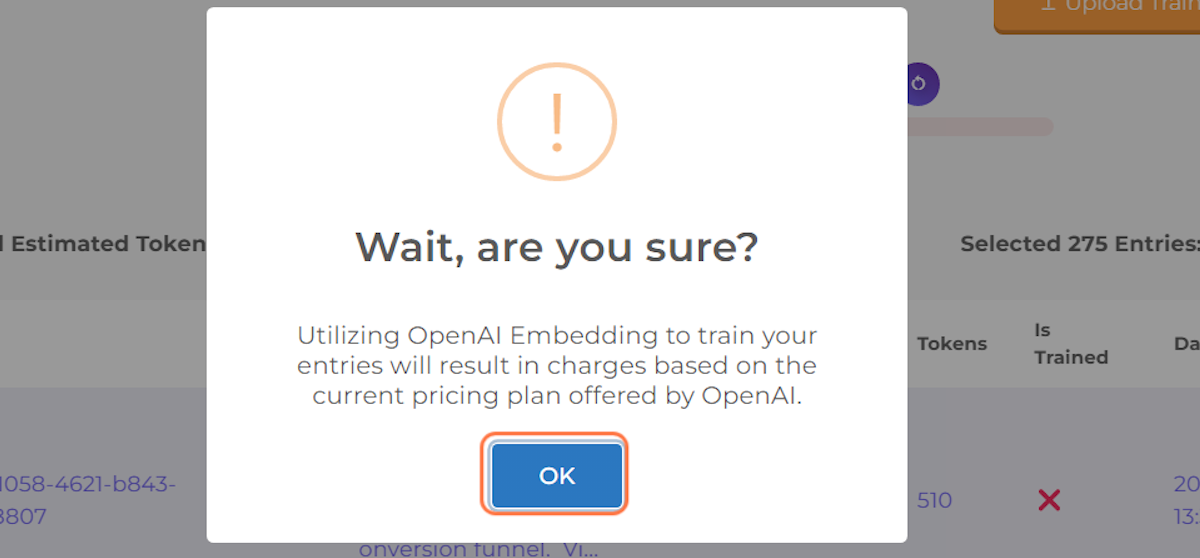
18. Then confirm the Training action by clicking "OK"
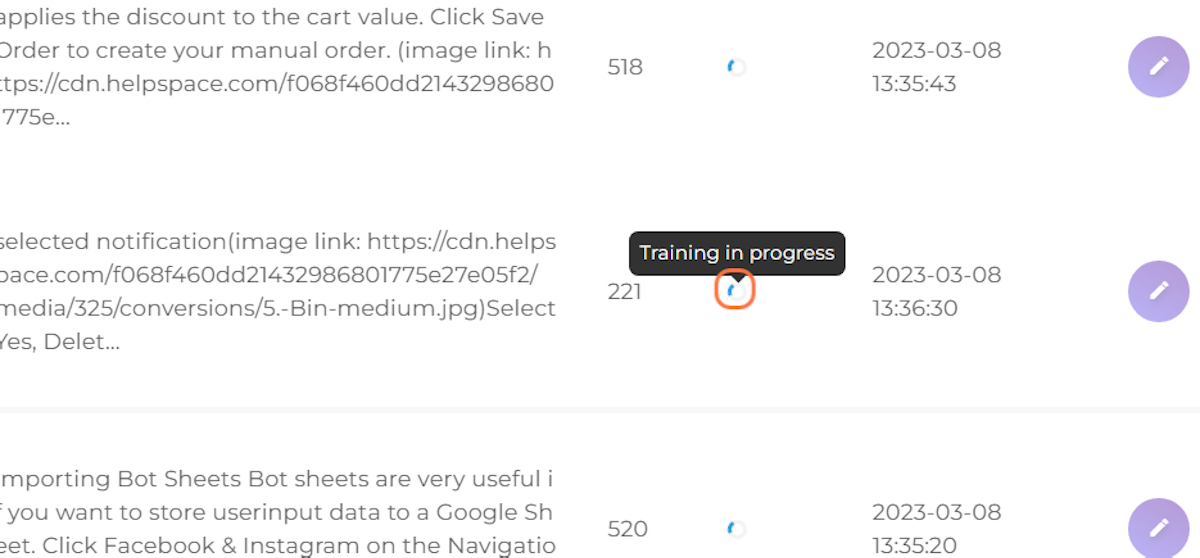
19. Verify if training has started
You can verify that the training has for all your data entries if it shows a loading icon on its "status" column
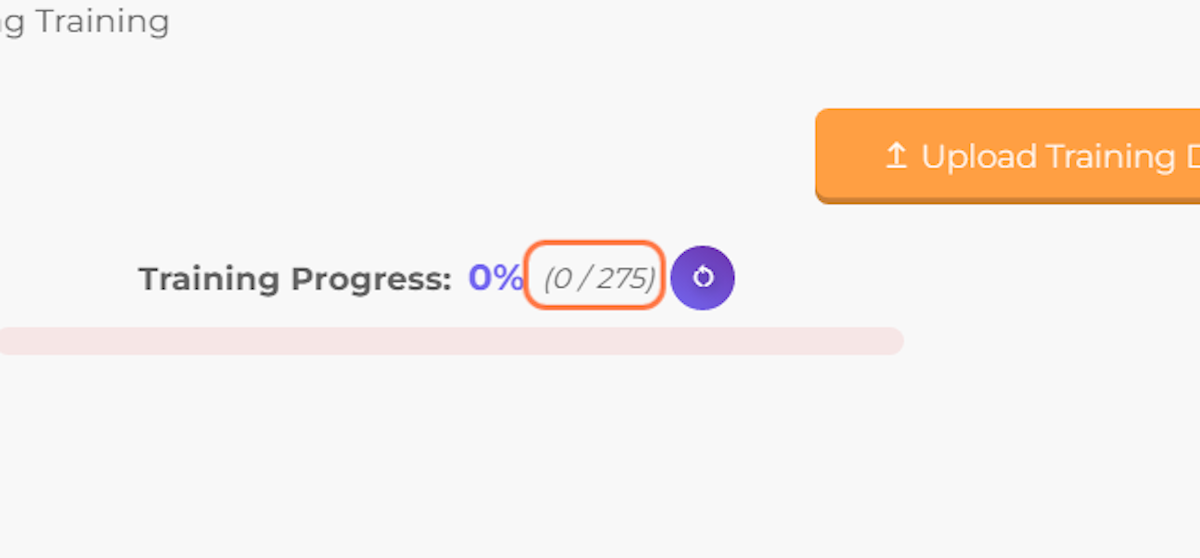
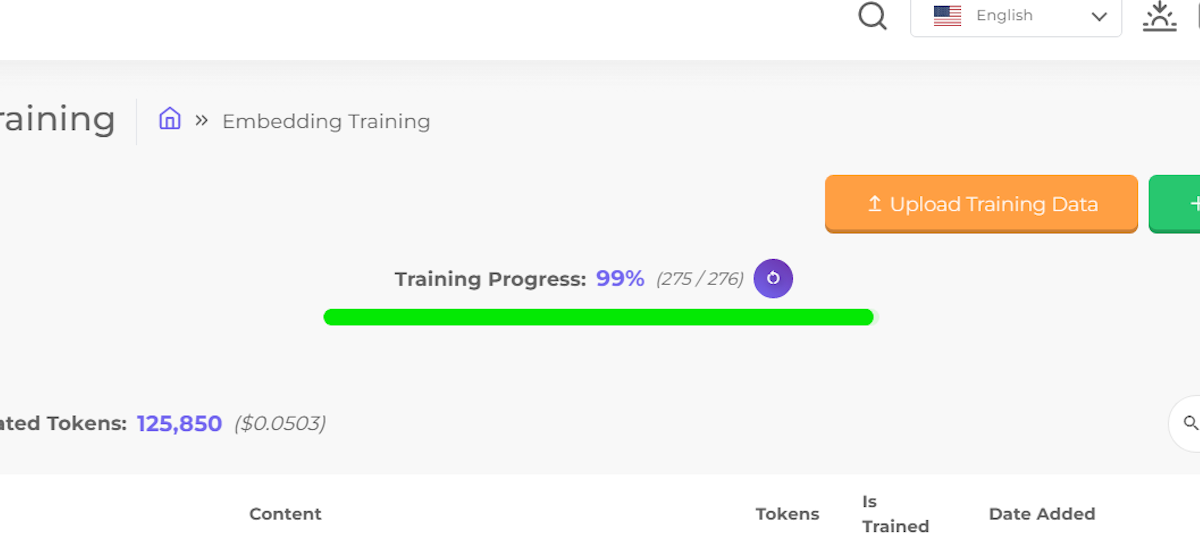
20. Click on Training Progress:…
You can update the training progress here by viewing the progress bar
21. Refresh training stats
You can also refresh the training progress stats by clicking "Refresh" button
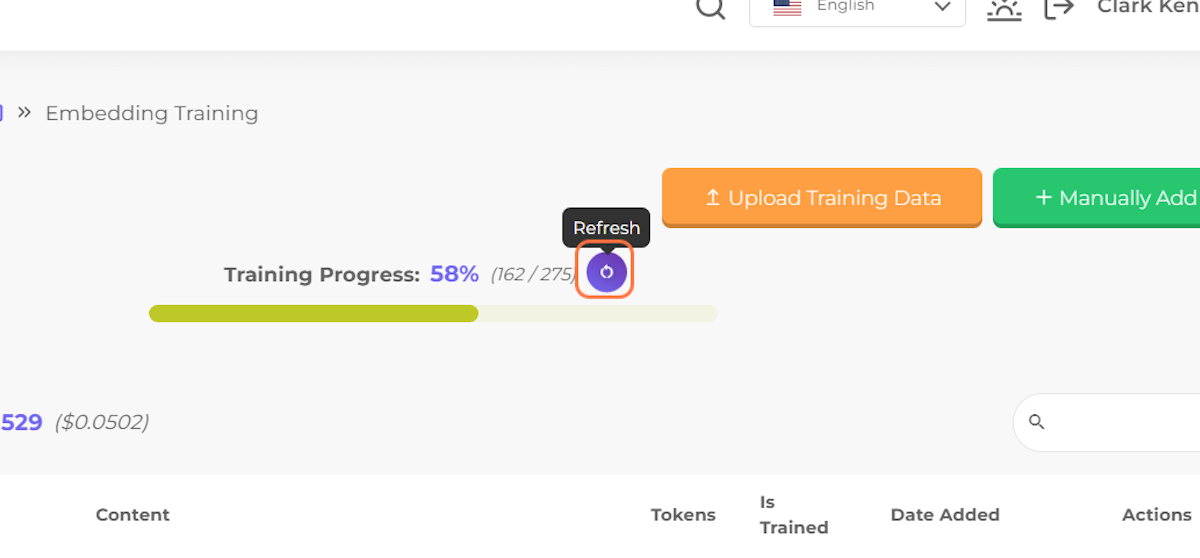
22. You can see the update after you refresh the "Refresh" button
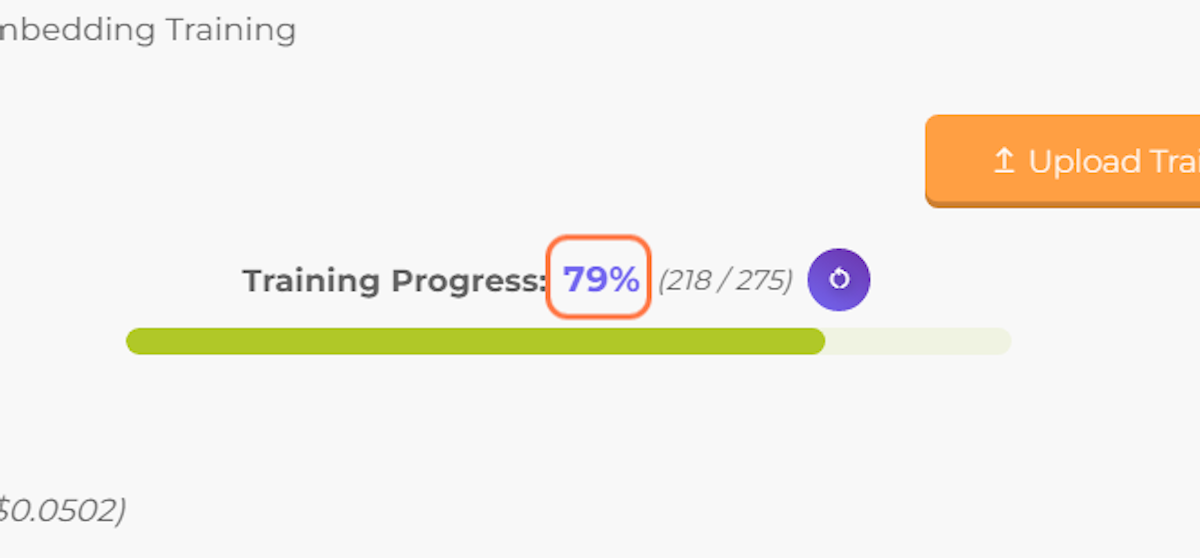
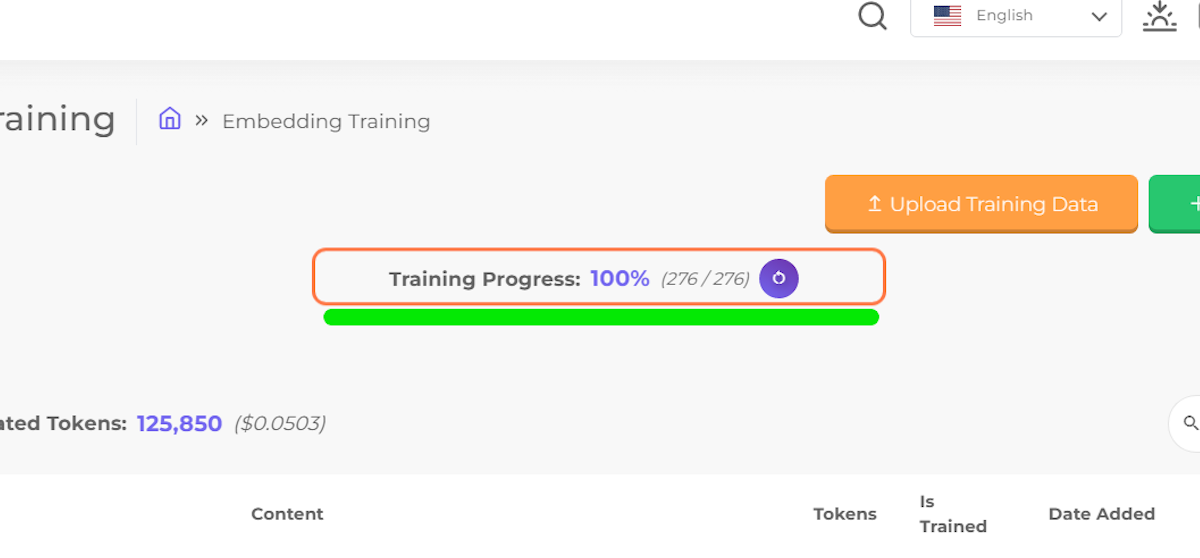
23. Verify if the training process is complete.
To verify the completion of the training process, simply refer to the progress bar. Once the bar displays 100%, the training process is considered complete.
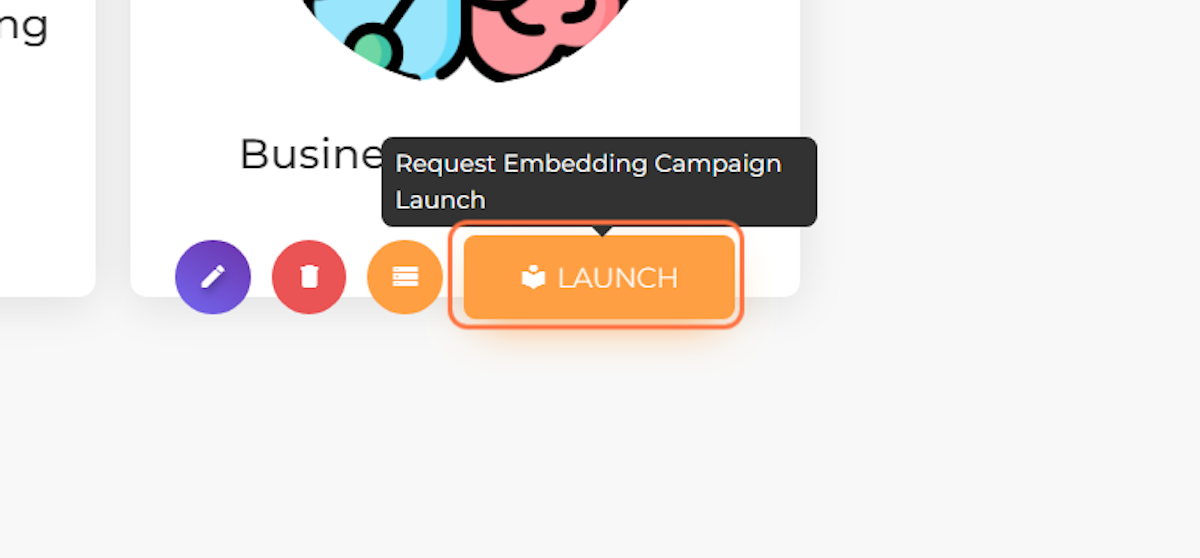
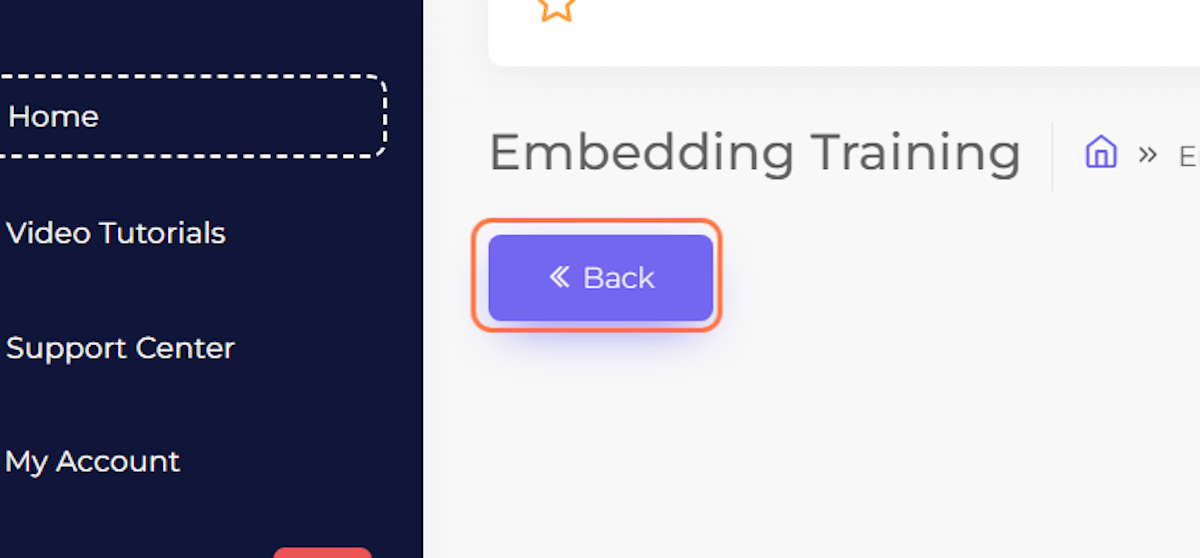
24. Next step is to "Launch" your Embedding
Once all the data sets have been successfully trained, the next step is to "Launch" your Embedding. Click on the "Back" button to access your OpenAI Embedding dashboard.

25. Click on the "Launch" button
By launching your OpenAI Embedding campaign, you can make it available for various automations such as Chatbots, Comment auto-replies, and more.
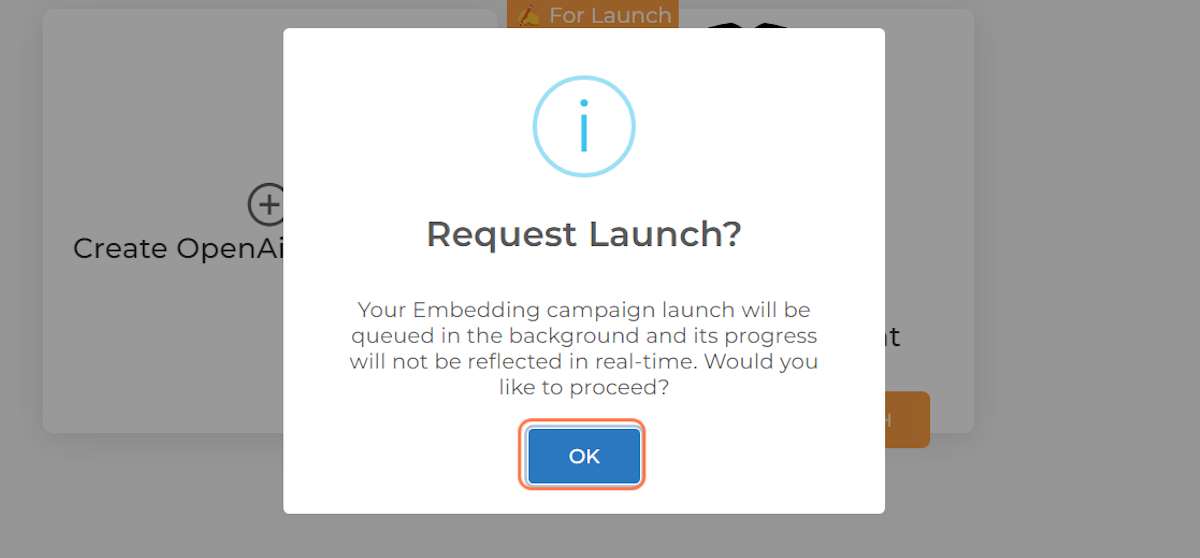
26. Confirm the Launch by clicking "OK"
27. Check if your campaign is Launched
To verify whether your OpenAI Embedding campaign has been launched or not, you can check its status tag. If the tag displays "Launched", it means that your campaign is successfully launched.
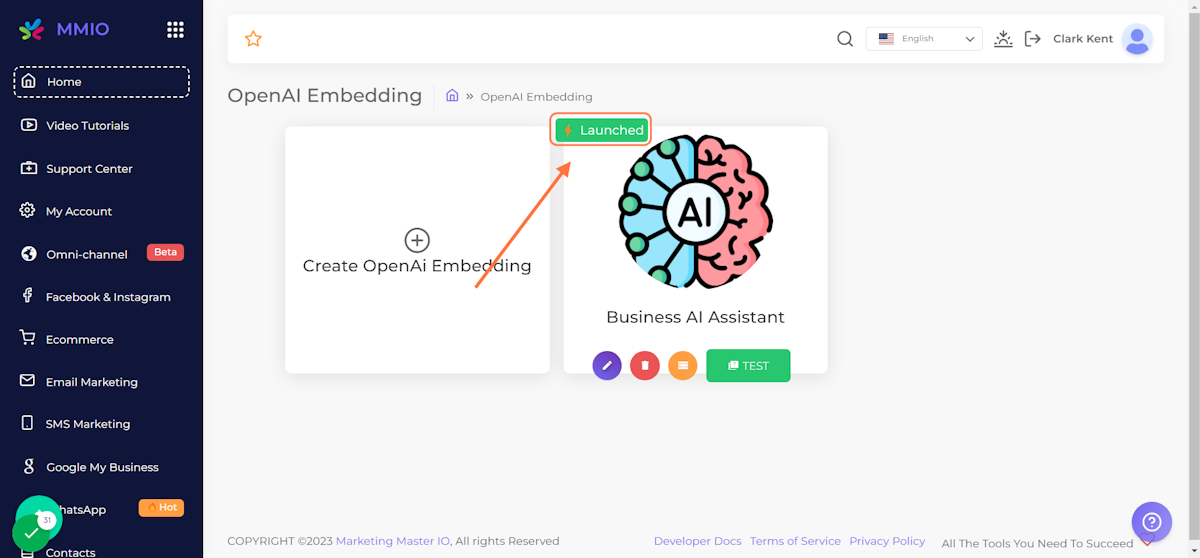
28. Check Response AI Quality
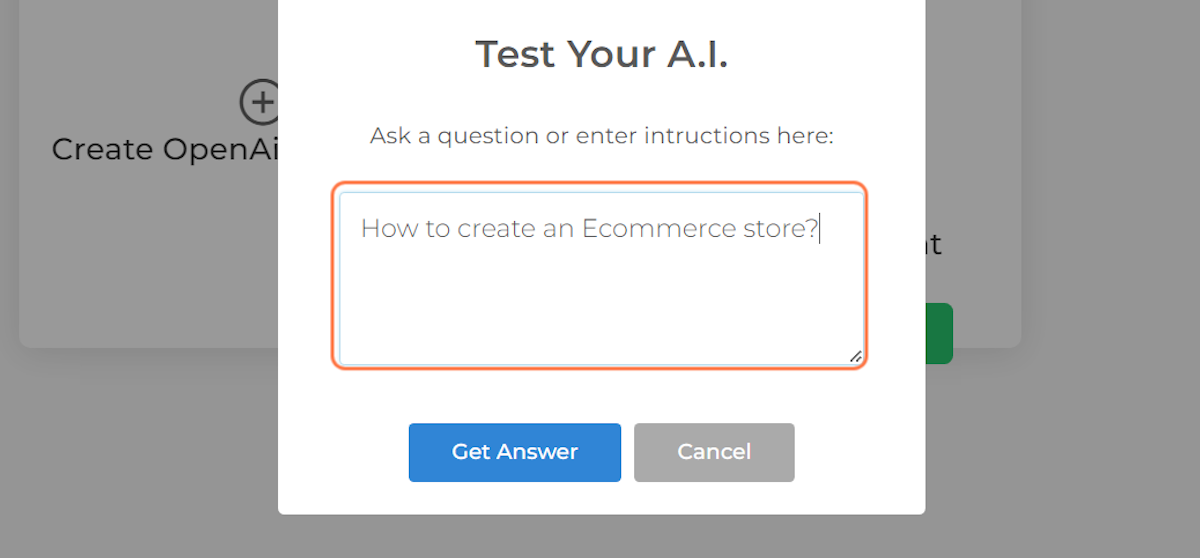
To check the quality and correctness of your AI, you can begin by clicking on the "TEST" button and asking a test question.

29. Type your test question, example: "How to create an Ecommerce store?"
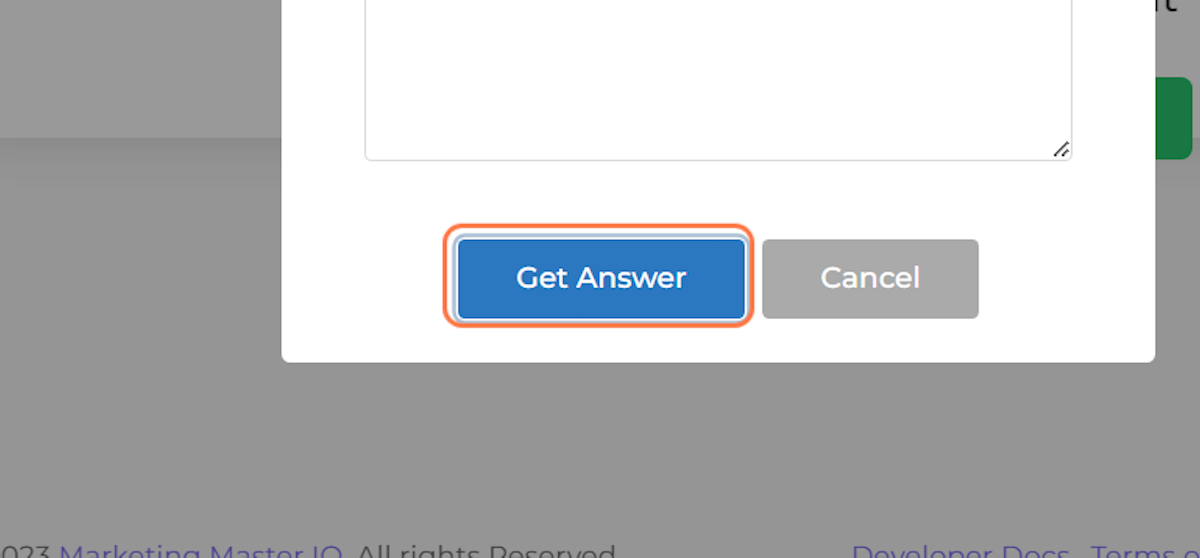
30. Click on Get Answer
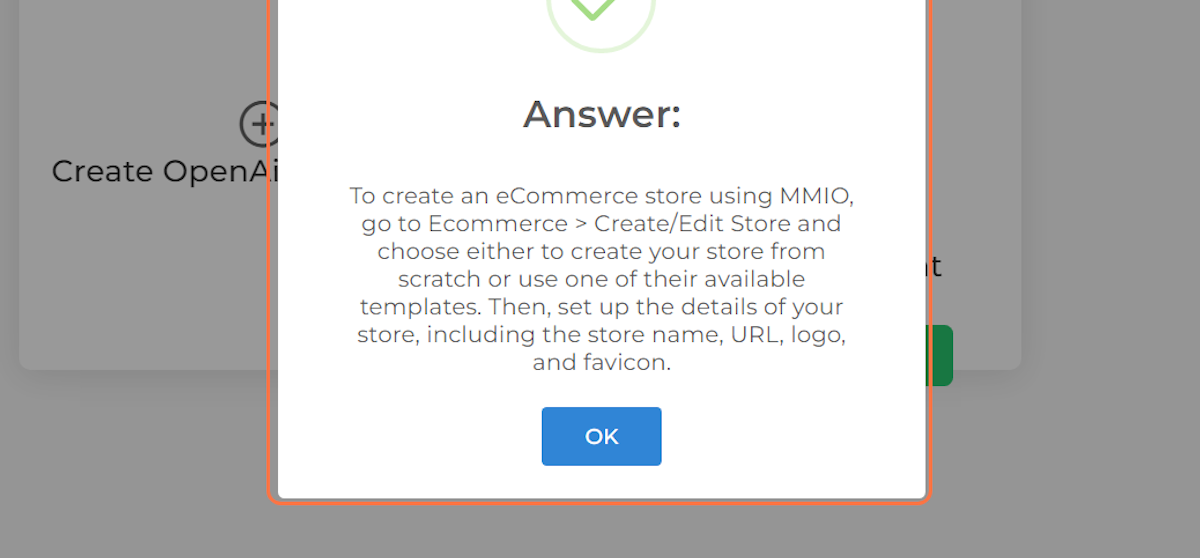
31. Then check if the answer meets your standards
The quality of the answers provided by your AI solely depends on the quality of the training data used. In case the AI fails to answer your test question, you may need to consider adding more training data or correcting the previously trained data for better results.
32. Click on storage
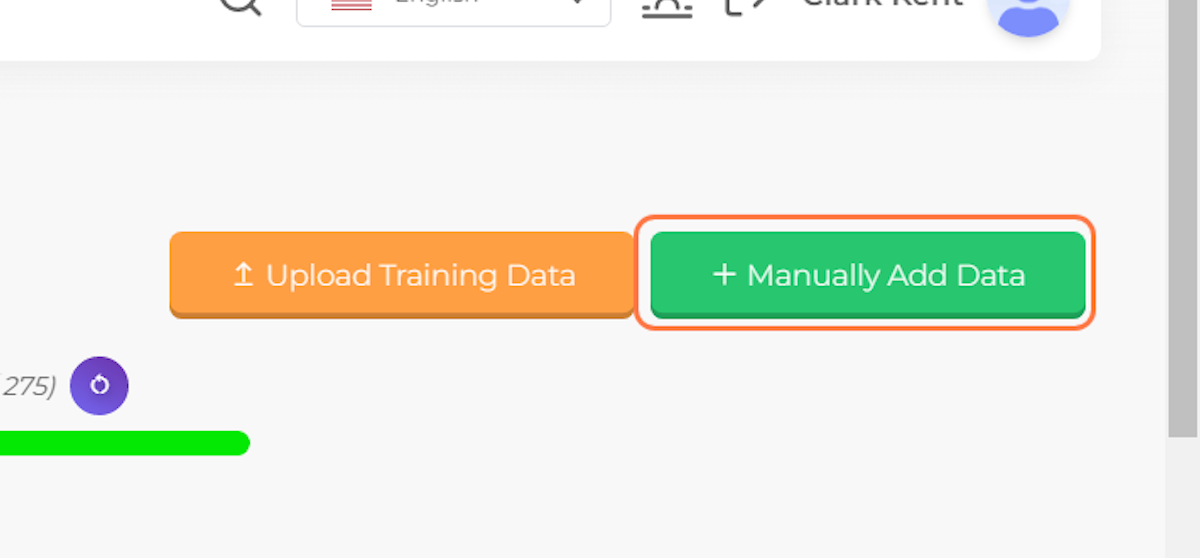
33. Click on Manually Add Data
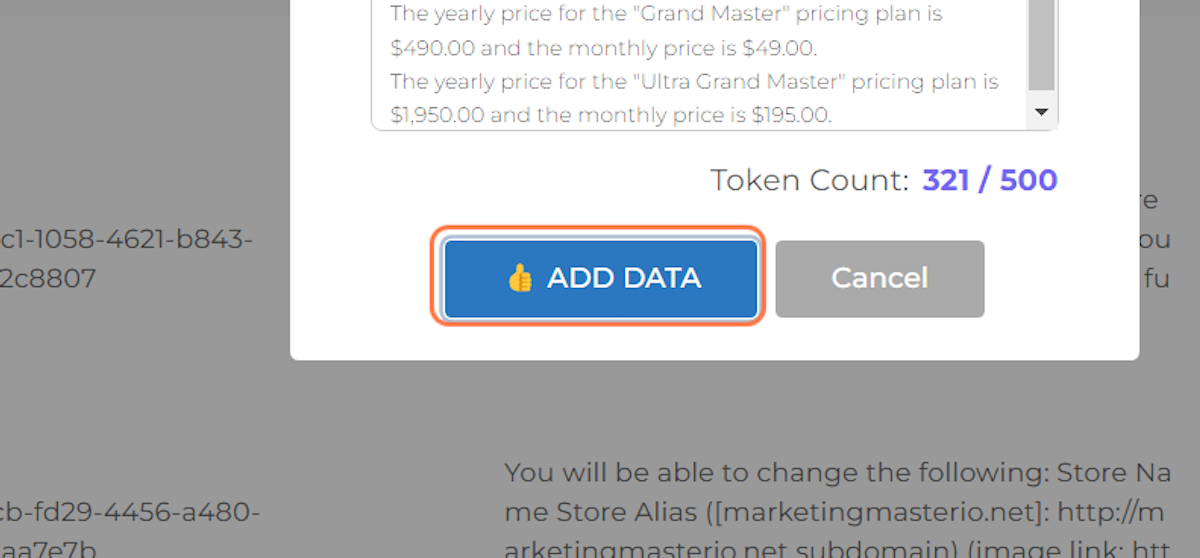
34. Paste text area
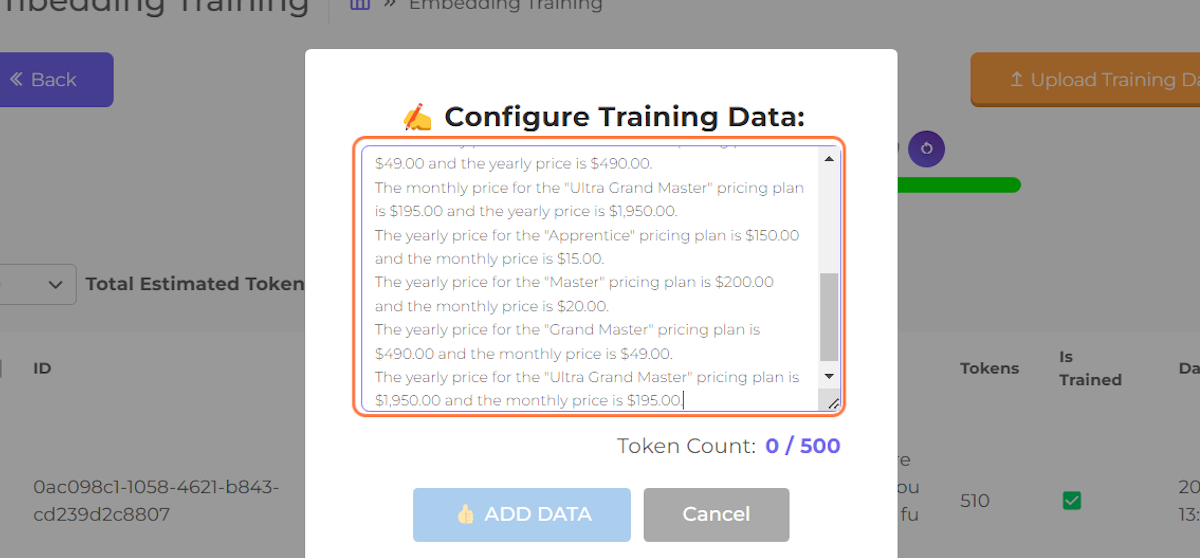
35. Click on dialog
36. Click on OK
37. Click on Training Progress:…
38. Click on Training Progress:…
39. Click on Back
40. Click on quiz…

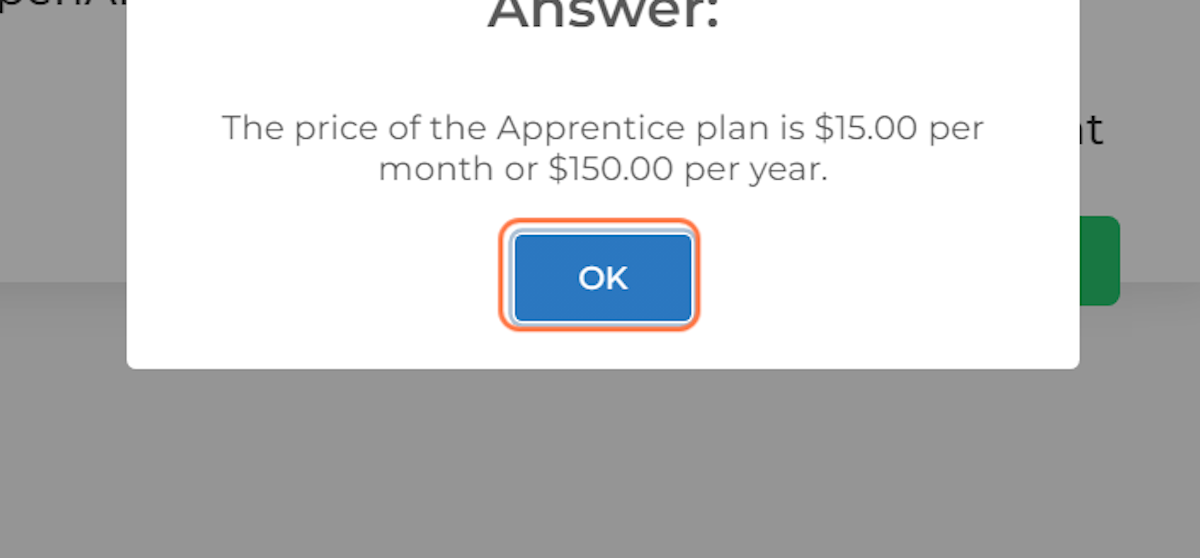
41. Type "What's the price of the Apprentice plan?"
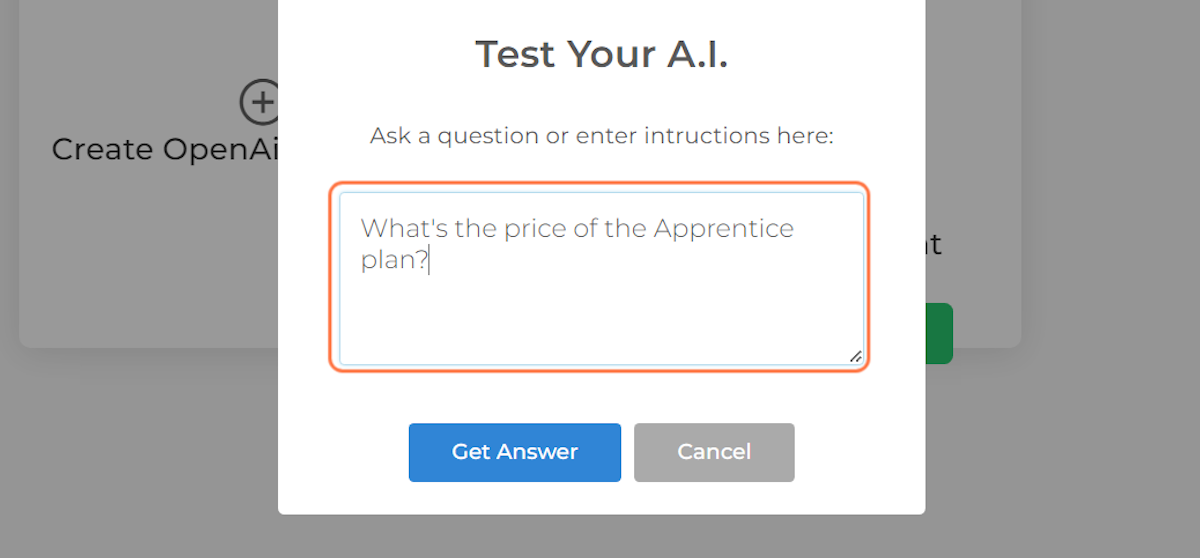
42. Click on Get Answer

43. Click on OK