Creating a Web Chat Widget on Marketing Master IO (MMIO)
Follow the steps below to create your own Web Chat Widget using the MMIO platform.
Step 1: Navigate to MMIO Dashboard
Access the MMIO dashboard by visiting https://dash.marketingmaster.io/.
Step 2: Select Web Chat Widget
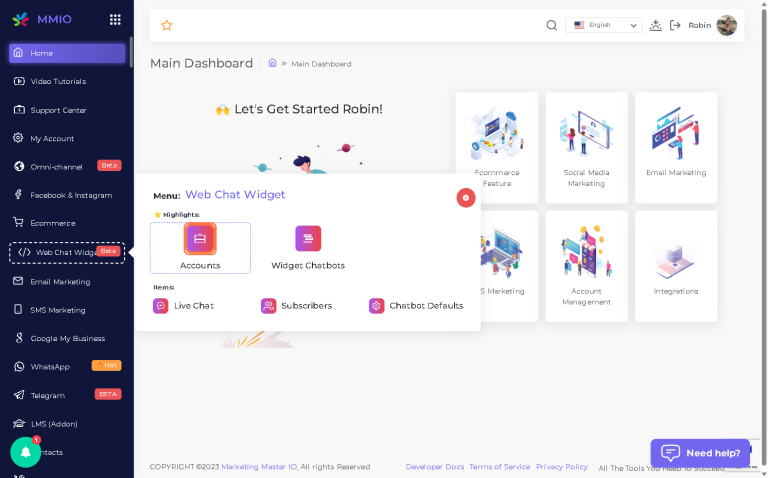
On the dashboard, find and click on the 'Web Chat Widget' option. This section houses all the settings and configurations related to chat widgets.

Step 3: Enter the Accounts Section
Click on the 'Accounts' section. This page will show you all the existing widgets, and allow you to create a new one.
Step 4: Create a New Widget
Click on the 'Create Webchat Widget' button to start creating your new widget.

Step 5: Set Widget Name
Assign a distinctive name to your new widget. This name will help you to identify it among other widgets in your account.

Step 6: Set Allowed Domain
Click on the 'allowed domain' section and type your preferred domain (starting with 'https://'). This is the domain where your chat widget will be displayed and active.
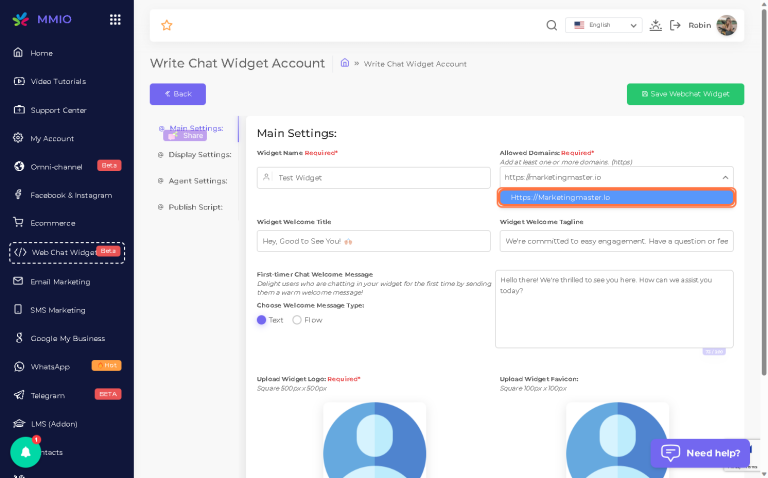
Step 7: Customize Your Widget
You now need to customize your widget to align with your branding and communication style.
Edit your 'Widget Welcome Title': This is the title that users will see when the chat widget opens.

Edit the 'Widget Welcome Tagline': This is the introductory line beneath the title, further describing the chat's purpose.

Choose 'Welcome Message Type': Select the type of welcome message your users will receive when they open the chat.

Upload a Logo: Click on 'Upload Logo' to add your company's logo to the chat widget for increased brand visibility.

Upload a Favicon: A favicon is a small icon that appears in the tab of the browser when your site is open. Click 'Upload Favicon' to choose an image for this.

Step 8: Set Display Settings
The 'Display Settings' will determine how your chat widget appears on your website.

Edit 'Chat Bubble Call To Action': This is the message that prompts users to interact with the chat widget. You can also adjust the 'Colors' and 'Chat Bubble Delay' to fit your website's aesthetic.

Enable 'Auto-Open': If you want the chat widget to automatically open when a user lands on your website, toggle this setting on.

Step 9: Assign Agent
Under 'Agent Settings', select the user who will be responsible for responding to the chat inquiries. This is the person that users will interact with when using the chat widget.


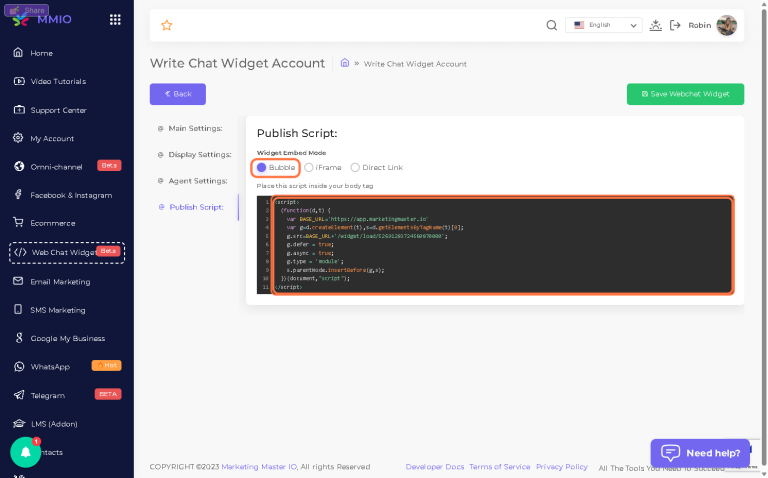
Step 10: Publish and Save Your Widget
After completing the settings, click on 'Publish Script'. This will generate the chat widget based on your configuration. To save all your settings, click on 'Save Webchat Widget'.

Step 11: Embedding Options
In this section, you can see the different ways you can embed your new chat widget on your website.
Step 12: Finish Publishing
After deciding on your preferred embedding method, click on 'Publish Script' again. This action finalizes the process and prepares your widget for use.

Step 13: Get Direct Link
If you need a direct link to the chat widget, you can find it here. You can use this link to share the chat widget separately from the website, if necessary.

Congratulations! You have successfully created and configured a Web Chat Widget using MMIO. You can now interact more effectively with your visitors, provide immediate assistance, and enhance user engagement.